
The nature photography editing includes many necessary techniques to improve colors or other defects. As a photographer always has a busy schedule, she/he doesn't have much time to learn new landscape photo editing techniques.
In this article I decide to show you a list of the most important tools of nature photo editing, which are used by experts today.
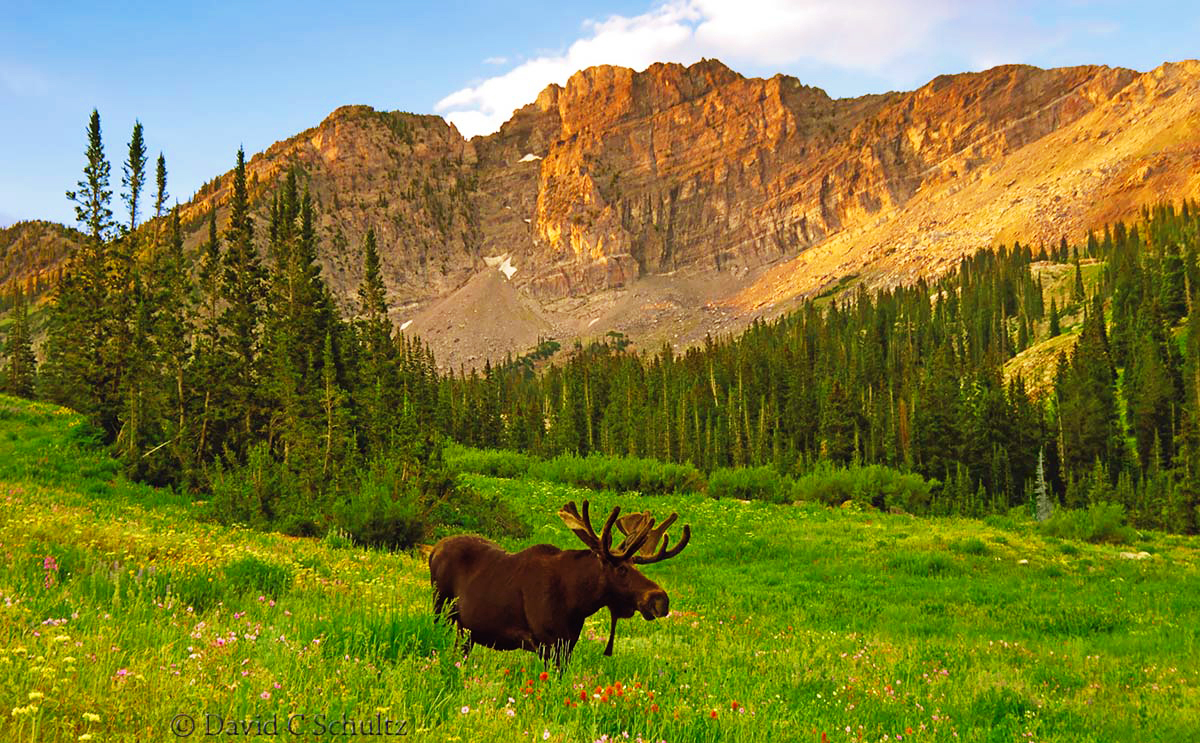
Looking through such breathtaking photos of our majestic nature, I cannot imagine which difficulties the nature photographer has overcome. She/He might have faced with unusual areas, foul weather or horrible predators to take such great shots.
However, to take a shot is not the whole work of the photographer. The photo should go through professional nature photography editing and become perfect. Eliminating imperfect distractions, imperfect existing backgrounds, worst contrast, lighting and color effects.
Let's observe all the techniques in details, which are used for nature photography editing.
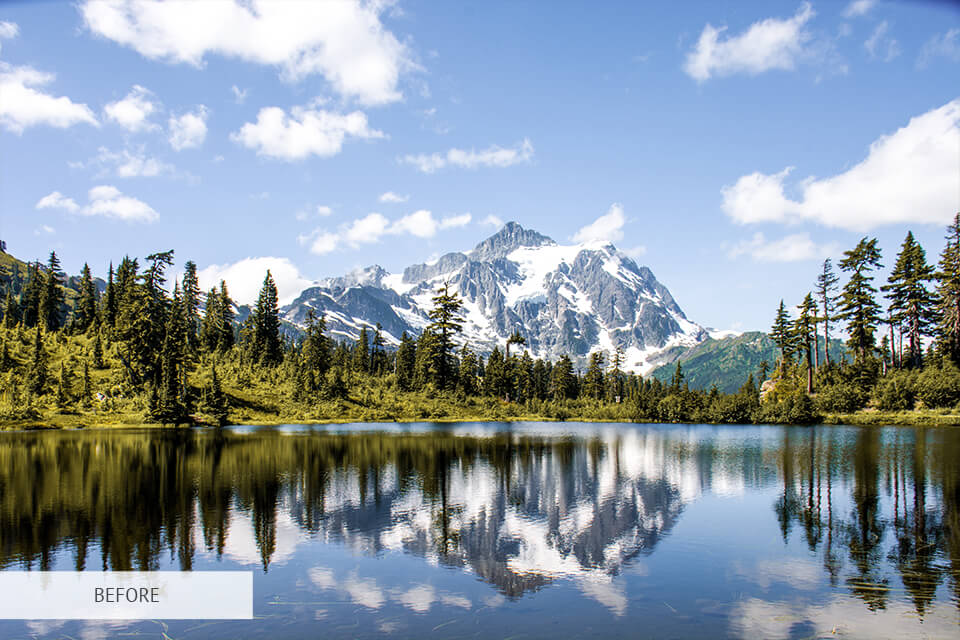

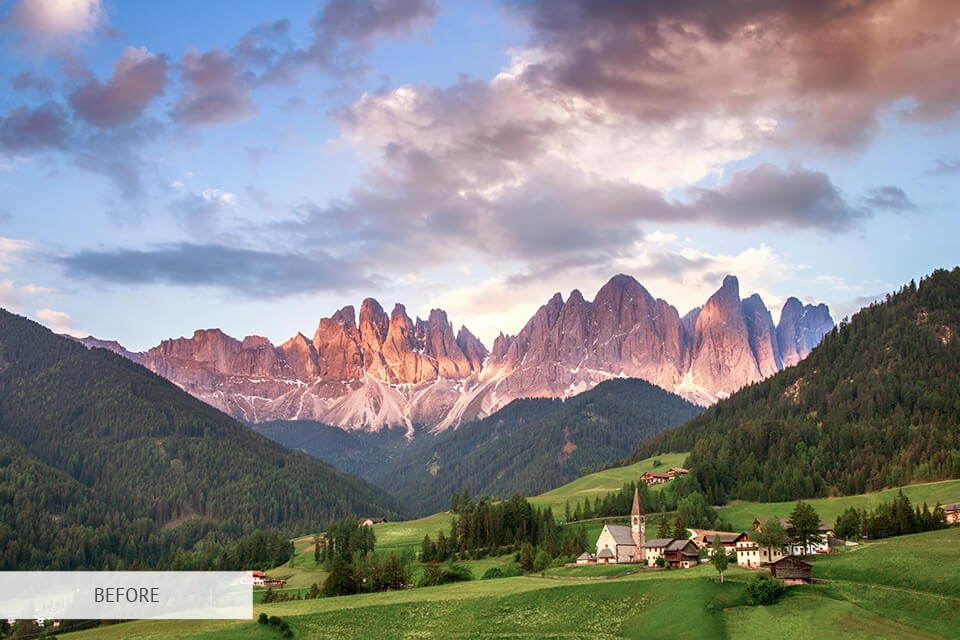
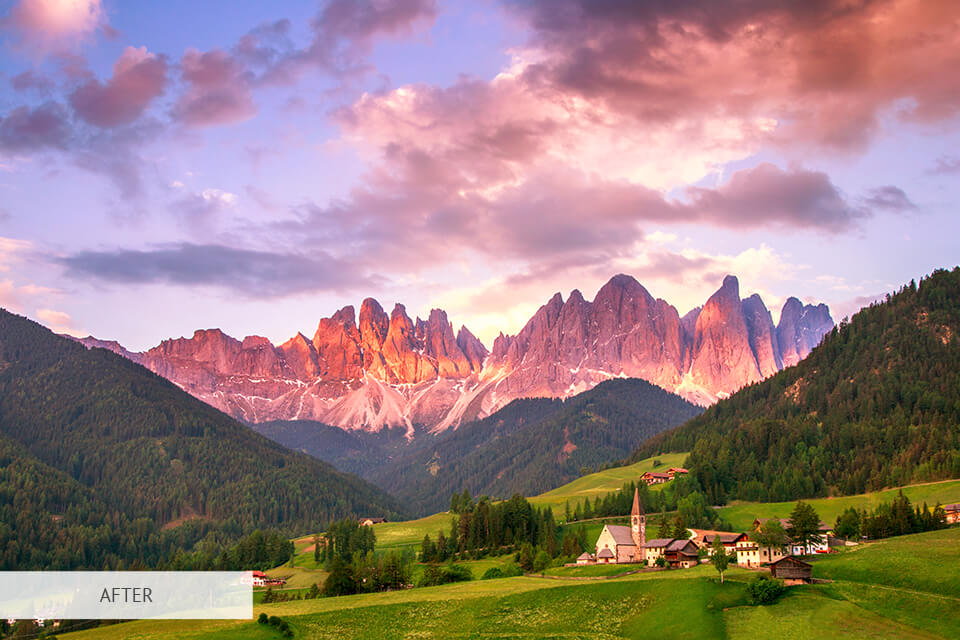
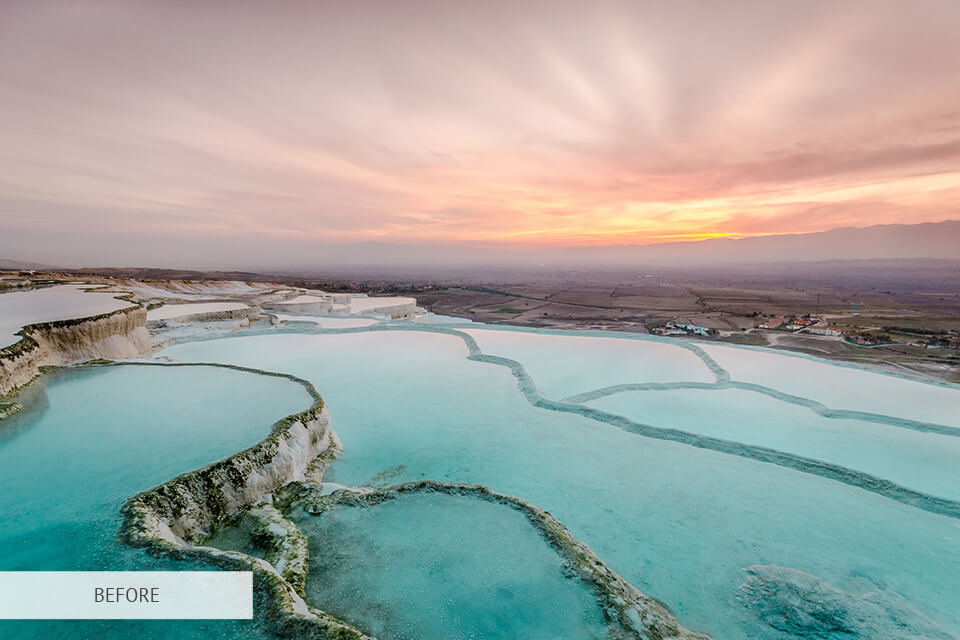
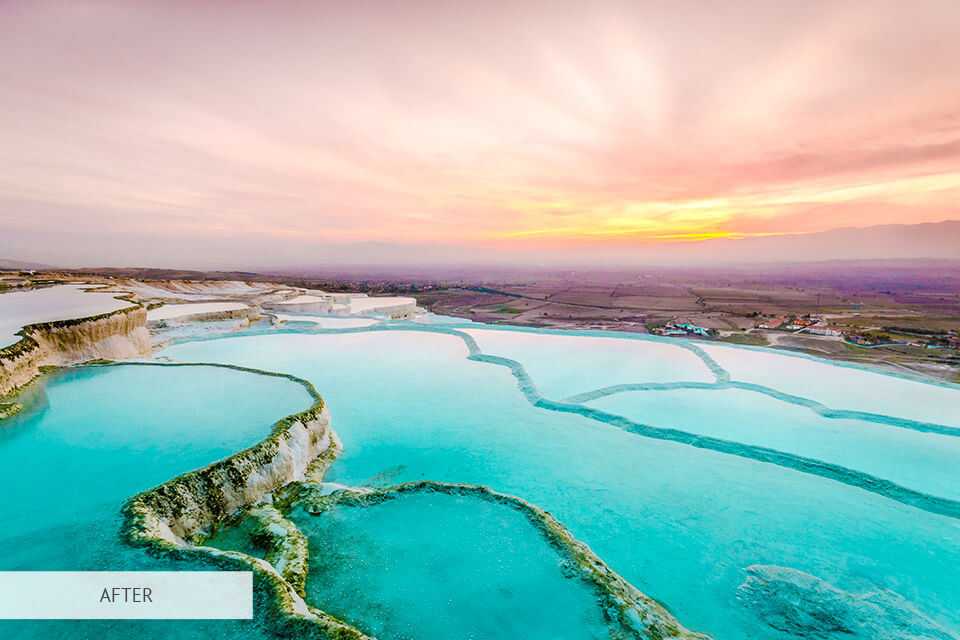
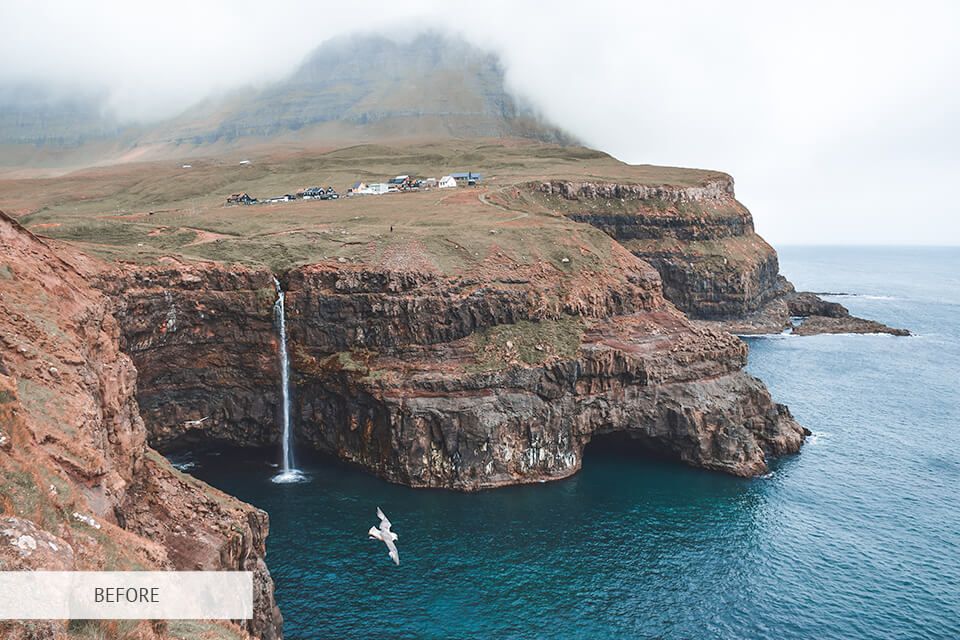
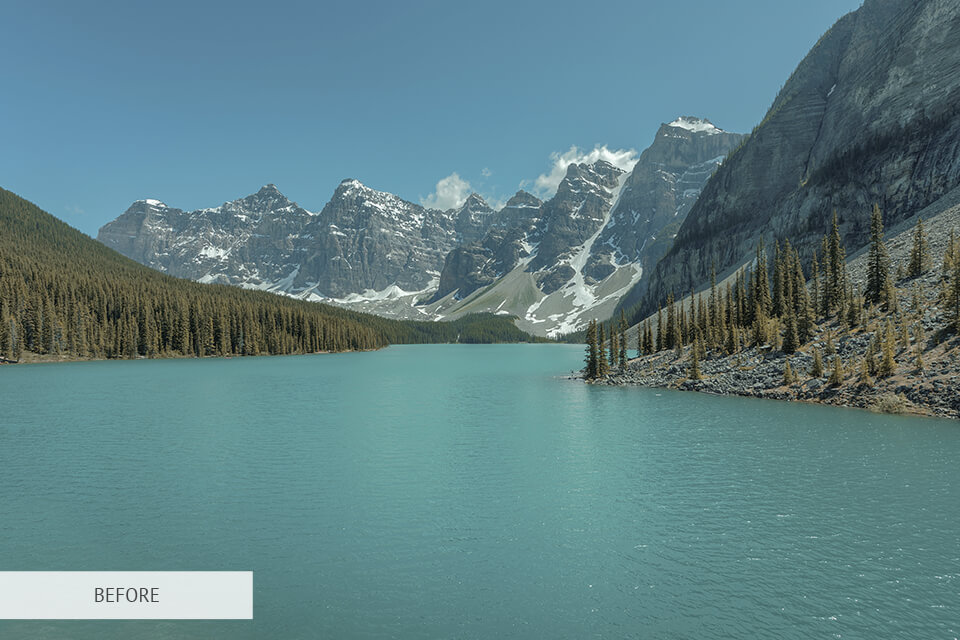
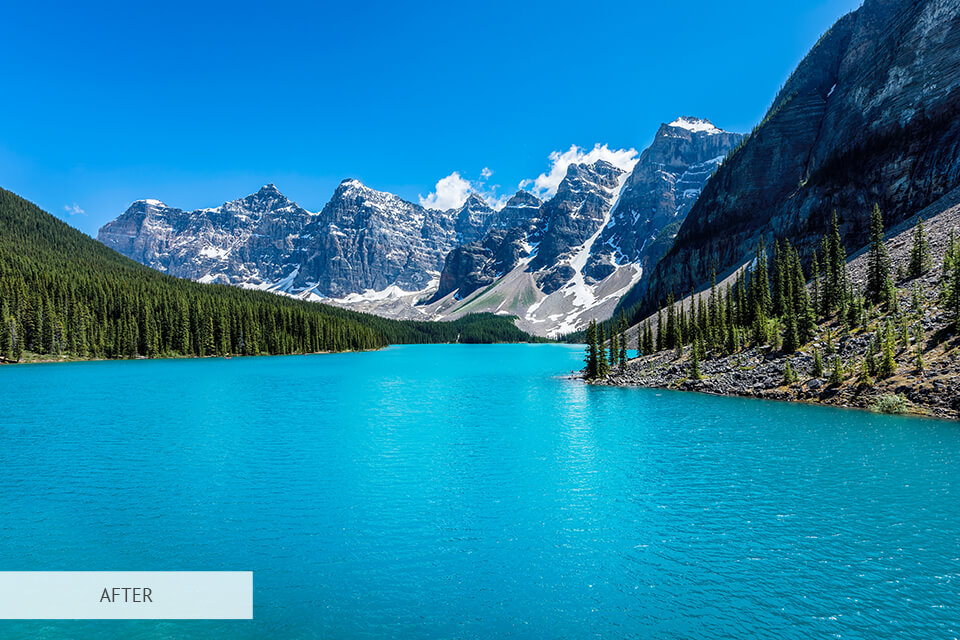
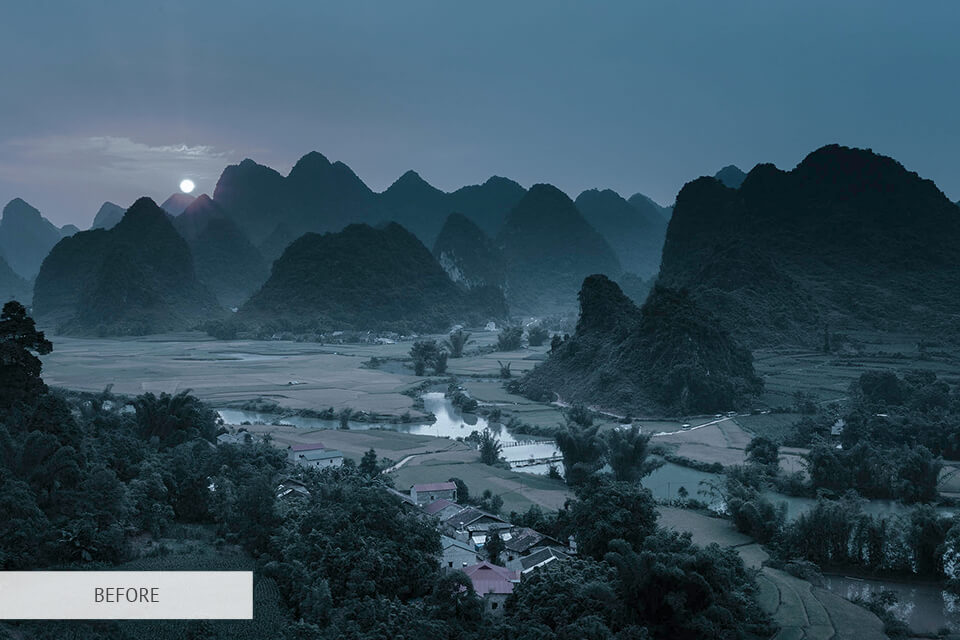
The color correction plays an important role in nature photo editing. The customers like bright and clear images.
It comprises color improving to make photos appealing. The central aim of color enhancement is to put color balance, make the photo-saturated and correct all deviation, changing the photo's previous look.
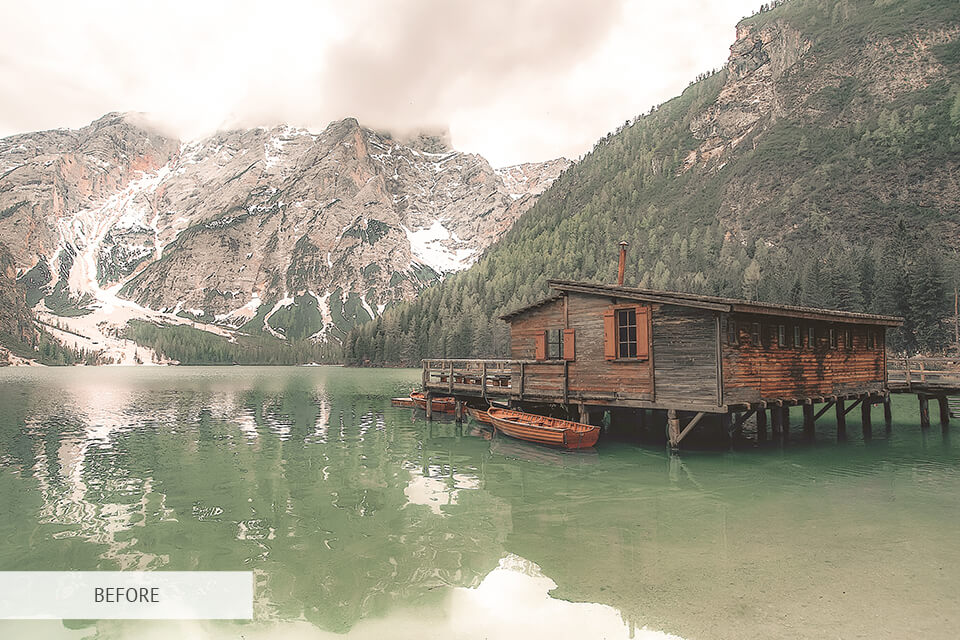
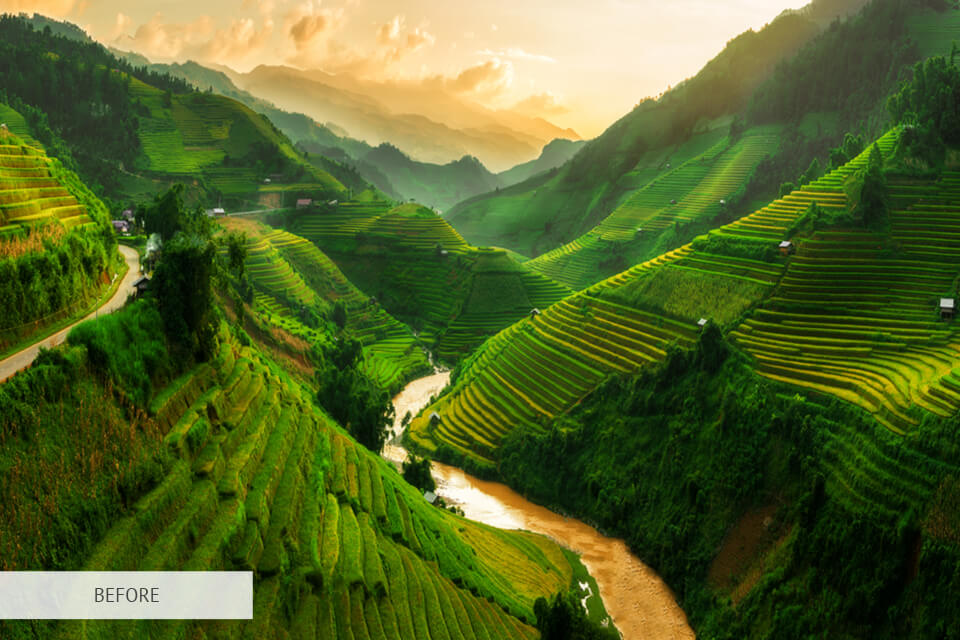
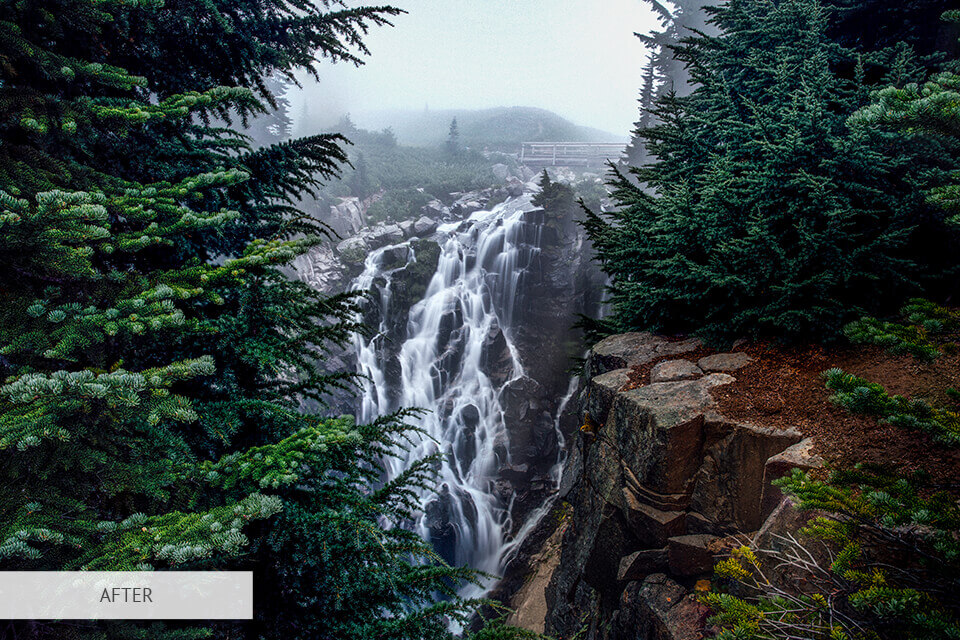
The “before” photo shows the initial photography. The trees look muddy. The light is not good because of dull weather. The trees don't reproduce their natural hues due to gloomy light. And this dust spoils the whole look and makes the photo washed out.
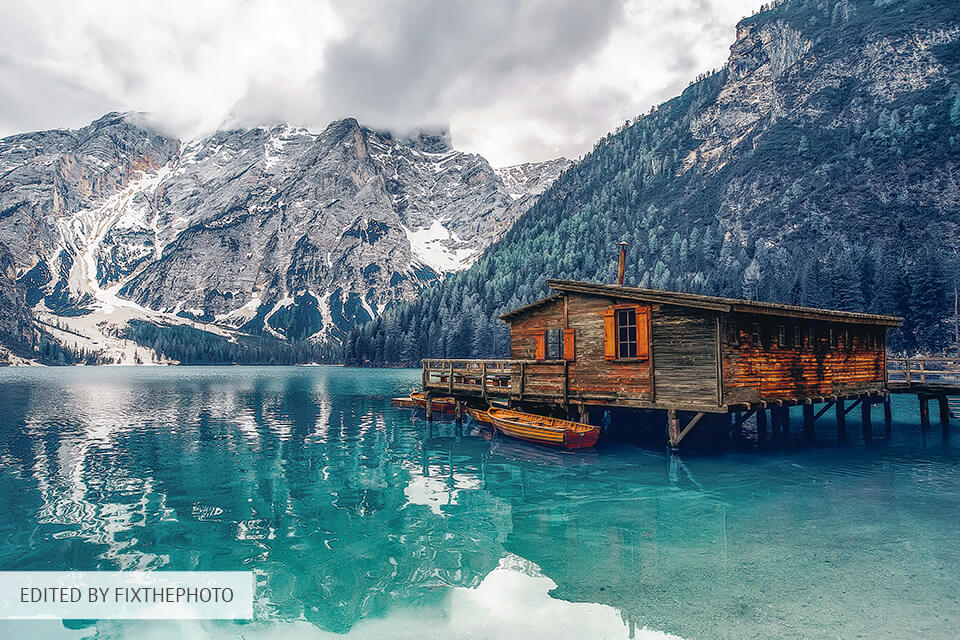
But the problem is not big if you can use the color correction skillfully. You should make the color brighter and clearer; adjust the contrast to make the picture distinguishable; remove the dust and improve color tones.
The photo looks appealing and it is ready to be published.

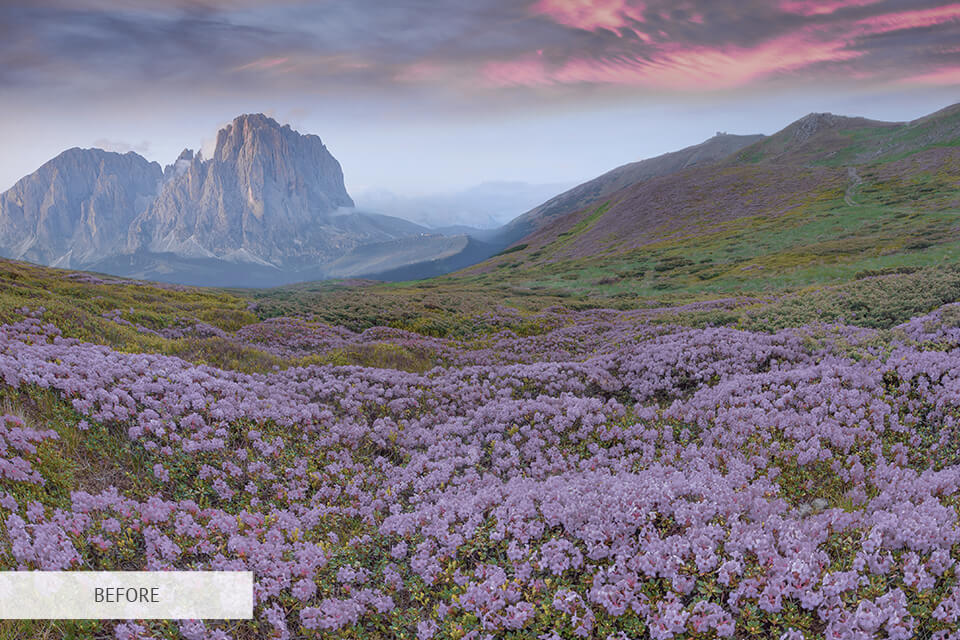
The background removal absolutely gives another vision on the photo. The background is equally important for the nature photo as the subject, on which the photographer concentrate your attention.
The background help emphasize the main object on the photo and create an atmosphere to reproduce the feeling of the moment. If the taken background is not suitable, use background removal techniques and change the background to the most appropriate one.
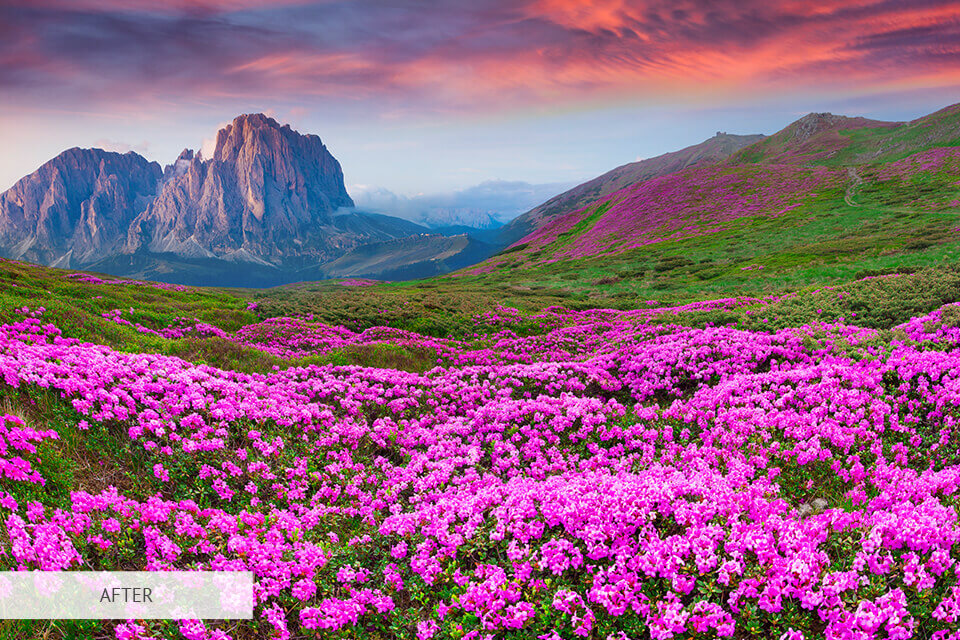
The background absolutely changes not only the background itself but also a central object little bit. The photo acquires new look, which is more appealing. The photo becomes vibrant and saturated.
The bright background stresses on the flowers, which are the highlight on this shot. Moreover, this mature photography editing technique makes the shot extraordinary. So it looks as if from the fairytales book.
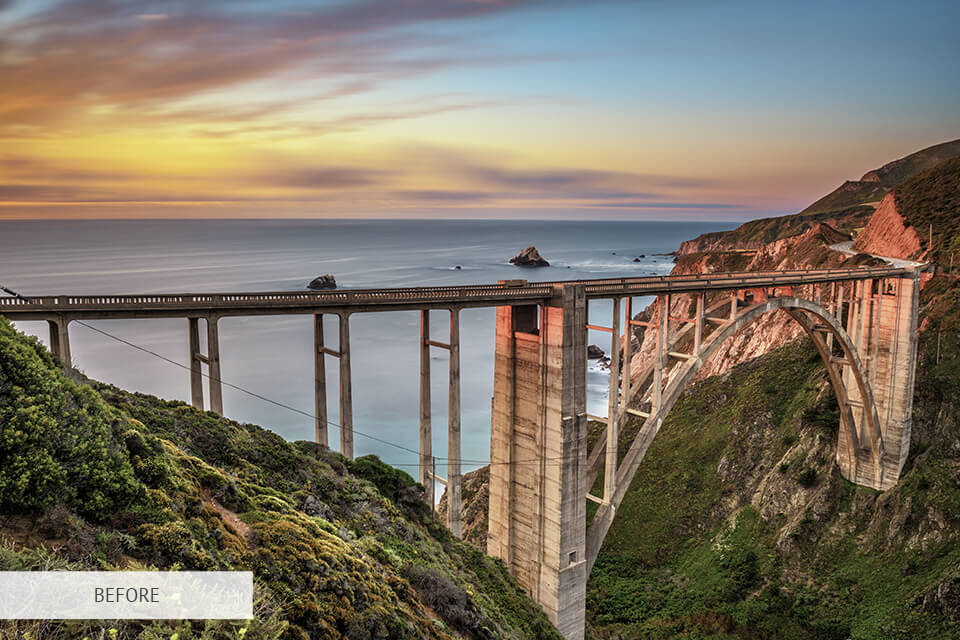
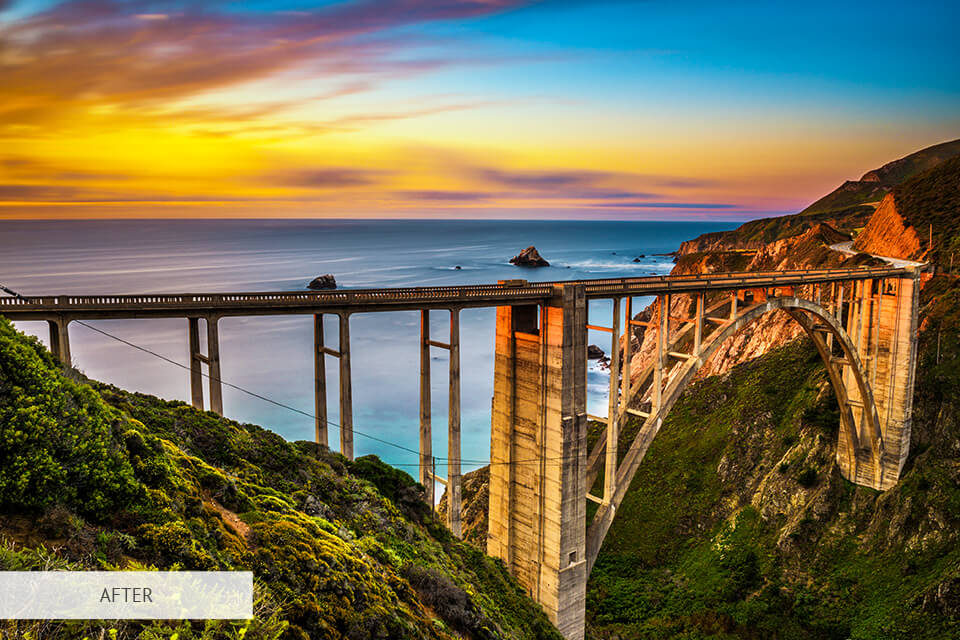
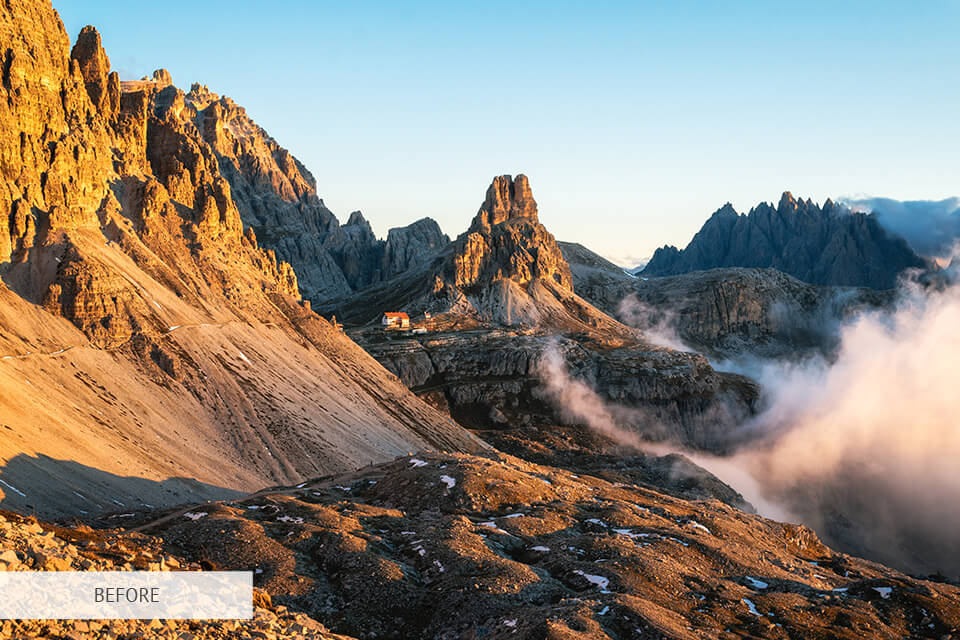
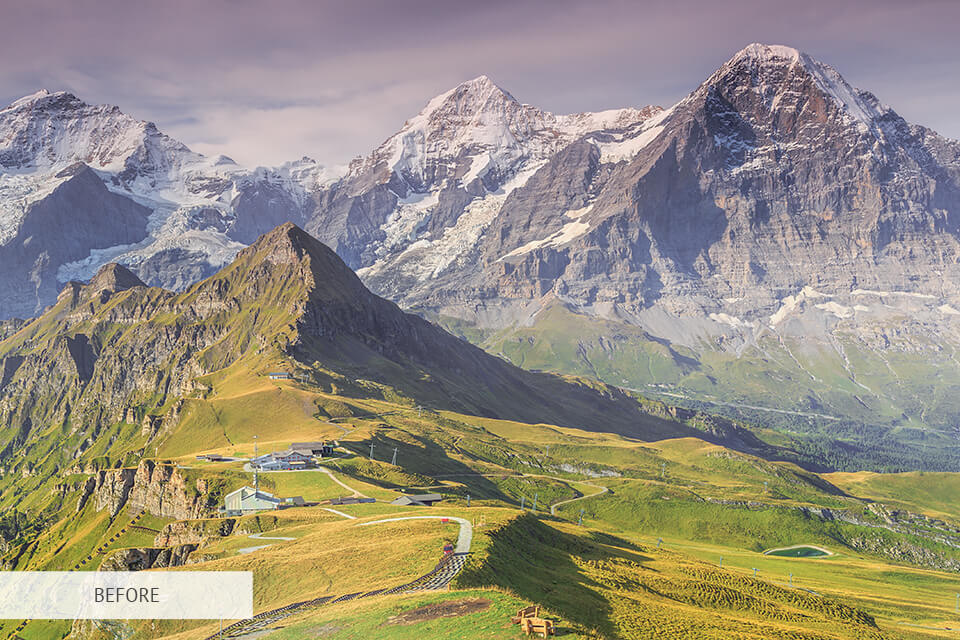
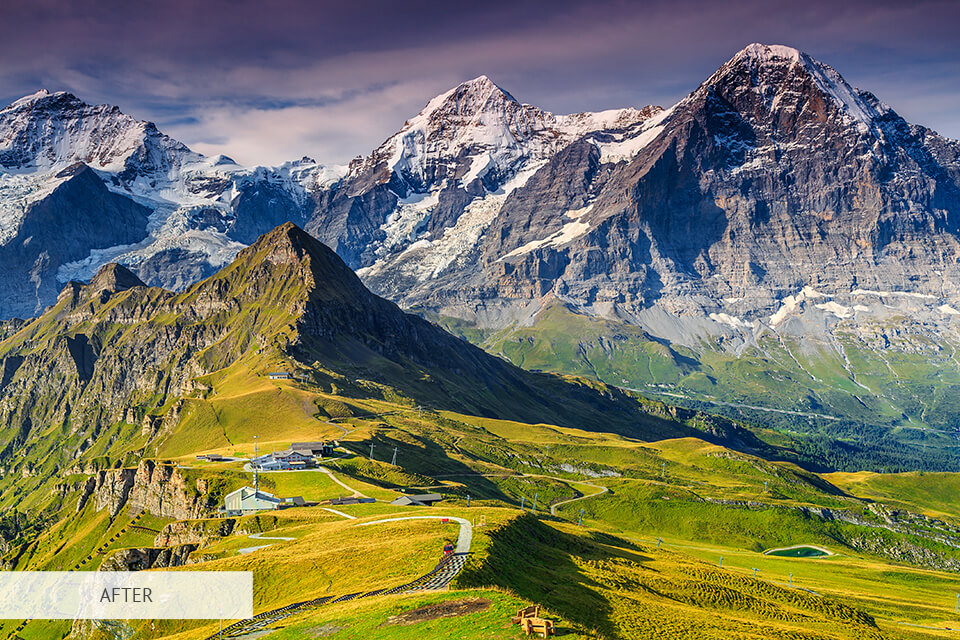
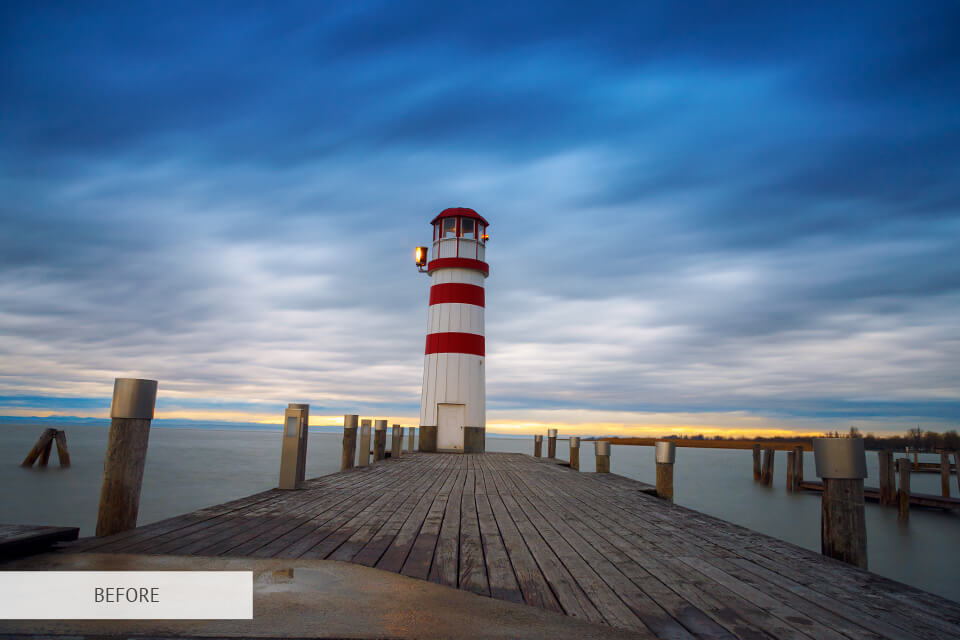
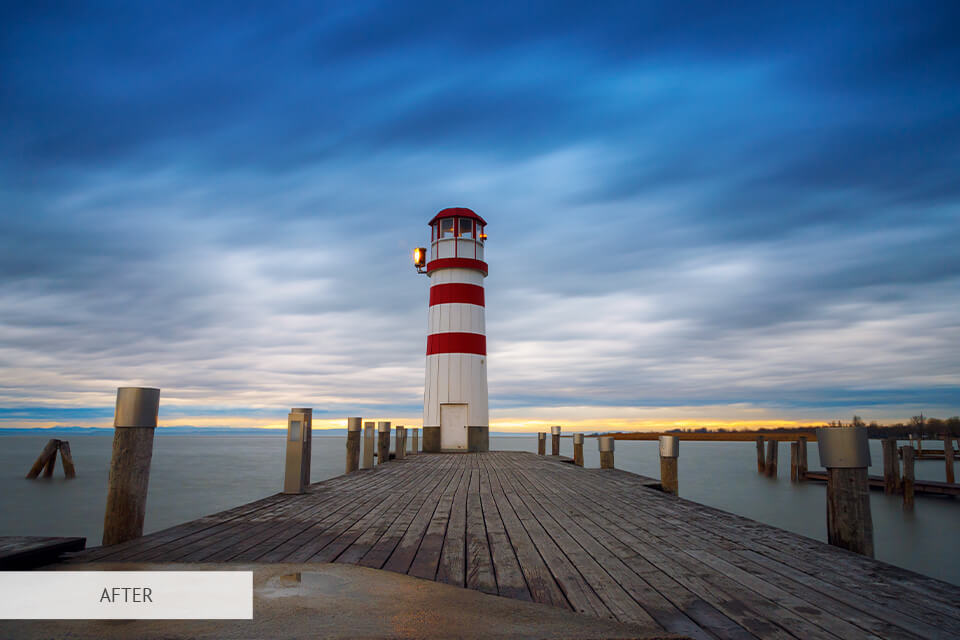
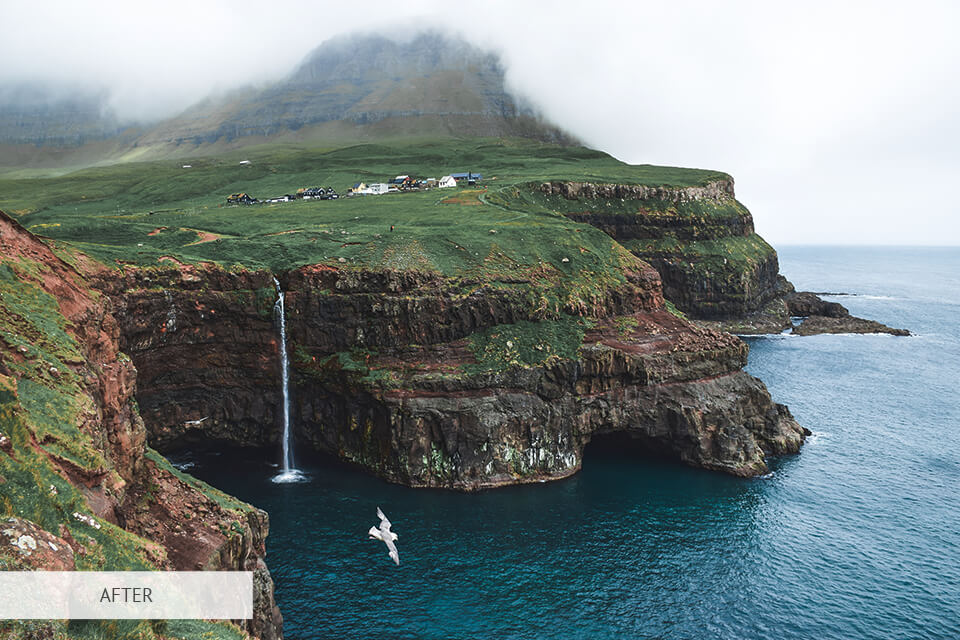
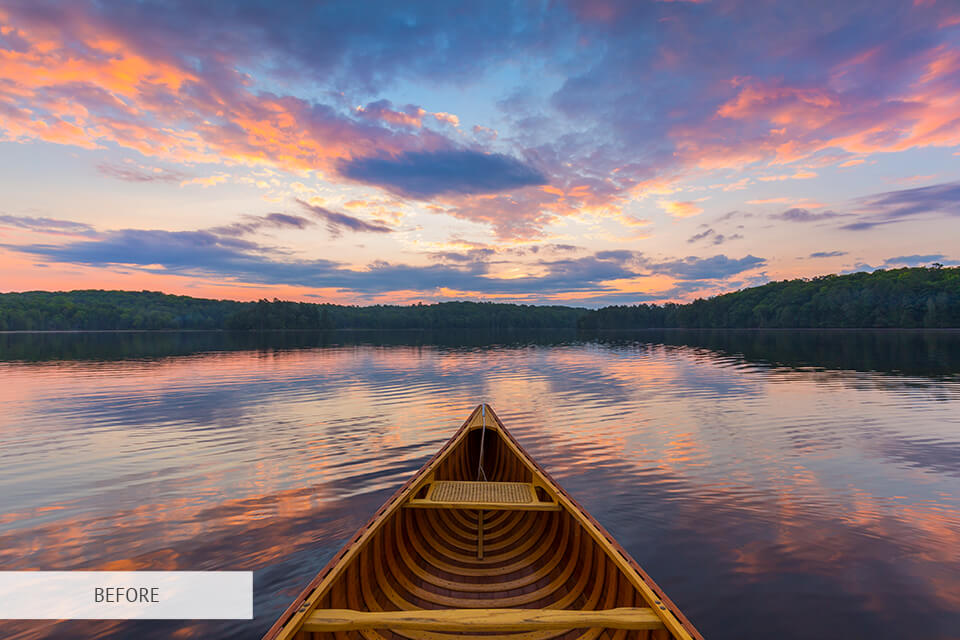
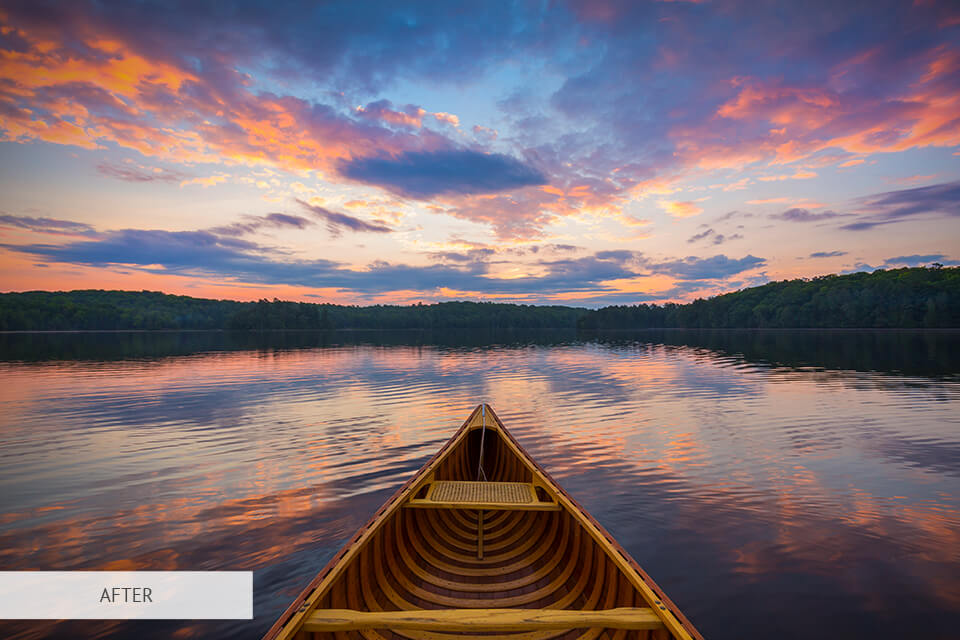
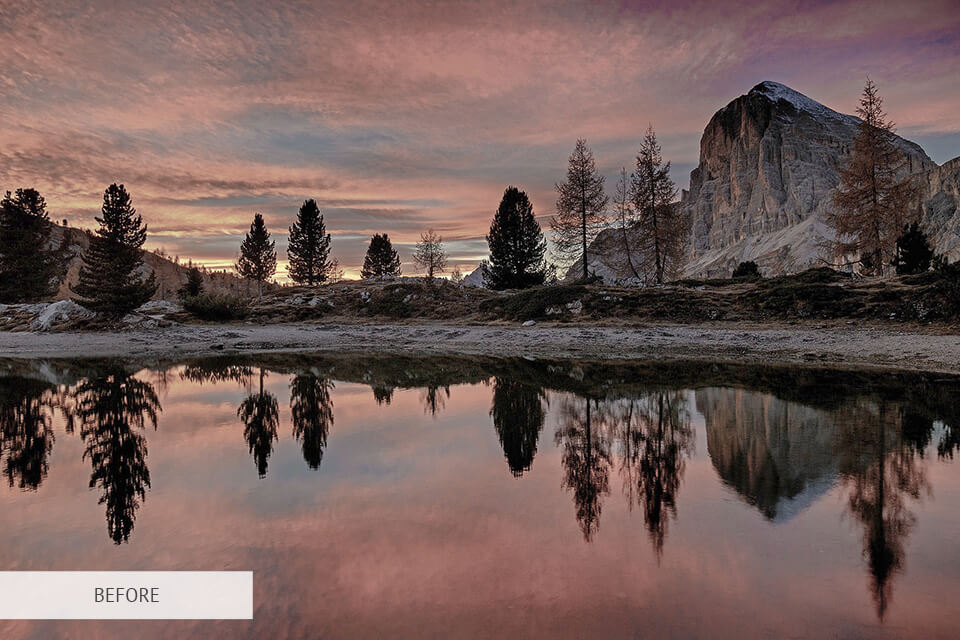
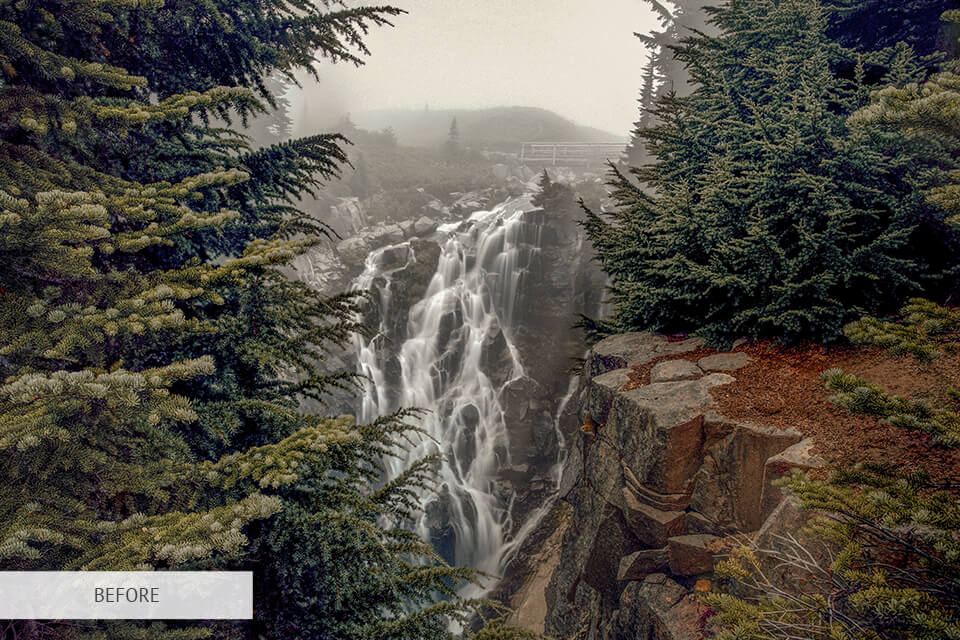
The contrast put the line between vibrant and shady points of the image. The aim of contrast is to improve the photo be setting highlights points and shadows points.
It is about making the photo remarkable and more vibrant. When you increase the contrast, you make the highlights lighter and shadows swarthier.
For instance, on the photo above I lighten the sky and foreground to achieve a customized contrast adjustment and a cinematic look.

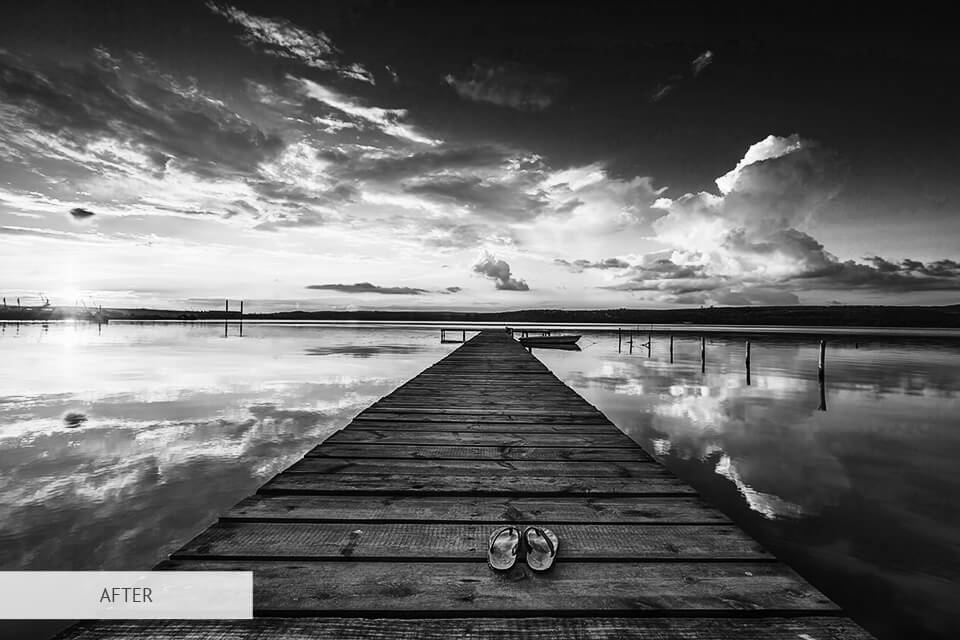
The nature photo editing also includes converting black and white pictures into color or color photography into black and white. It is often used for wildlife photography.
The photographers prefer black and white to stress on harsh rights of predators. Converting a color photo into black and white goes beyond simply desaturating the colors.
The somber hue photo can tell the story with deeper emotions. It creates the specific atmosphere. Many Photography and retouching services in Australia prefer changing photos into Black & White.
I have mentioned the main photo editing techniques for nature photography. The landscape photography, as well as the wildlife photography, must be vibrant and bright to tell the story of captured moment.
However, sometimes the nature photographers prefer black and white, as they consider it more emotional.
The nature photographer gets into different environment areas and faces dangerous predators to take such breathtaking shots of our beautiful world. The nature shot taking is the first part of professional photographer work.
The second part is nature photography editing, which takes hours of laborious work. However, it is not a problem for people, who is familiar with all tools and techniques. It is always hard to find appropriate people, who understand and put into effect all requirements.
Fixthephoto provide landscape photo editing services for professional as well as amateur photographers worldwide. High qualified photo editors are familiar with advanced techniques.
They take into account all requirements of customers and accomplish the work in time. Outsourcing editing company has many advantages. These companies convince in accuracy and privacy of your images.
If you are looking for cheap nature photo editing, you will be surprised with affordable prices and various packages.
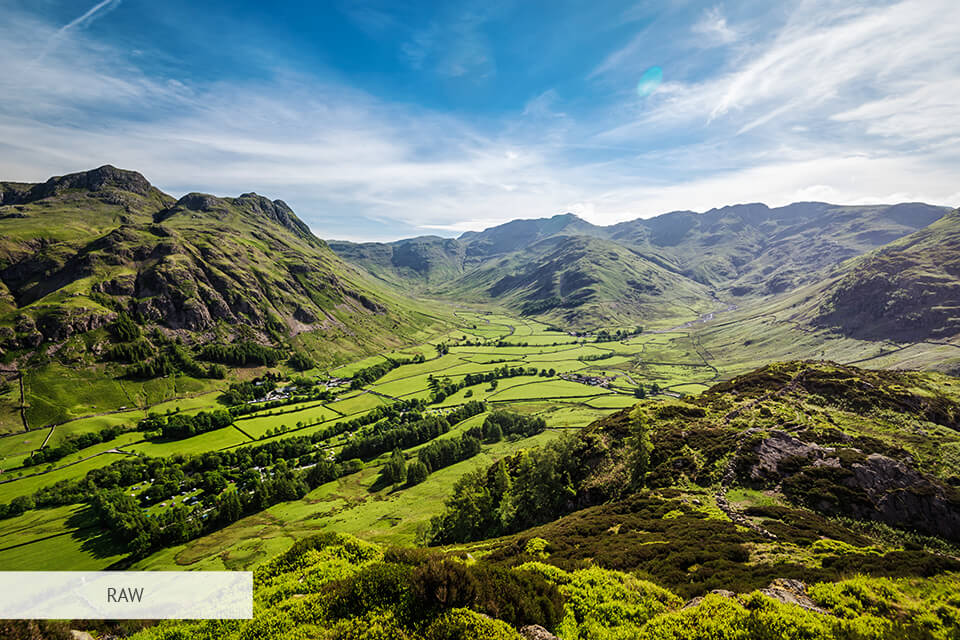
A recent update allowed specialists to dehaze pictures in the RAW converter and some people still don’t know about it. But it is a great tool for nature photography editing because it offers something no other filter can repeat – realistic reduction of haze in the image.
The best way to see how it works is in overcast images with gloomy-looking skies. Move the slider a few notches to the right and lots of details will come out.
You will need to keep an eye on different parts of the image since overdoing it is fairly easy. Or use the brush as an alternative to enhance landscape manually.
But this great tool can also be used vice versa or better still in combination, to give your images a stunning aerial perspective and depth. Try using a radial filter to keep some haze in the background and compare that to what global dehaze does, only pull up the contrast slightly when using the latter.
A large amount of the landscape photography post processing is done in the tab named HSL. While you’re setting up your RAW conversion, open the Hue section and adjust the values of some colors.
For instance, if there is lots of greenery in your image, shift the color away from yellows to get marvelous emerald shades. If it is an image of the sun rising or setting, you might want to pull your yellows and possibly oranges leftward, making it fiery.
The Luminance tab is helpful if you need a dramatic sky with defined clouds. Use it to darken the sky similarly to the way a polarized filter does.
The side effect of darkening a color is that it becomes more vivid. If this is not what you’re going for, the Saturation tab can help you mute that same color that you darkened.
A quicker way of nature photography editing is using the Targeting tool that picks colors from where you click. Move the mouse to the right or left, choosing the proper amount of colors.

This seems obvious but I’ll repeat, you are diminishing your work if you’re not shooting in RAW. These files contain several times more information on tones, so this has to be a strict rule for any photographer.
But on top of that, for post processing landscape photography you should use the RAW converter to its maximum. This way, you can benefit from those thousands of complex tones in the file for generating smoother transitions.
The finishing step is to go for ProPhoto profile and select AdobeRGB if that is not available, remaining on 16 bit. This would have a more advanced scale of colors in comparison with sRGB.
The latter, combined with 8 bit, can be used at the end, when you save the web version, to make sure even the miniatures look their best.
In case a photo contains some shiny objects that you wish to emphasize, maybe glares on the water or bright clouds, they can acquire that mesmerizing glow in a few simple steps. You need two copies of merged layers for such nature photography editing.
Press the Ctrl+Alt+Shift+E combination twice to get those. Then activate the top merged layer, open Filters and find the High Pass in the “Other” section. Selecting the most fitting radius to emphasize details takes a bit of twitching but you can start by setting the 5 px value and shifting around that.
The second layer is a blur layer and you can achieve the desired look by altering its opacity. The Normal mode gives you the pure glow, the Soft light adds some contrast to that but the Screen provides more light instead.

You need to perform landscape post processing according to web standards. You have probably noticed that with the common way of downsizing with Bicubic resampling, the images still end up somewhat blurred and sharpening makes things worse.
You need to remember a simple pattern. Downsize your picture, so it is three times smaller than the intended size.
For example, if you need it to be 1000px, start with going to 3000px. At this stage, go to Filter, and select Sharpen three times in a row.
It will look terrible but only until you set the desired size of 1000px. If at the end you think it is too sharp, return to the second sharpening and perform downsizing after it.
If the picture isn’t sharp enough, correct it by sharpening a copy-layer and making it more transparent.
Certainly, the composition has to be thought of before the nature photography editing process. You can understand how to find a proper place and get it ready for shooting without sacrificing natural beauty by following tips from the Camping Fun Zone blog. For cases when this wasn’t possible or something went wrong, there are still ways to improve or correct things.
The Crop tool and its various overlays can help you ensure that everything is right. Press O for changing the overlay or Shift+O to get different alignment within it.
Your second option is the Warp tool, which is located in the Transform section of the Edit tab. For performing this action, use the full frame or only a part of it. With the second method, you might want to use a new layer.
Sometimes after using this tool, you can discover an annoying white stripe at the edge of your image that you can’t remove, but the new layer can easily cover that up.
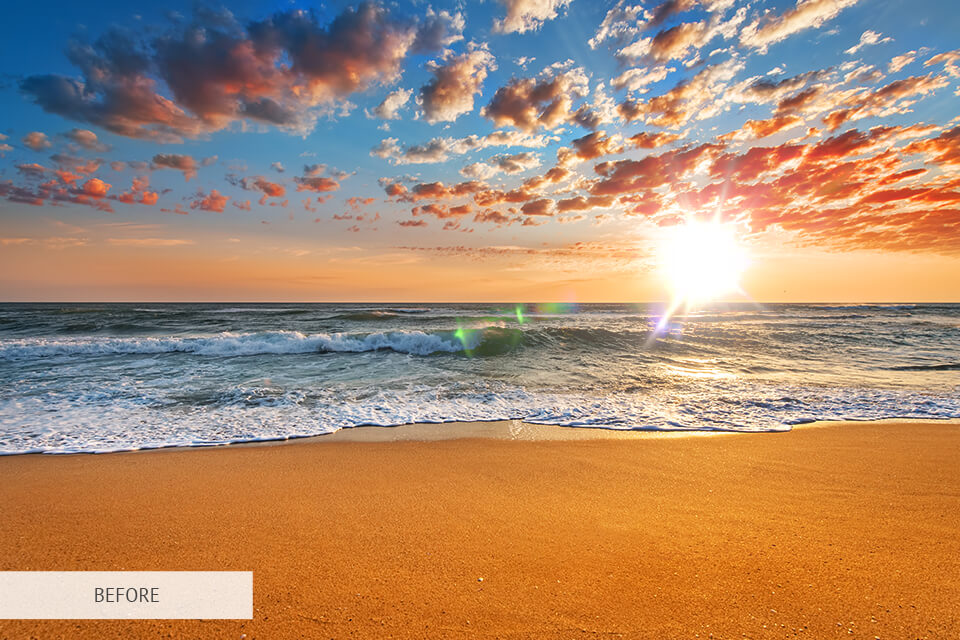
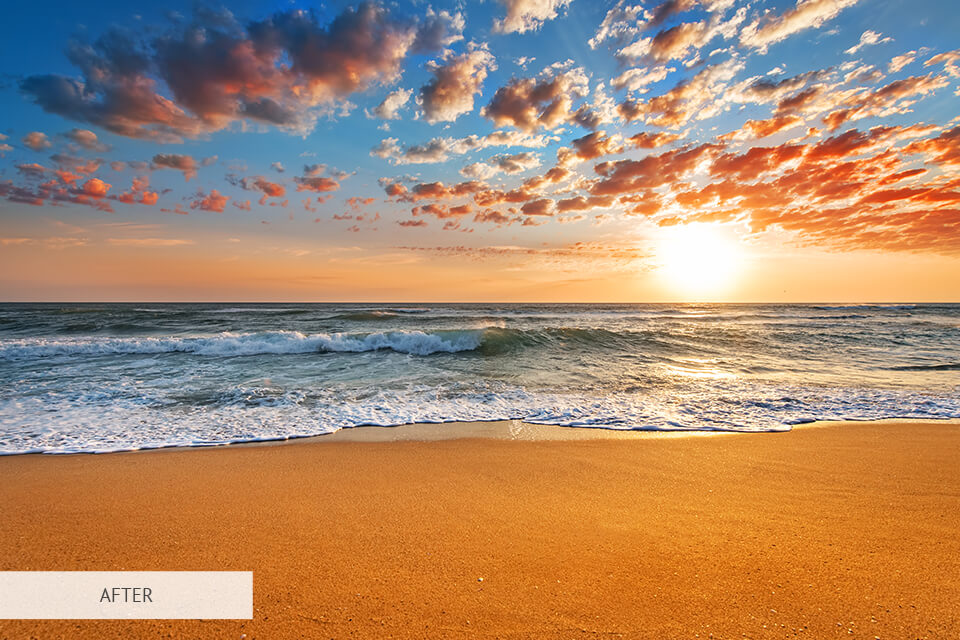
In cases when the light source is included in the frame or left directly outside it, that is bound to cause some flares. Those, in turn, play unpleasant tricks with the colors and contrast of the shot.
No type of lens or its coating can fully protect you from that so better learn to avoid the issue during shooting because to cover it up while editing landscape photography can be hard.
The easiest way out is to take several identical pictures. In the first shot, you leave everything as it is, including the undesired flare.
On the second, you remove the flare from the shot by finding something to cover the light source in the frame, even just a finger. Having these two photos, you can get the perfect shot with a bit of editing.

I can never put enough stress on this advice, especially when some professional photographers misuse Saturation. If you don’t want your pictures to look like a child’s drawing, forget about Saturation tweaking in your landscape photo editing.
If you feel the necessity to bring out some colors, use Vibrance instead. The difference between them is that the former makes the already prominent colors even stronger but the latter works with secondary colors.
With Vibrance, you will get additional tones and semi-tones, but learn to ignore that setting, too, for your own good. Instead, tune up contrast in the more relevant zones of the photos and it will boost the colors automatically. Go ahead and desaturate other parts to put accents in strategic places.
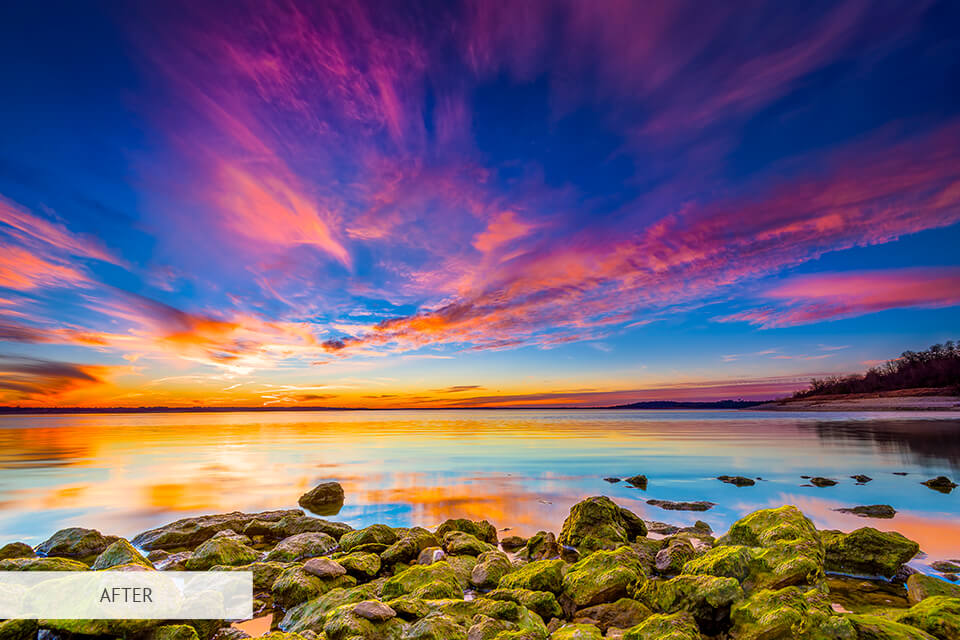
As an example, try this nature photography editing technique in a shot of a crimson sunrise. The trick is to go from the opposite, finding the blue tones and decreasing both their luminosity and saturation.
This way they will serve as a nice background for the reds, helping them to capture the viewer’s eye. Leaving both equally bright would create a conflict for the viewer, who wouldn’t know if the attention is supposed to be paid to the sky in general or just the sun rising.
Such work can be done both in Lightroom and Photoshop, the settings differ but the results will look pretty similar.
In the latter, use the Dodge&Burn tools, burning the highlights and dodging the darker areas. The brush should be large and soft, with 2-5% exposure. Don’t hesitate to tune down the layer if the effect looks too harsh.
If you’re doing your landscape photography editing in Lr, then the aforementioned Dehaze filter can give a similar feel to the shot, just add a light touch and you’re done.
Vignetting means lightening or darkening certain image areas and helps emphasize the main subject of the shot. Most often you can apply that to the image corners but if you’re using Snapseed or Lightroom there will be more options for you to choose from.
This effect is not usually associated with editing landscape photos but it really helps you bring out the main subject of your shot so that the viewer looks directly at it.
Nature photography is widespread today. The main purpose is to emphasize the aesthetic value more than any other photography genre. The photographer wants to reproduce elements of our environment as wildlife, marine life, landscapes, and others elements of nature.
It is divided into subgenres. They are garden photography, wildlife photography and landscape photography.

To photographers’ mind, the nature tends to be fascinating. Under the notion wildlife photography, they understand capturing the one-second moment from the life of the animal.
It can be very dangerous for photographers as they are powerless in the face of nature. The bad weather, as well as predators, can kill them.
The photographers get into different situations, as you know the nature environment is very wide. You don't know which troubles will be on your way to capturing an extraordinary and high-quality shot.
The photographer does not the animal. He just let him be and let him behave in his usual environment. The professional photographer has to know how to become one with nature.

Nature is not always sunshine and rainbows. But the photographer always finds something beautiful even in the darkest day. This genre focuses on the natural world and pursues such purposes as telling the story of the moment, sharing feelings and showing people the beauty of our world.
Do not consider it as documentary or photojournalism. The photographer does not try to capture scenes in the ordinary state. He waits for the conditions that make the ordinary extraordinary.
The aim of the garden photography is to reproduce the beauty of the plants and even insects in the garden, make the photo as real as you can, that nobody doubts in its superiority. The great garden photography reproduces sunrays, wind puffs and blossom smell.
In another word the viewer can feel the moment and the beauty of the image. Especially appealing shot can be taken in summer when the garden is full of bright light and comes up roses.
As you know a lot of photos of nature are published in the magazines, which are focused on traveling or animals’ life. Such magazines comprise the nature masterpieces, unique shots and the greatest stories, which the photo can only tell.
For example, the National Geographic Magazine publishes the attention-grabbing photos of nature, which surprise its readers.
You can discover more wildlife shots and natural phenomenon, reading the article National Geographic Top 20 Best Photos Without Landscape Retouching.
Perfectly tool for those using an action camera to take images. This Lr preset makes images more vivid and fascinating.
Its additional benefit is that you can apply it to many kinds of pictures, starting from winter mountains and finishing with summer tropics or other great spots.

For those, who enjoy taking stunning shots in extreme weather, this preset is a great timesaver. It tackles the most common issue of overexposure which is almost impossible to avoid in winter pictures. The camera misbehaves surrounded by reflections of the snow but that won’t bother you anymore.

If your favorite subject is the sun at the dusk or dawn, you will love how expressive you will be able to make it with this preset. Just set it on and the image will turn clearer with the colors getting rich, creating a truly admirable atmosphere.
This Ps action was designed with an intention to show the beauty of landscapes. With the colors of nature more saturated, stronger contrasts and deeper colors, any shot will become awe-inspiring.
If you prefer getting out with your camera after the sun went down, you will need a special type of action like this. The colors will be naturally enhanced to convey that incredible atmosphere and the contours of nature at dusk.


