According to statistics, creative jewelry photography props raise the sales and your product’s brand on the market. Sometimes you need to use jewelry design software to visualize how a particular item will match certain props.
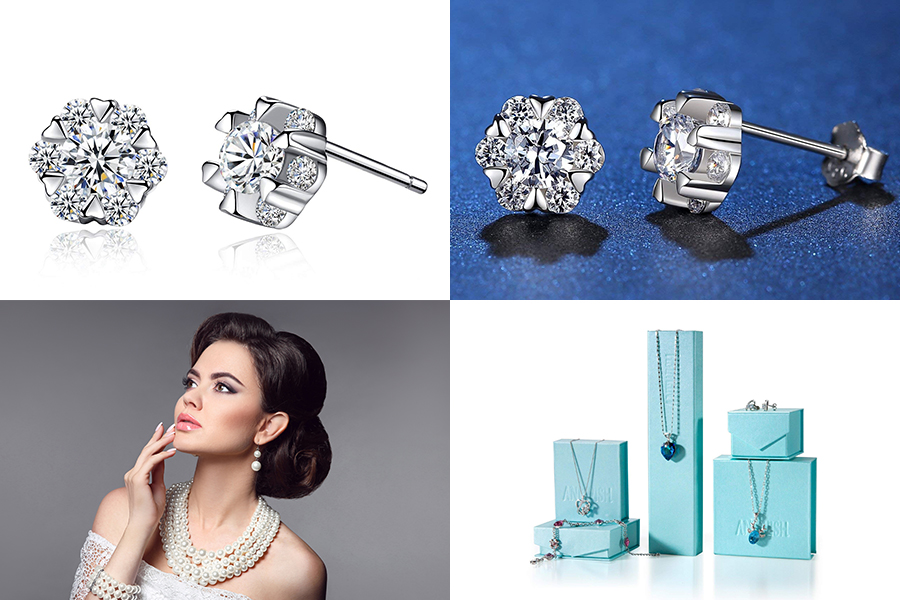
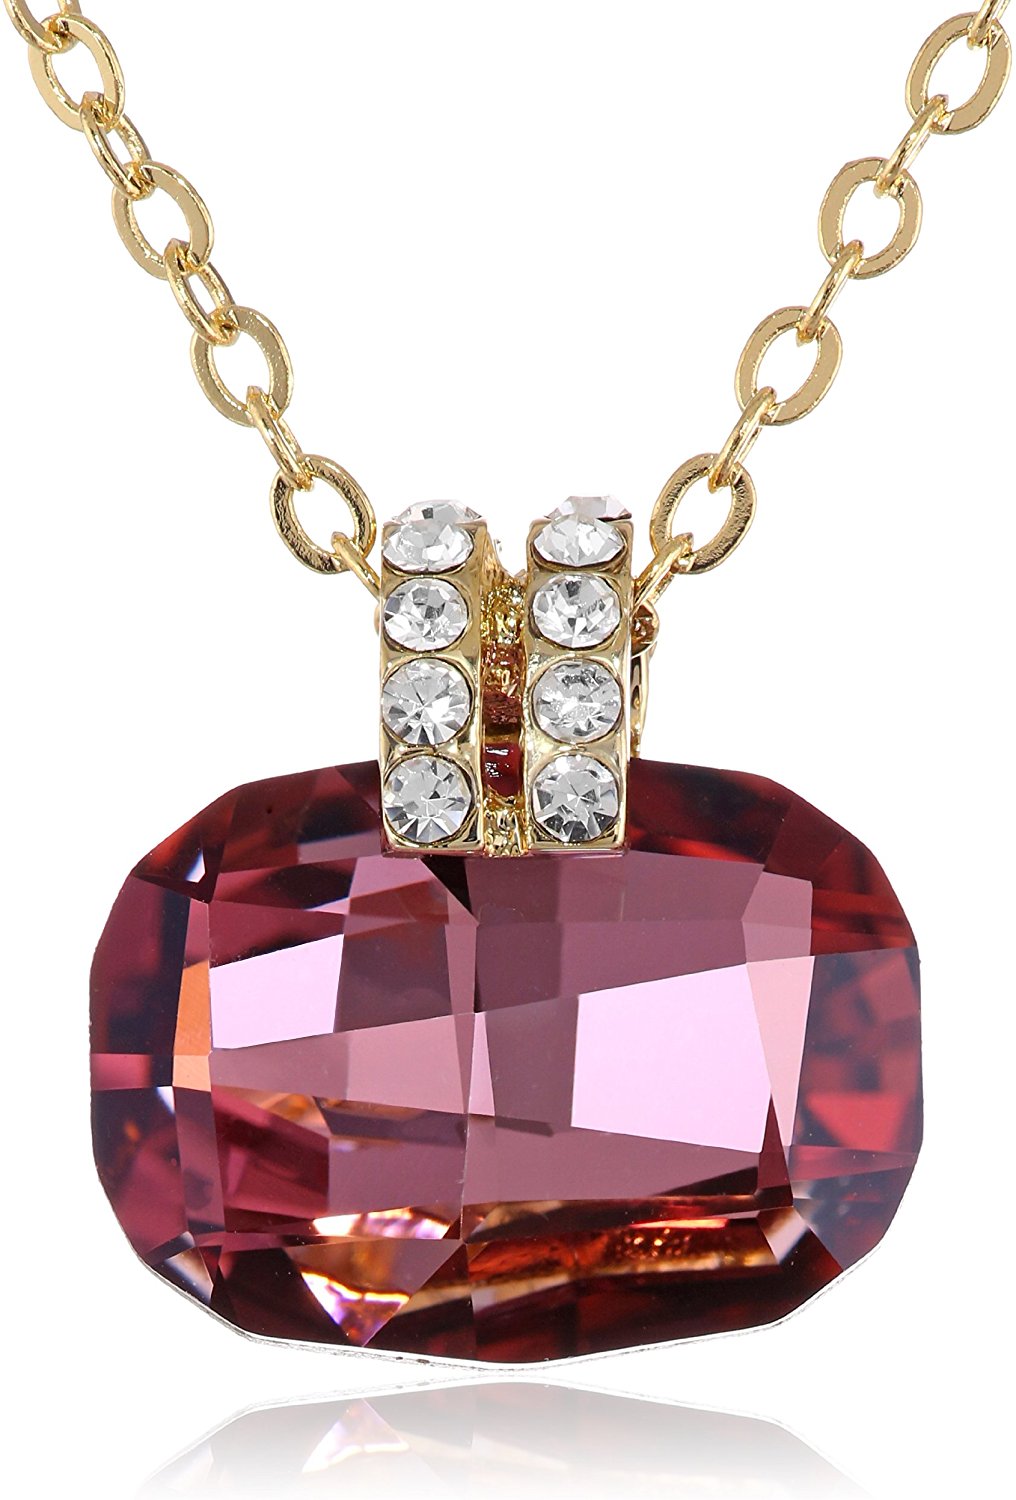
Every jewelry product should have 4 photographs to being sold fast: the photo on the white (black) background, photography with model, on the stand and using creative photography supplies or backdrops. Many professional sellers follow this rule on Amazon. All clients need to be inspired before buying something. Let’s talk about the jewelry images props you should use.
There is a bundle of different props that are usually used to style different kind of jewelries. Among them, you’ll find options designed for rings, bracelets, necklaces, earrings, etc. You can either purchase them as a bundle or get each type individually.
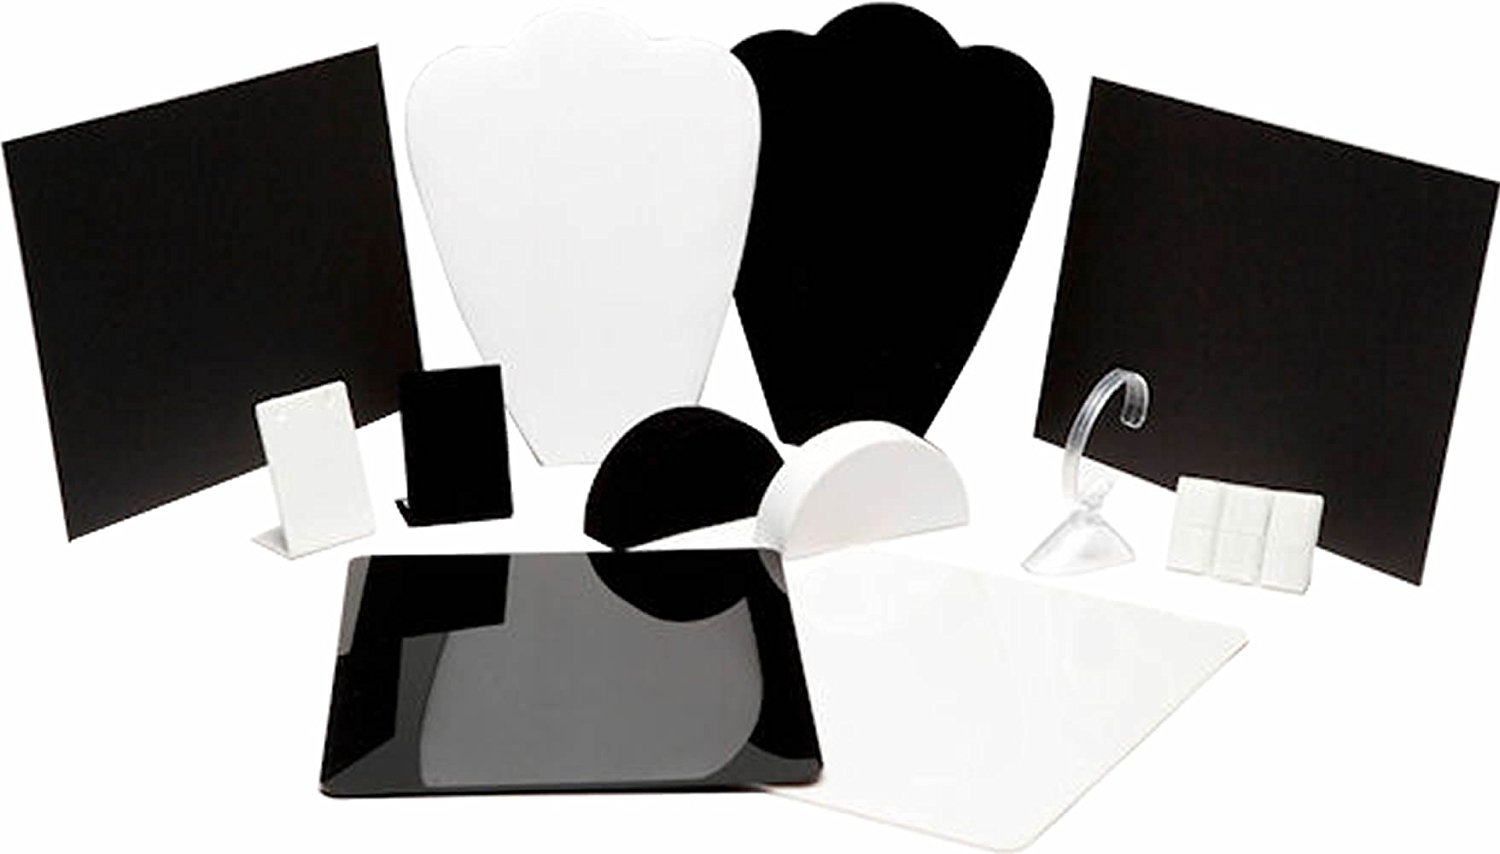
This is the most popular choice when it comes to picking a jewelry photography kit. This bundle has everything you need for taking photos of small objects that don’t necessarily have to be jewelry. The kit includes reflective boards as well as holders for earrings, bracelets, and necklaces in two colors.

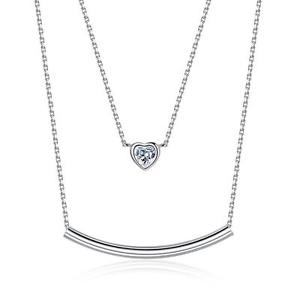
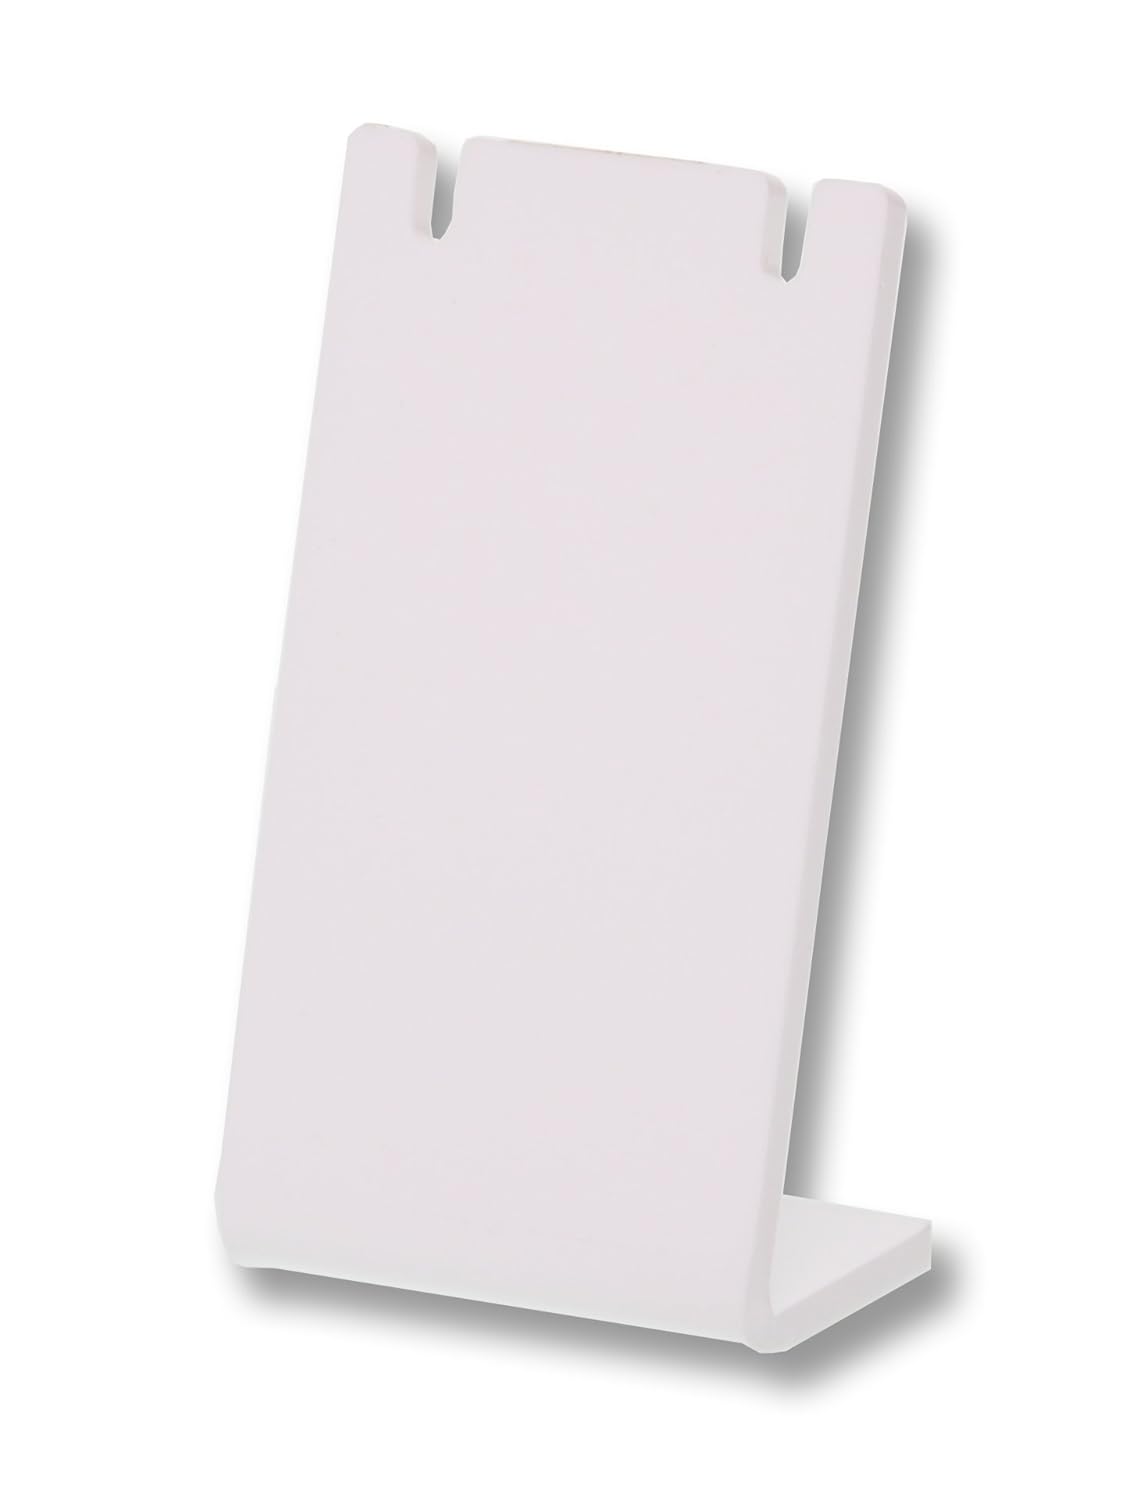
The stands are very useful. They help adjust the length of a necklace’s chain and give it the V shape you want. However, it is best suited for short and medium necklaces and won’t work with the long ones.
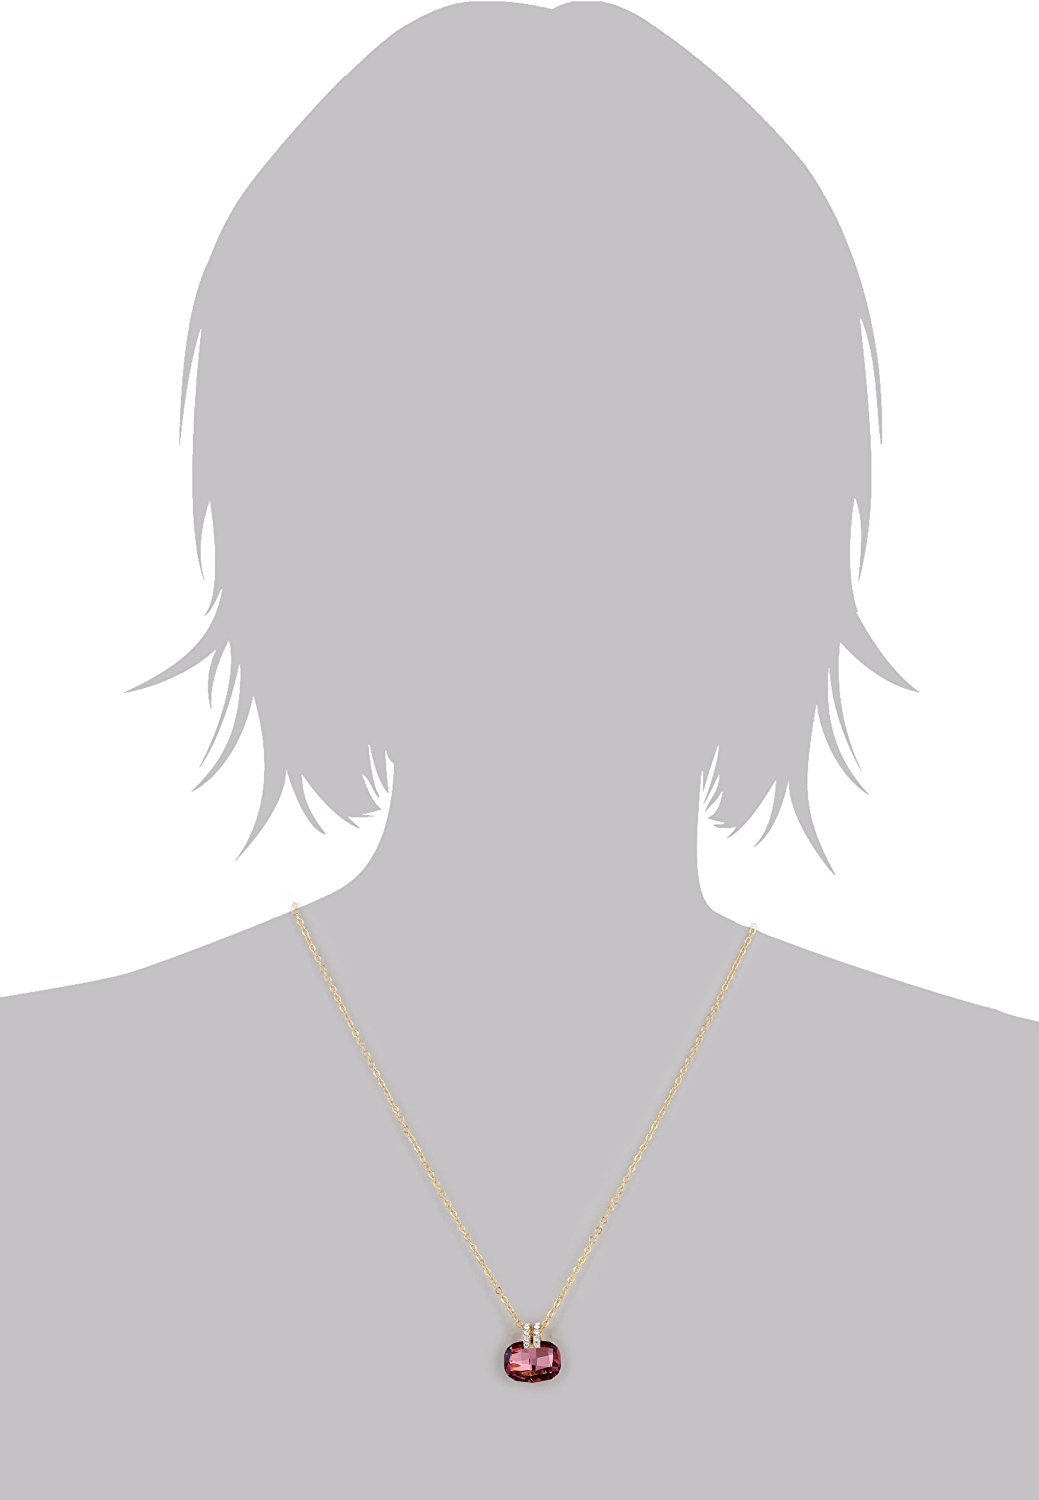
Many sellers use people’s silhouette to show the potential buyers how the jewelry will look on them. You can draw the figure shade in photo editing software.
.jpg )
Other jewelry photography props that I use for necklaces are bowls. I use them when taking flat pictures to take good shapes. It’s an unexpected prop, but bowls shape the chains very well.
.jpg )
You have to own this prop if you want to create professional jewelry photos.

There are two options about how to photograph earrings. You can either take a picture on a flat surface without any props if they are small or hang them on an acrylic stand with holes in it.
-Women-925.jpg)
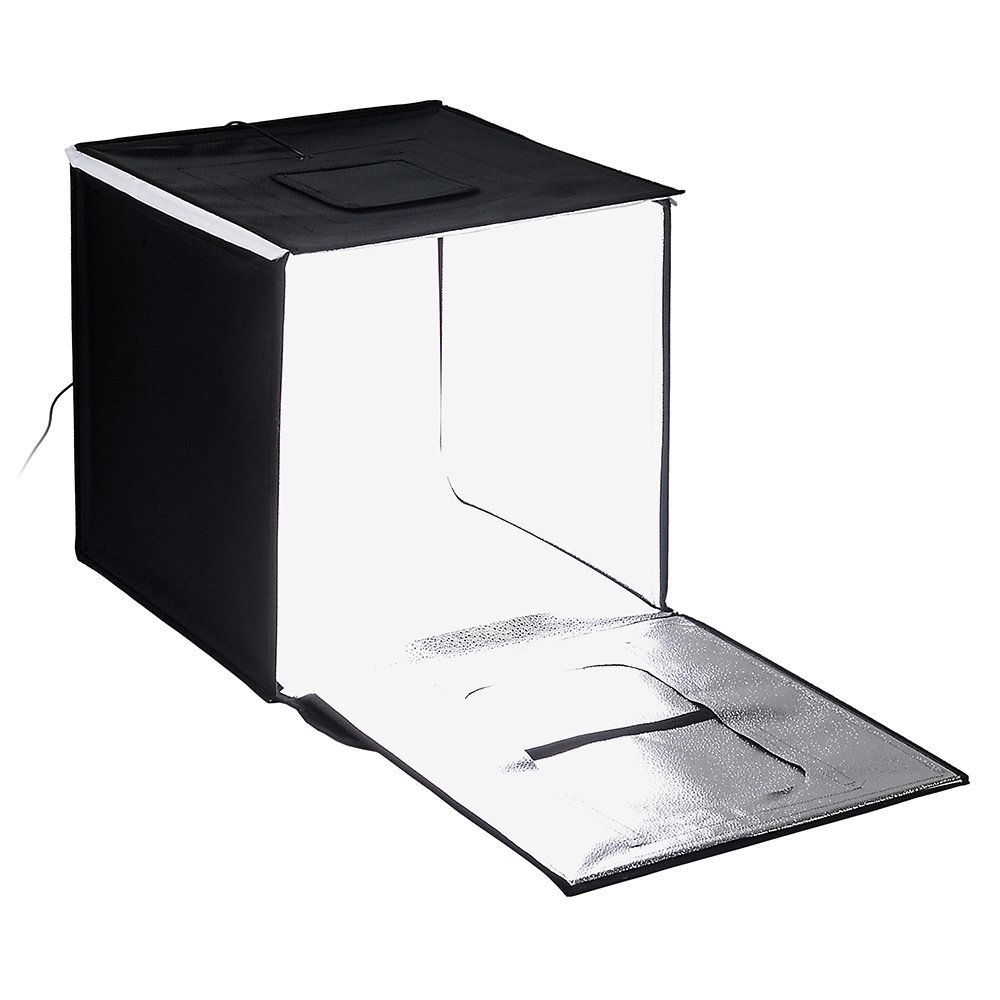
This can’t be included in a list of jewelry photography props, but by getting a light box for jewelry photos you’ll be able to easily take professional pictures even at home.
Hang your earrings like on the example above, turn on the light and take a shot. You may choose the shadows conditions you like by switching on additional lights. The more lights – the less shadows on the photo.
.jpg )
Acrylic table kit will help you obtain various angles and an infinite background effect. Some people think, that to be successful in this field you only have to learn how to take jewelry photos with white background. But nowadays the black background is very popular too because you can create lots of effects by positioning light differently.
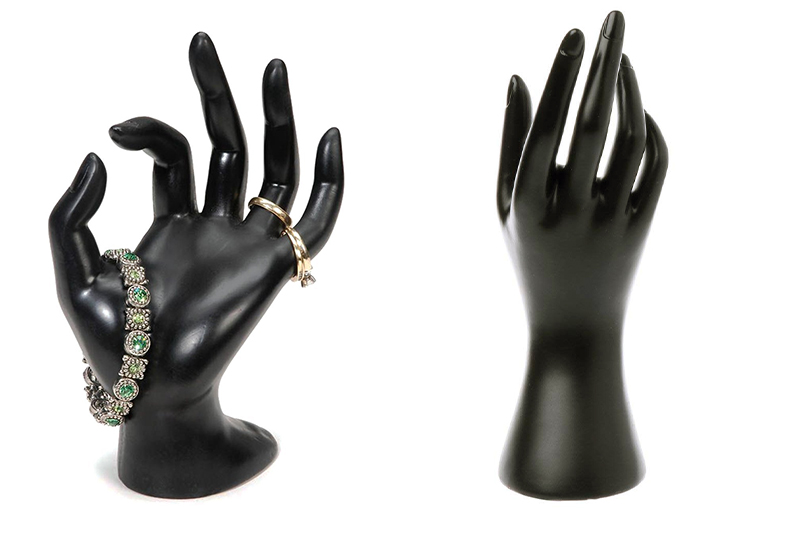
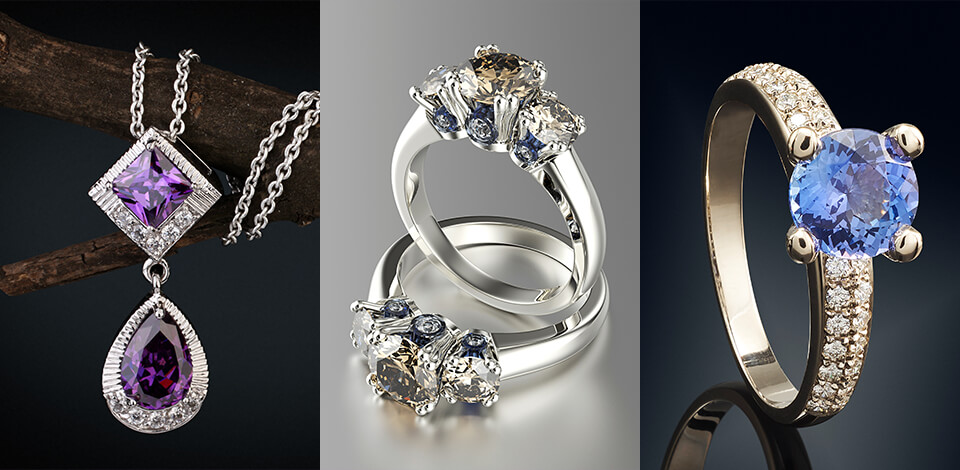
The best prop to show the ring or bracelet in the real shape. It is usually made of plastic and is designed with emulational hand shape.
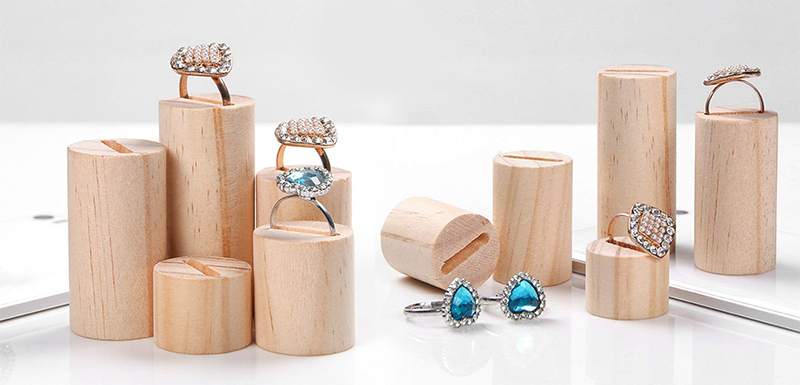
You can use any kind of holder and mounting type for taking ring photos. I even employed wax to keep the ring in place. Since eco-friendly jewelry is a popular theme right now, a set of wooden holders can be right up your alley.
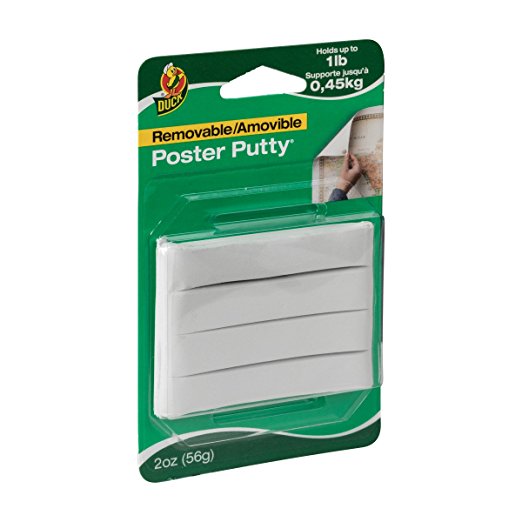
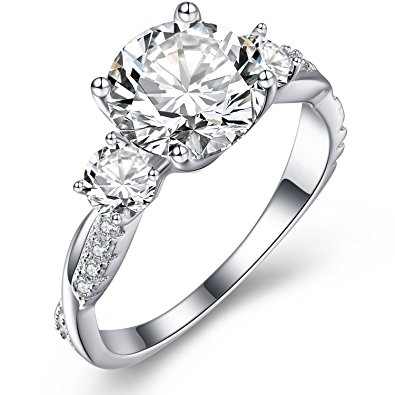
Even if you know how to photograph jewelry well, you may have never heard of this prop. You can use white putty or prop wax to get a ring or a bracelet to stand.
Put a little bit of wax on the jewelry and stick it to a surface you need. My go-to choose is white putty because it doesn’t make the surface, rings are sticky and are easily removable. Wax, on the other hand, can be reused lots of times.
If you’re just starting to work in this genre, then you can create jewelry photography props yourself by using things you have at hand or stuff you can buy for pennies at the nearest mall.
.jpg)
White background highlights the jewelry itself and allows it to be used in a catalogue for print or on a website. If you’re trying to get a pure white background, you need to use a plexiglass instead of the sheet of paper, light it from the bottom using two pieces of Styrofoam that came out of a box holding some electronic gear, and put it underneath the plexiglass. It will give us a pure white backdrop without overexposing the jewelry.
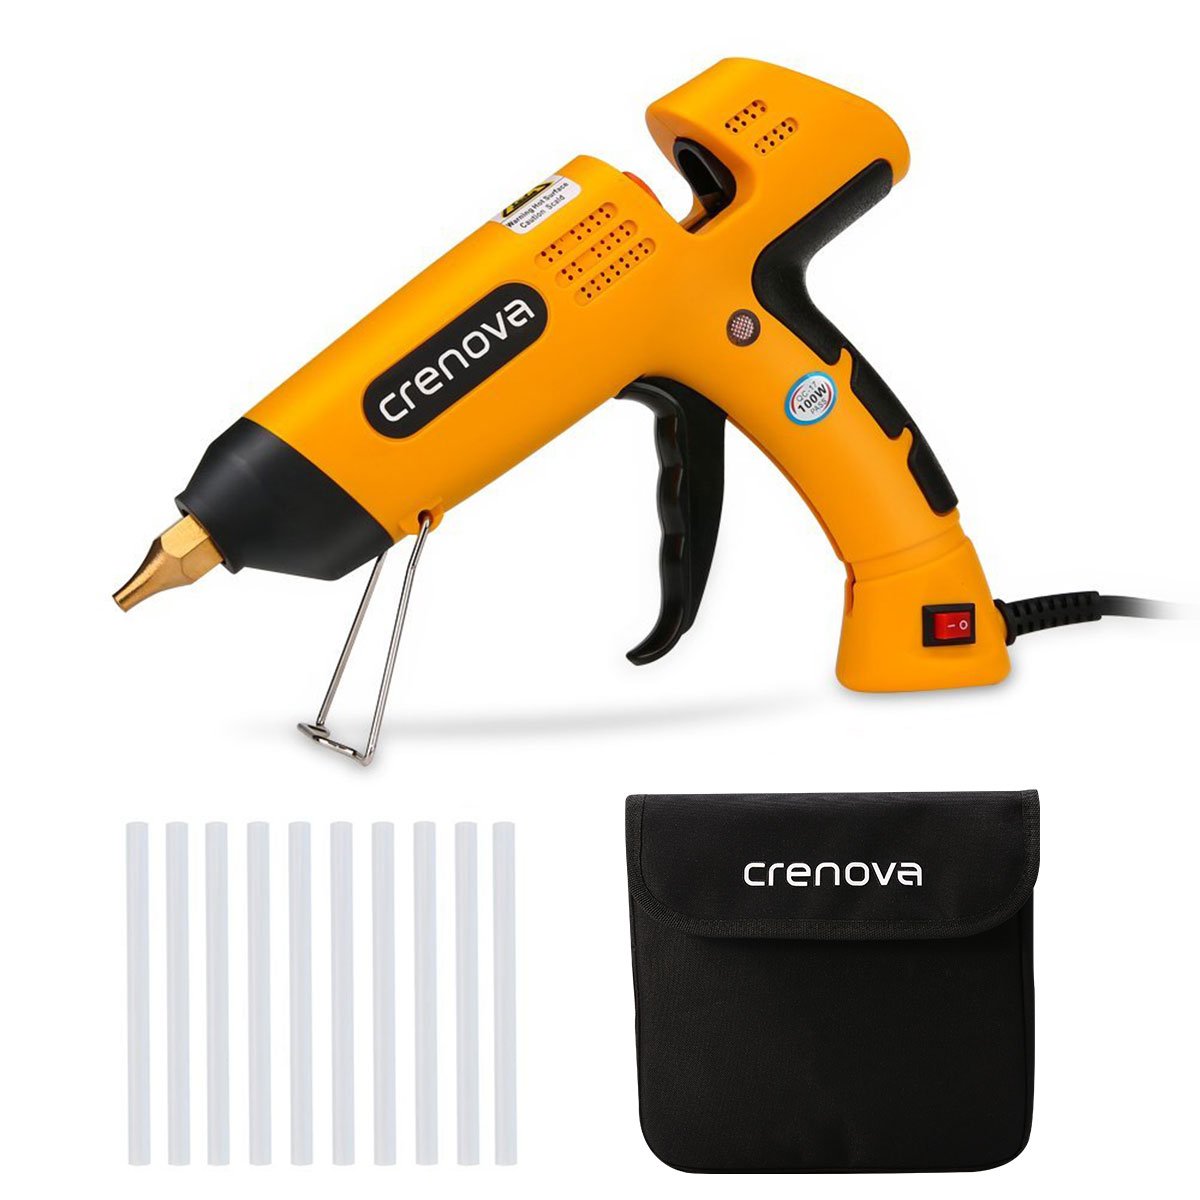
I have previously mentioned, that you can use white putty or prop wax to get the products to stick and get amazing photos from multiple angles. Glue guns and double-sided paper are also great cost-effective alternatives.
An important thing to remember when using a glue gun is that you should be careful. Control the temperature and set it to a minimum if you don’t want to spoil your product.
.jpg )
Don’t want to make or buy any stands? You need a cardboard, white paper and a tape. It’s very similar to the stands we’ve previously discussed, but it requires not much efforts to make. This cardboard is perfect for both small and long necklaces - you can easily adjust the length of the necklace by taping it at the back.
.jpg )
It’s a great technique for photographing accessories. It allows you to position the earing or necklace and support it with two strings. Freeze frame creates a great floating effect.

It’s self-evident that you’ll have to work on your images after you’ve pressed the shutter release. The majority of jewelry photography props support the item in different ways that you have to remove during editing – wax or glue on a ring, a holder underneath earrings or a necklace, a bust, etc.
You can do this by using beginner photo editors, but studying them requires a lot of time and effort. That’s why professionals approach image editing services that will make your photo worthy of a magazine cover for a reasonable price.
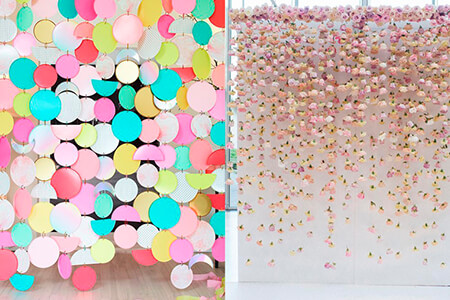
Extraordinary thinking is always a great way to attract more attention to your products in social networks. You can use a variety of unusual props and background to bring out the best features of your jewelry. With the help of these ideas, you will create stunning and eye-grabbing jewelry pictures.
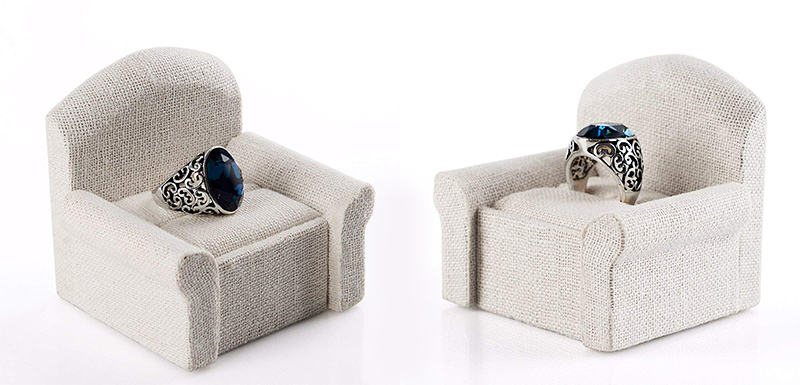
Why not to use a small and funny ring sofa organizer? This cute ring stand can melt the buyer’s heart and even make them want to purchase the ring itself!
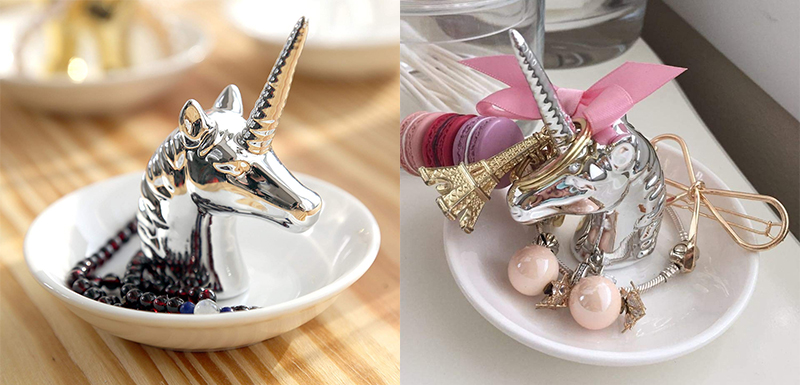
I think the best prop for your Instagram photos for young girls. You can also buy a deer, cat or giraffe.
.jpg)
Use the things that symbolize the current season for creative product photography. You can use sea-themed props to bring liveliness to your photos in summer or a cup of coffee with smoke in winter.
.jpg )
Taking creative wedding ring photos is an obligatory mission of every photographer on such a momentous occasion. Various types of flowers and fabric can do wonders for emphasizing the beauty of wedding jewelry. Simply place the items on the flowers or even inside them.
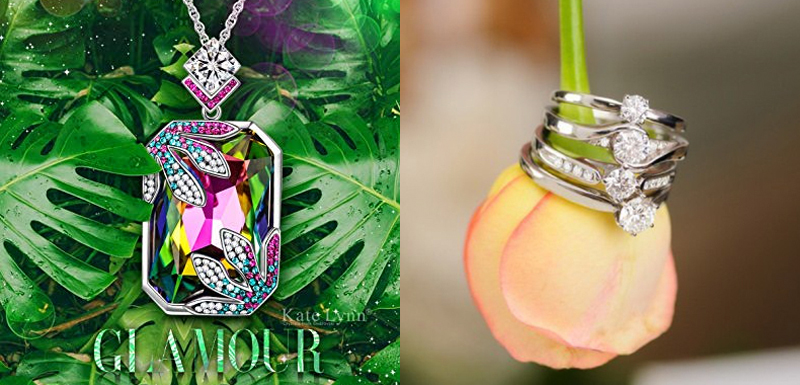
This idea is similar to the previous suggestion but encompasses a broader range of suitable props. You can use all kinds of plants and leaves that will make any jewelry item stand out.
.jpg)
Highlight bright stones by using fruit and find a creative way combine them using water drops. Oranges or lemons are highly recommended to use.
.jpg )
Why not use ice as one of your jewelry photography props? If you’re taking photos of silver jewelry in blue or white tones, then ice can be the ideal backdrop for them. You can also freeze the jewelry in the ice either completely or partially.
.jpg )
If you’re lucky to take photos of a jewelry set that was done in the same style, then you might encounter a small problem when trying to arrange all the pieces in a single shot. For earrings, you can use a thread or thin wire that you can hang all the items on.
.jpg )
Minimalism is as trendy as ever now, keep it in mind and use it to your advantage, when you are coming up with new ideas. A background that matches the tone of the jewelry can ensure the viewer won’t get distracted from the main subject of the photo.
.jpg )
I already mentioned that the eco theme is currently popular, which is why more and more weddings are themed in this style. Natural surfaces are unique and create an interesting background for your photos.
.jpg)
Jewelry is made of natural materials, which allows you to play around with connotations. Place pearl rings near oysters, diamond earrings on a large stone and try to evoke an association in the viewer.
.jpg )
If you’re involved in wedding photography, then you can evoke emotion with your ring photos by using props tied to the celebration location. You can use sea pebbles, tree branches, invitations, etc.
.jpg )
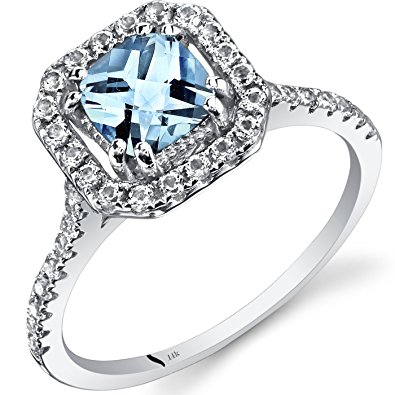
You can try emphasizing the beauty of a jewelry item by using flowers, the color of which matches the jewelry stone. As such, you can use red roses for rubies, blue Calla Lilies for sapphires, white tulips for diamonds, etc.
.jpg )
This idea can already be considered a classic. Such photos look particularly good on the pages from the Bible, as they will remind the newlyweds of their church ceremony.
.jpg )
A regular mirror, your tablet screen with a proper background, or even culinary foil can help create an eye-catching image.

You can make the process of working with images after the photoshoot easier with the help of special effects that can perform color correction, background removal, highlight the most important details in a shot, and so on in a single click.