Luminosity Masks in Photoshop: Step-by-Step Guide
When you purchase through affiliate links on our site, we may earn a commission. Here’s how it works.
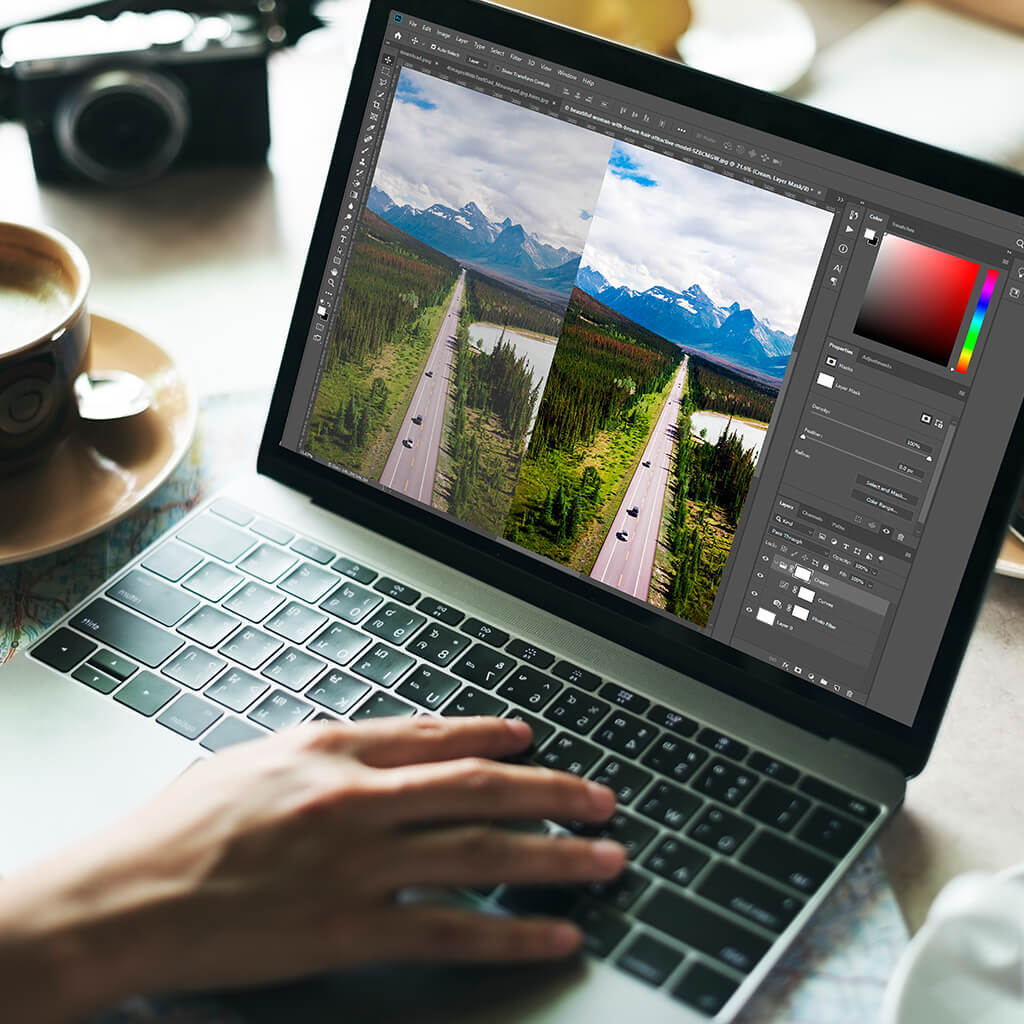
You resort to Luminosity Masks in Photoshop (selective adjustments) when you need to change only a particular area of the photo. A Luminosity Mask lets you alter color and contrast, do digital blending, dodging & burning selectively, as well as make an accurate hard line selection.
Making these Luminosity Masks can be a time-consuming and challenging process, but the effect you get is worth it. Learn how to use Luminosity Masks in Photoshop fast and easy.
Photoshop Luminosity Masks Definition
Luminosity Masks in Photoshop are selections with a tonal basis that allow you to affect only certain part of the photo. These selections are “programmed” at changing only darks, mid-tones and brights, so only these parameters are subjects to altering.
Photoshop doesn’t come with default Luminosity Masks, so you need to create them yourself by making selections according to the RGB channels.
Luminosity masking in Photoshop implies building an alpha channel of the selection, which works by analogy to Layer Masks.

Black = concealed
Grey = ascribes layers different amount of transparency based on how much grey is on the photo
White = reveals
A layer mask influences only the layer below.
Luminosity Masks in Photoshop don’t function as tools that directly influence a photo. They are more like channels through which changes are made. This refers to all sorts of adjustments (color balance, curves, various plug-ins, etc.)

In general, I mean the brightness of pixels. Every photo consists of pixels. Their number may reach million and even more. The luminosity value of a pixel ranges from 0% to 100%. The higher this value is, the brighter the picture you get.
- View more about how to mask in Photoshop.
How to Create a Luminosity Mask in Photoshop CC?
Luminosity Masks may be subdivided into 3 groups: Darks (Shadows), Midtones and Brights (Highlights). You may find several methods of how to make these selections, but I will describe the fastest options. Download Photoshop if you don’t have it, open your photo, and follow the instructions below.
1. Darks/Shadows Luminosity Mask
- Activate a Selection that Highlights the Darks

Hold Ctrl/Cmd + the RGB thumbnail (you can find it in the Channels Tab). You will now see marching ants appear around certain areas in your photo.
- Invert the Selection

Click Ctrl/Ctm + Shift + I or go to Select – Inverse to carry the action out.
- Save the Selection and Change the Name

The marching ants should be active! Save the selection as a new channel, so that you’ll be able to use it or even improve later. Click the Save selection channel icon or go to “Select – Save Selection”. Now, it is called “Alpha 1”.
Double click the name and change it to “Shadows”.
- Deactivate the Selection

Click Ctrl/Cmd + D. Done. Now you will see this layer in the Channels panel.
2. Brights/Highlights Luminosity Mask
- Activate a Selection that Highlights the Brights
Hold Ctrl/Cmd and the RGB thumbnail simultaneously. You will see the marching ants around the light parts in a picture
- Save the Selection and Change the Name

Save the selection. It is named “Alpha 1”. Rename the channel. It should be called “Highlights”.
- Deactivate the Selection

Click Ctrl/Cmd + D. That’s it. You will now see the layer appear in the Channels panel.
3. Midtones Luminosity Mask
- Make the Selection

Select the whole photo by clicking Ctrl/Cmd + A. To subtract lights click Ctrl/Cmd + Option/Alt + click on the “Brights” channel’s thumbnail. To subtract darks click Ctrl/Cmd + Option/Alt + click on the “Darks” channel’s thumbnail.
- Save Selection

Save selection. Give the channel a new name – “Midtones”.
- Done!

Luminosity masks have been created. To use them, simply hold down the Ctrl/Cmd key and click on the desired layer.
4. Refining the Selection
While mastering Luminosity Masks, at some point you will think about possible ways to refine them and get even more flexibility while tweaking certain parts of an image.
For instance, if you need to refine the Darks selection, do the following:
- Hold Ctrl/Cmd + click on the thumbnail to activate the Darks channel/mask
- With the arching ants surrounding certain parts of a shot, click Shift-Alt-Ctrl/Shift-Option-Cmd + click on the same thumbnail
- Save the new selection and change its name to “Darks 2”.

The new selection you get, namely the one called “Darks 2”, represents a narrower range of shadows. If you want to work with a very specific area of a photo, repeat the steps described in this section and create the Luminosity Mask named Darks 3/4/5, etc. The number of such channels is related to the level of precision you want to achieve.
- View more on how to blur edges in Photoshop.
How to Use Luminosity Masks in Photoshop

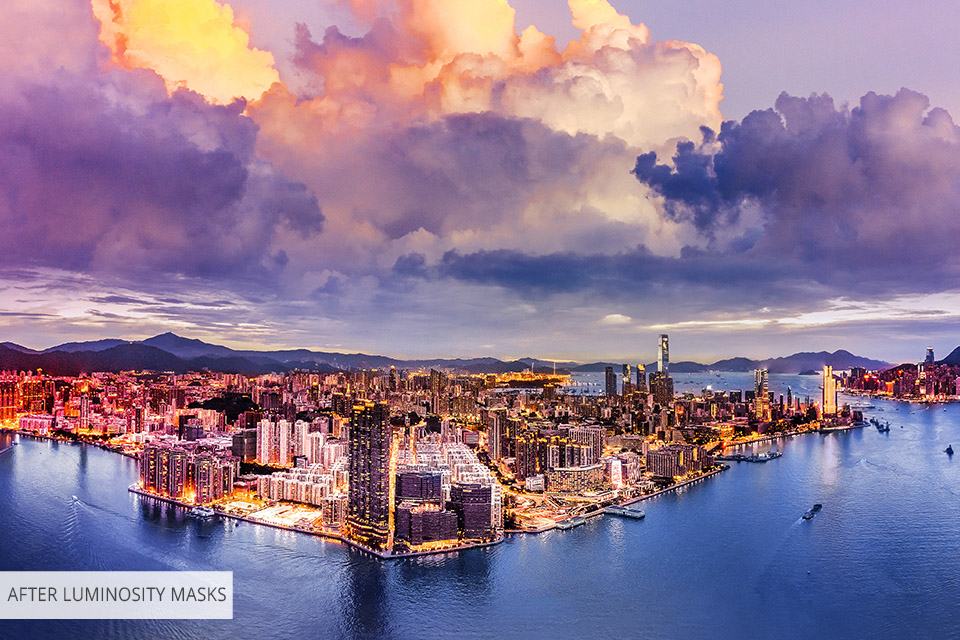
The results of using Luminosity Masks can be truly stunning. However, remember that by simply creating Masks, you don’t really change your photo. It serves as a “courier” for any adjustments applied. So, how should you use Luminosity Masks? The variants are numerous. I have enumerated the most popular methods/techniques of using these channels:
- Photo Filter
- Curves
- Blending Exposures
- Levels
- Dodging & Burning
- Hue/Saturation
- Color Balance
- and many more
Don’t be afraid to click on various masks and play around with diverse adjustments. Only in such a way you can master Luminosity Masks in Photoshop and achieve the desired result.
Lydz Leow – Luminosity Masks’ Expert
 Lydz Leow is a fashion & portrait photographer, who has also proven to be a skillful stylist, creative director, retouchers, and designer. She knows how to use Luminosity Masks in Photoshop and shared her experience with us having created this tutorial above.
She studied architecture in college and receive a Bachelor’s Degree in this field, which greatly shaped her future career. Now, Lydz Leow owns UIMGZN an aesthetic driven photomagazine. She likes traveling and working in various cities, so you can order her services in Las Vegas, Los Angeles, San Francisco, NY, and Colorado.
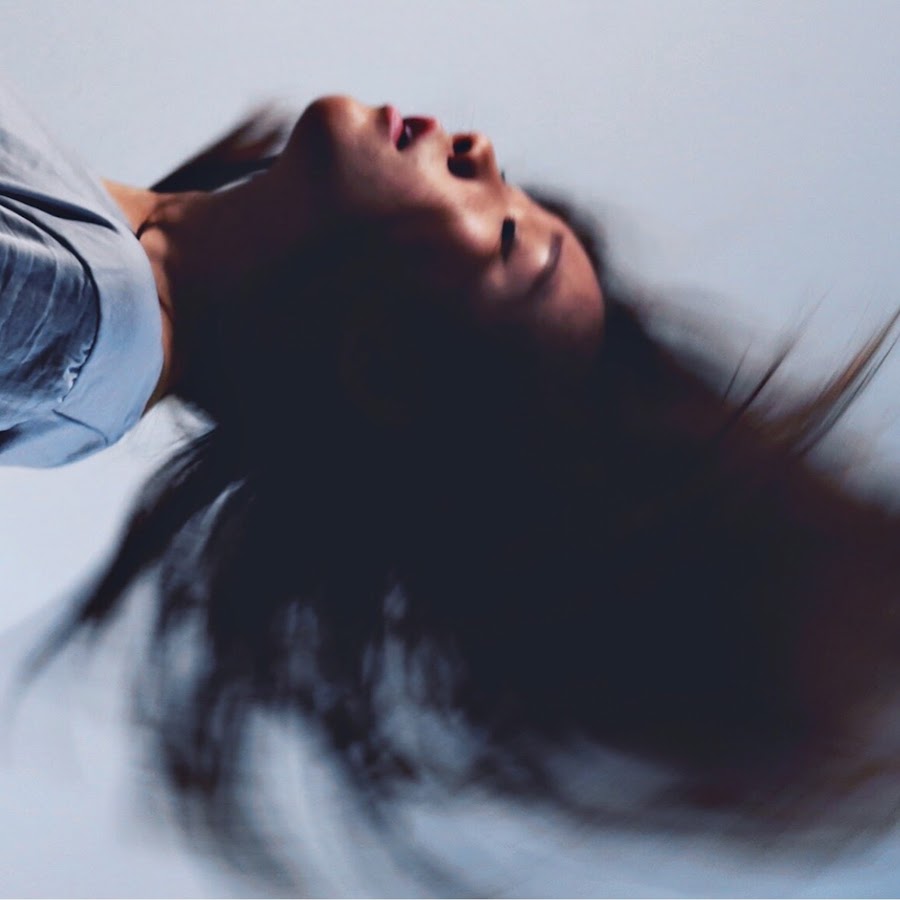
Lyds tries to show masculinity and femininity in its genuine form, adding different light patterns to the composition. She wants to highlight the delicacy of a human body and is always in search of new, interesting ideas. People like her unique approach and one-of-a-kind style.
Lyds Leow’s Gallery
 @ Lyds Leow
 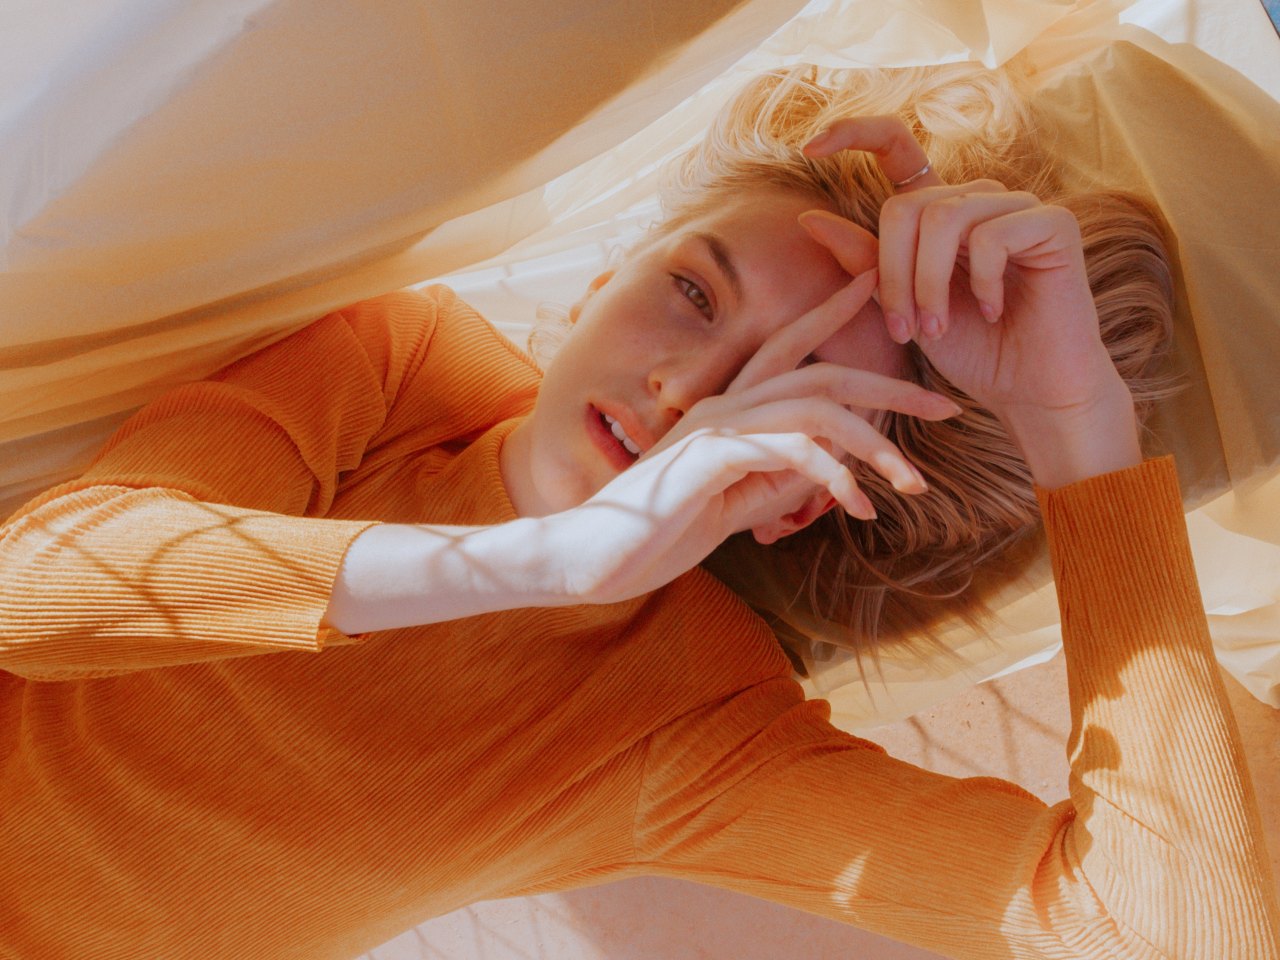 @ Lyds Leow
  @ Lyds Leow
  @ Lyds Leow
  @ Lyds Leow
  @ Lyds Leow
 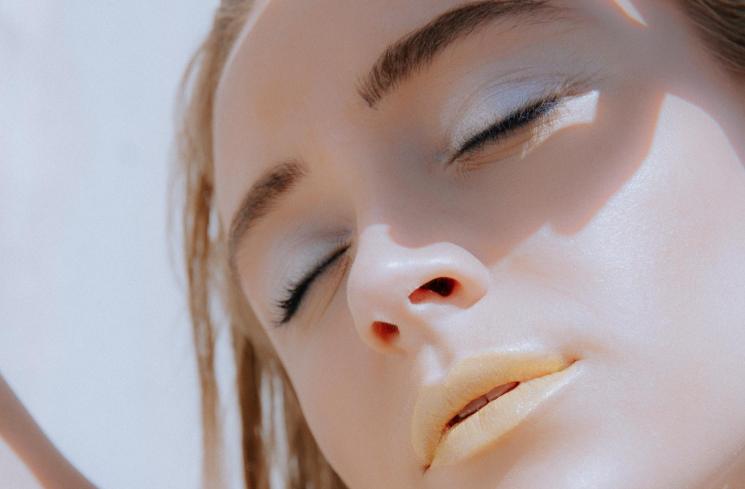 @ Lyds Leow
  @ Lyds Leow
Freebies
Don’t have time to master luminosity masks to improve your images. Use the freebies below to instantly to improve your images.
Cinematic Sky

Transform the dull sky in your photo with this densely clouded sky overlay.
Fashion
Do you have fashion shots that need brightening? Go ahead and use this free action to boost the exposure.
Have you ever wanted your photos to look like the ones from famous Instagram bloggers? This action makes it possible!
Landscape
Create breathtaking landscape photos with this action, that intensifies colors and improves white balance, as well as contrast.
Rain
Create falling rain texture in your photos to add romantic or mysterious atmosphere.


