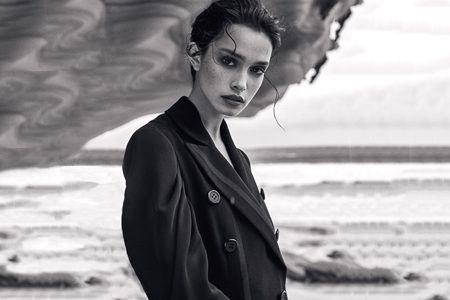
I have prepared this tutorial to describe the process of creating a realistic broken mirror effect in Photoshop with the help of brushes. I will also share useful tips on how to use adjustment layers and apply overlays. The whole process is very straightforward, so even total novices will understand it.

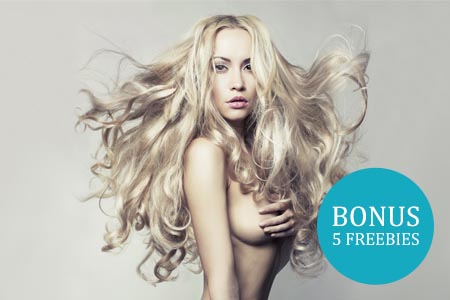
Open the original image with a model in Photoshop. Create a new empty layer by clicking on the + at the bottom of the Layers window.

Select the Brush tool and choose a small down arrow icon top drop down the window. Click the wheel icon on the right and choose Import Brushes.
If you don’t feel like learning how to create a broken effect in Photoshop, you can download overlays that mimic such an effect and apply them to your images. Following the link above, you will find lots of high-quality overlays. The most popular are fire, clouds, water splashes, dust, and more.
Pro Tip: By zooming out from time to time, you can better examine and evaluate your photo. Thus, you will see if everything looks lifelike. Besides, you may need to increase the size of a brush even more. When you think it’s enough, dab right in the center.

The main intricacy with adding a broken mirror effect Photoshop to a picture is arranging layers in such a way that “broken glass” is placed in front of a model. One of the most effective methods for doing this is to create a duplicate of the original image that will be visually different from the source file. They will barely differ, but after we create a broken mirror effect, it will become obvious they aren’t completely identical.
You need to select your image and click on the + at the bottom of the Layers window.
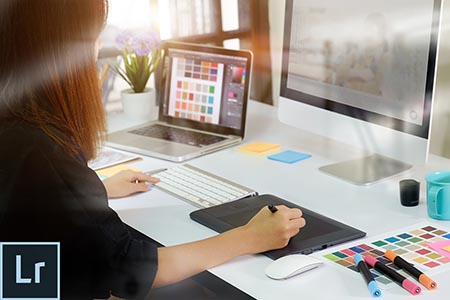
If you have a busy schedule but want to add interesting touches to your photos, address FIxThePhoto experts. They will listen attentively to your demands and do all possible to bring your ideas to life. In addition to creative photo processing, they can perform basic tweaks, including removing defects, raising sharpness, adjusting contrast, etc.

If you don’t immediately see it in the Tools panel, click on the standard Lasso Tool. The Polygonal instrument is probably hidden there. Whichever of the three lasso tools you selected, the last will appear in the Tools panel.
Pro Tip: Experienced retouchers use the Polygonal Lasso Tool to make the selection. You need to perform a series of clicking to cover the selection and double-click once you’re done.

The layer that we duplicated should be slightly moved to the area that we want to show. Next, select the area of the fragment.

Click the Add Vector Mask button at the bottom of the Layers panel. On the selected layer, there is a white mask thumbnail through which you can see everything located on that layer.

Duplicate the layer, move it, select it, and apply a mask.

Do it as many times as you want – at least for all the pieces.

After you’ve created a realistic broken mirror effect Photoshop, you can go further and apply a dust effect for a more captivating outcome.
We have a growing collection of top-notch overlays with different effects. We highly recommend you examine all the packs and download the filters that you can make good use of. If you are hesitant about whether a specific overlay will do the trick for you, look through the before and after samples.
The downloading process boils down to clicking the corresponding button. Next, you need to enter your name and email address. You will get a direct download link to an email almost immediately.

If you have a black background like the one in overlays, you can change it to Screen in the layer mode.

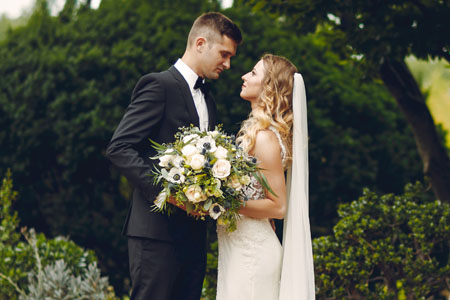
That’s the last step of this Photoshop tutorial. Now you know how to create a broken effect in Photoshop. The best part is that you can experiment with brushes and/or overlays and the effect will automatically update. Such image processing will particularly interest people engaged in portrait photography.

This collection of broken glass overlays will make your life so much easier. You can upload them to Photoshop, GIMP, PaintShop Pro, or any other program with layer support, and start beautifying pictures with original effects. All overlays are available in a PNG format and optimized for Mac and Win operating systems. You can add such a cool effect to any photo with a resolution of up to 800x533px.
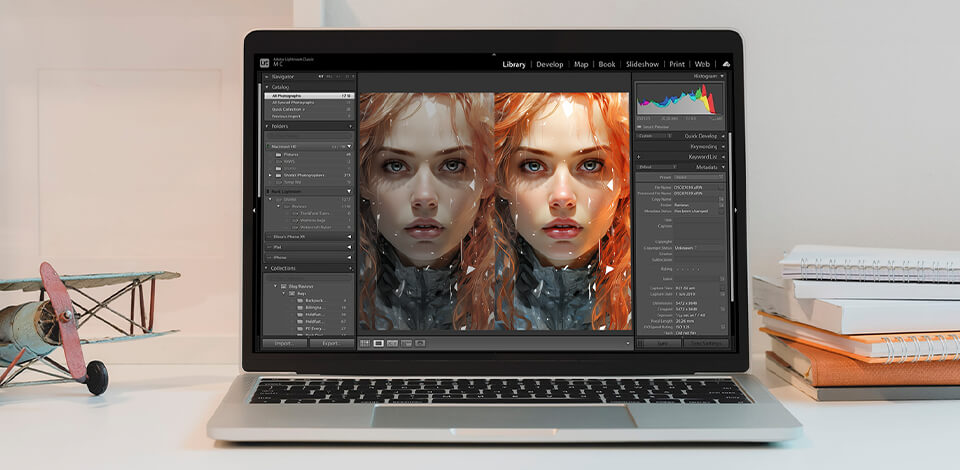
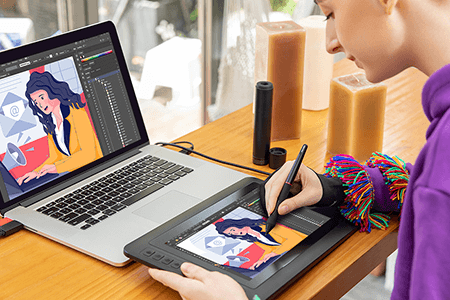
Adobe Photoshop is the top photo editing software for PC and Mac platforms. It contains lots of top-tier tools and features, allowing photographers, digital artists, animators, and graphic designers to realize their creative ideas.
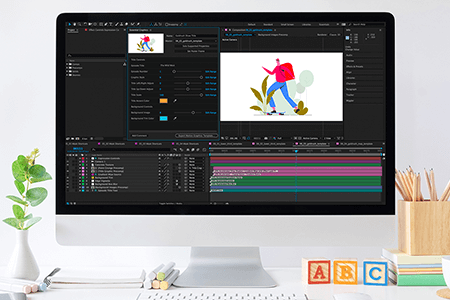
Overlays are regular image files. You can download overlays from reliable resources and arrange them in easy-to-find folders based on the effect they imitate. When you apply an overlay to a photo, you actually place a specific effect over a picture. Thus, your image is modified, acquiring a new top layer.
Brushes are located on the Tools panel. There are different brushes and they are used for performing all sorts of tasks. You need to select a specific brush and drag it across the surface to paint. You can also press B on the keyboard to activate the tool.