20 Film Photography Tips for Beginning Film Photographers
When you purchase through affiliate links on our site, we may earn a commission. Here’s how it works.
20 Film Photography Tips for Beginners
When I first started shooting film there was tons of information about film photography but there were never little tips and tricks that really helped in real-life situations. I’ve compiled a list of 20 analogue photography things you need to know when you’re first starting out to shoot film.
Tip 1. Work with Eposure

Higher exposure let you take nice and more detailed photos. In film photography vs digital photography battle, the biggest difference is exposure. With the former, it is always better to overexpose because highlights can be easily handled on film. Digital shots, however, make it impossible to recover details from highlights but easily allow to bring them out of shadows, that is why you tend to underexpose here. View more about what camera settings for portraits to set to take high quality photos.
Tip 2. Forget about Economy

It is easy to become stingy once you realize every shot you take is worth money, but that is the wrong approach. If you need to save money, you’d better become picky with the scene itself, but once you find a worthy one you can and should use the whole roll on different perspectives and frames. The biggest regrets in film photography often come when you hold yourself from hitting the button more than once.
Tip 3. Use the Same Film Type

The photography film of the same type made by different brands can differ a lot. Thus, an important matter is the consistency in film type you use to avoid too many unnecessary variables. Practicing certain camera settings or lighting options will be more efficient because you see the actual difference they make on the stable background of the same film. Make sure the chemicals and techniques you use are the same and note down all temperatures and times to be able to replicate them.
Tip 4. Composition Matters

No matter if digital or film, all images require a good composition. Even if you can set the right camera settings on your film photography camera and the object you’re shooting is great, choose the wrong angle and you’ve ruined it.
Tip 5. Find a Good Darkroom

Yes, the 1-hour photo kiosks conveniently located in supermarkets are not reputable. You are putting money in the materials and effort in the results, capturing important moments for your relatives or clients. Don’t let them be wasted because of negligence or unproficiency of those quick-to-serve places. Do your research and find which labs other film photographers go to.
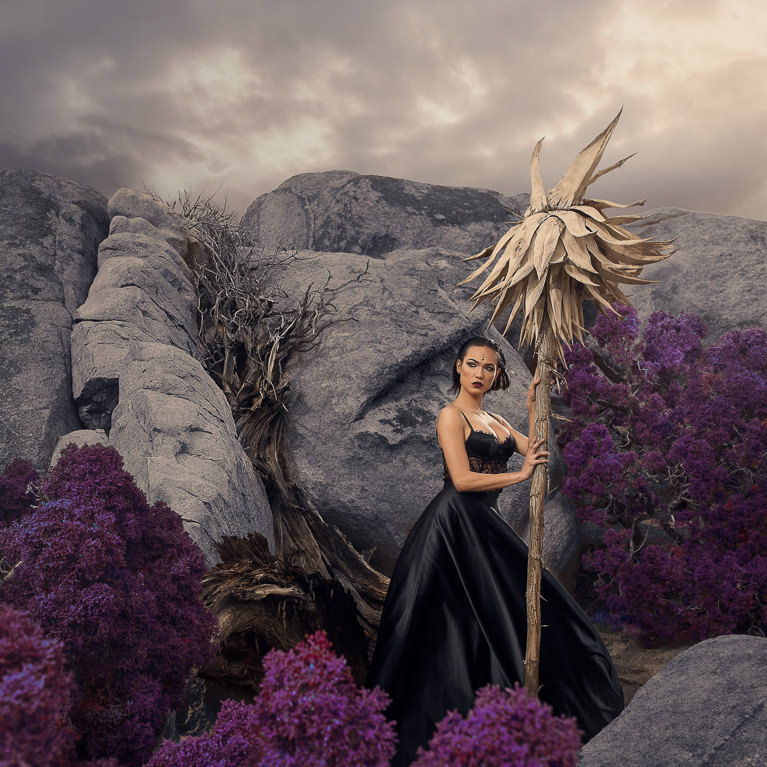
Film Effect Lightroom Presets


If you don’t have much money or time for taking photos on films, but you want to get this moody effect on your photos, use this collection of Lightroom presets and make it in several clicks.
Tip 6. Note Down Film Stocks and Settings

Don’t wait until you learn it the hard way as I did. Simply being stubborn and spending extra costs, I kept trying to memorize everything, but it never worked. Working with your digital photos, you can return to the EXIF data any time and refresh your memory, but there is nothing of the kind with the film. Create your own guide to film photography with best settings for different film types and environment or see what settings other portrait photographers use.
Tip 7. Decide Is It Worth It
I’m often asked “What is the difference between film and digital photography?”, and, apart from the obvious, I tell people about my own reasons (that you see below) to prefer film.
Film Photography is More Affordable

From the time cheap DSLRs appeared on the market, the price of a high-level film photography camera fell. The same goes to lenses: the ones that don’t have an autofocus and can’t be fitted in a modern camera lost their value moneywise, but not the quality. My absolute favorite is a cheap 50mm f/1.7 lens that I attach to my Minolta with a bayonet mount. Another good thing about high-quality old lenses without autofocus is their durability, as there are fewer elements that can break.
An additional advantage of film photography is that you can use any full-frame lenses to the highest of their abilities.
Higher Quality

The sensor of your digital camera is an imitation of the roll of film used previously, but a much more expensive imitation that eats away quality. The sensor can’t give more than the programmed amount of pixels, while the film roll depends on the scanning mechanism itself, which gives higher quality. Then you can always scan the analog photos when they are developed in the lab.
- Would you like to impress your client with eye-catching outdoor portraits? Want to find a special approach to each model? Then our outdoor portrait photography tips may become a great help. Try and see what suits your style.
Natural Colors

- Get professional photo color correction services for about $0.20 per image.
The limitations of digital camera sensors and film are different. The latter is capable of soaking up all the natural colors. Besides, while taking analogue photos, you can forget about white balance that often messes the digital ones.
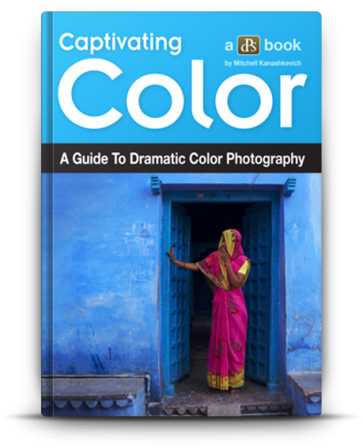
Recommended book:
Captivating Color
In any kind of photo, regardless of whether this photo is analog or digital, color is very important. Use the tips from this book to achieve fabulous results in color photography.
Tip 8. Pick the Best Film Camera

As with digital cameras, everything depends on your budget, Look through my list of recommended film cameras or you may purchase a vintage camera to take beautiful photos.
Recommended:
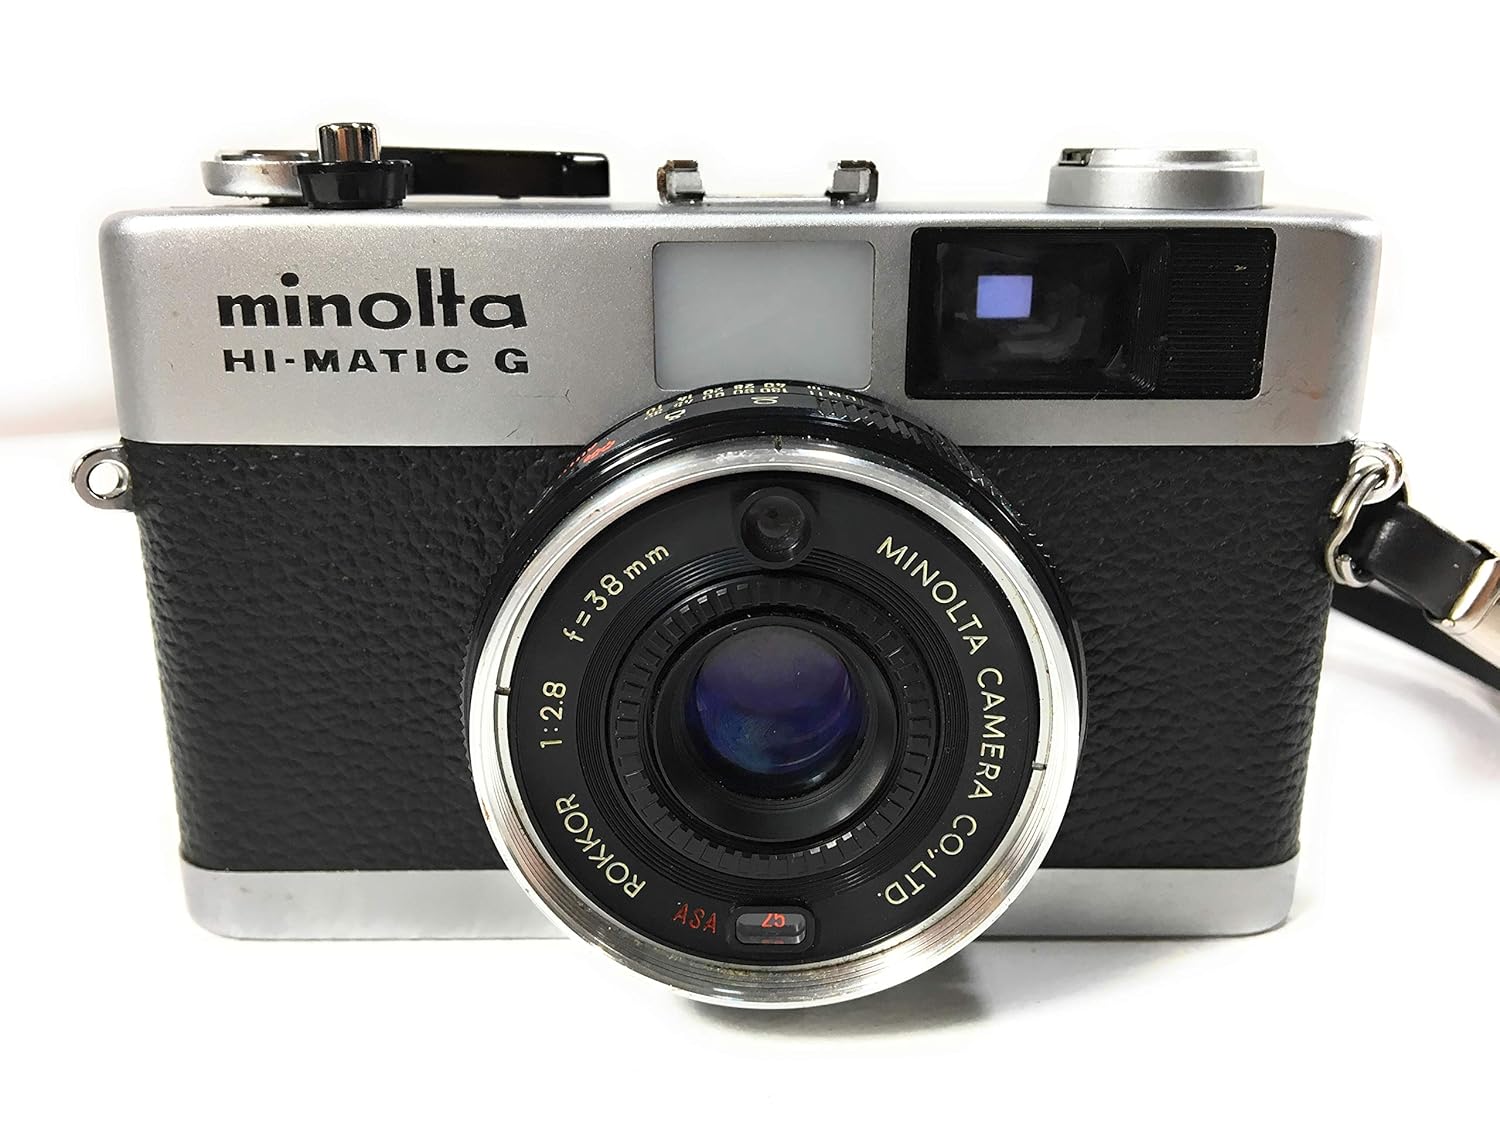
Vintage Minolta Hi-Matic G Camera
This is just the best 35mm film camera for beginners. It makes the whole process much easier and almost automated. Unlike bulky DSLRs that have different puzzling dials, this camera is a high-quality point-and-shoot device.
Tip 9. Use Light Meter

Do you know that plenty of cinema cameras that have been built towards the end of the 20th сentury had fantastic meters? Well-known enthusiast SLRs like Canon EOS 5 or Nikon F100 featured metering that will look impressive even these days on DSLR devices. As a result, photographers got an astonishing result while shooting exposed pictures. There are still people who are fond of taking pictures on Leica rangefinder or a Lubitel. However, the most convenient and easiest way is investing in a handheld light meter.
Recommended:
URCERI Light Meter
Measures luminosity from 0 to 200,000 Lux and ambient temperature. Highly recommended to take well exposed photos taken by film cameras.

Tip 10. Use a Suitable Film
The lower ISO (50-200) are best outside on sunny days and the higher ISO (400 up) are better on overcast days or indoors. 400 is also great for learning film processing because the grain is easier to inspect under the loupe when you are selecting negatives to print.
Recommended:
Kodak 200 color film
If you are just getting started, this is exactly the sort of thing you need. Color plus will become your favorite day to day color film giving rich colors esp. day lights.

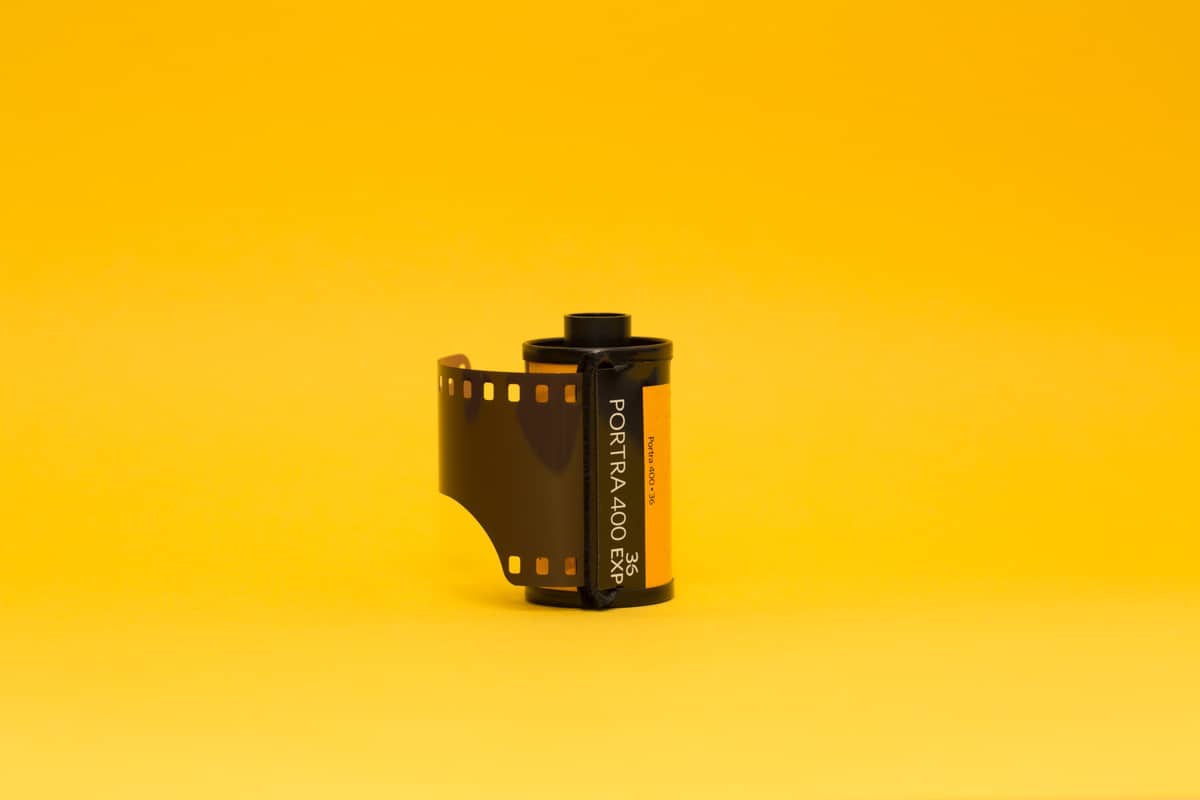
Tip 11. Find the Best ISO for your Shots

Photography film can be of different sensitivity to light. In other words, the higher the ISO number, the quicker a film is and less light is necessary for shooting. So, if you are specialized in sports photography or have to take shots in dim light, then choose films of ISO 400, 800 or higher.
Recommended:
Photo Editing 101-301
For those who want to master a variety of photo editing techniques, I recommend watching this Photo Editing Tutorial by PHLEARN. This is the most convenient guide that will help to understand all the details from the moment of shooting to the last stages of image retouching.
Tip 12. Remember about Sunny 16 Rule

The Sunny f16 rule is one of film photography basics to keep in mind. According to it, your shutter speed is the inverse of ISO value at an aperture of f/16 on bright, sunny days. For example, shutter speed should be 1/100 seconds at f/16 and ISO 100. Agree that it is so easy to remember.
Tip 13. Mind Aperture Settings

The wider the aperture or the larger the opening, the more light comes into your lens. Conversely, the narrower the aperture or the smaller the opening, the less light there is. Agree that it is not a great idea to narrow the aperture and get less light.
Tip 14. Push Film to Get Amazing Shots

Every guide to film photography states that pushing and pulling film is a good way to up- and down- rating it to a lower or higher ISO. It may take place either during the printing or shooting stage. To be more clear, you let the camera know that the film has a higher ISO through its pushing or up-rating. It helps a lot to get correct exposure thanks a quicker film speed of light meter. Thanks to it, shooting in poor lightning won't be a problem. Pulling works vice versa. You tell the device about less sensitivity to the light than it is, as a result, exposing the film to more light. If that seems too confusing, don’t give up. Mastering film photography and videography takes time and reliable resources. For instance, you can check out FilmLocal courses and learn from the best.
- Want to master backlit photography, but have no idea what to start with? We have prepared 20 comprehensive backlit portrait tips on proper camera settings, perfect shooting angles, locations and more. Go from theory to practice!
Tip 15. If the Film Has Expired, Don’t Throw it out

Many shooters choose expired film for analogue photos. It has been a very popular trend for a couple of years. The main reason for such recognition is received color shifts. As a result, photographers get pictures with relentless, gradual damage due to the effects of heat and background radiation. Do you want to extend a film life? Then simply put it into the fridge or even the freezer. This will save its life for decades.
By the way, the color shifts add some creative filter-like tints as well as color tones. You can look at Instagram shots to understand the idea better as they are very similar. Finally, every type of film will present a different color trick. So, don’t hesitate, start experimenting and enjoy incredible results.
Tip 16. Use Different Paper

Film photography starts as a negative. To be more clear, it is the reversion of a recorded scene. Printing from an enlarger makes it inverted again. A negative produces a positive print. If you want to try something unusual, then take a positive paper into consideration. Using it, you will be able to capture a scene as it is, where you omit increasing the size of a shot. It will be a great point in case you have a pinhole or large format device.
Tip 17. Experiment with Double Exposures
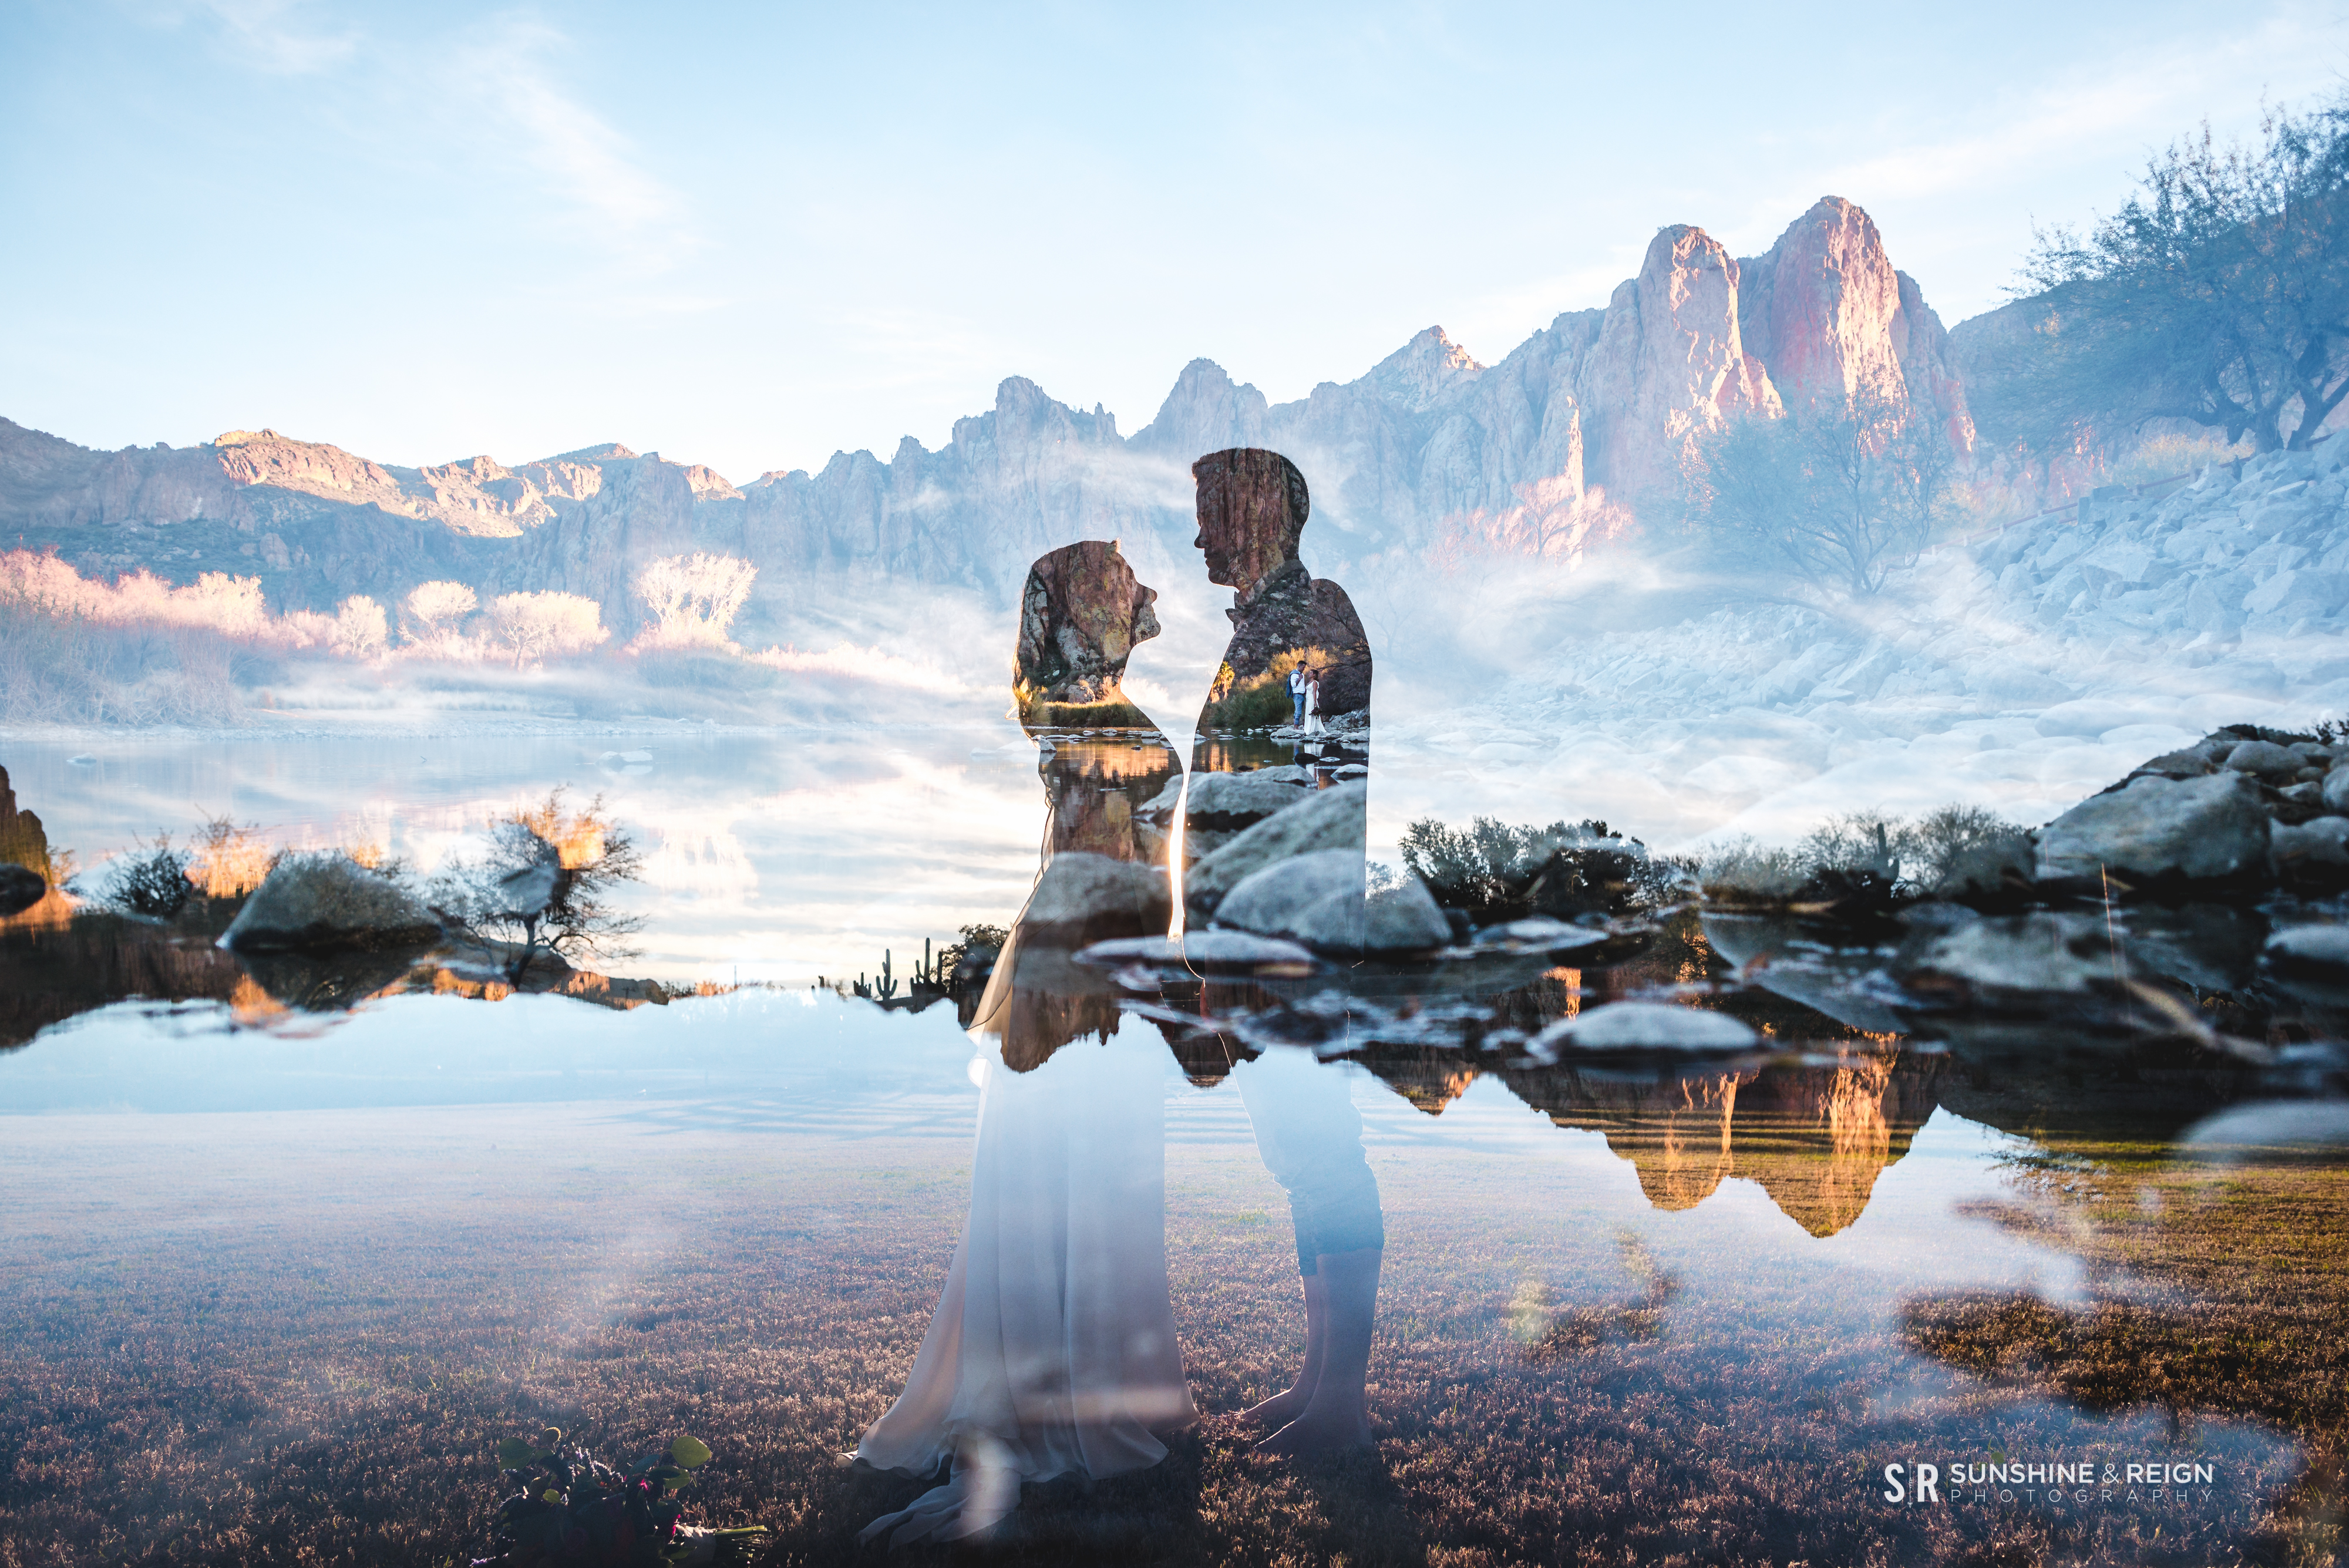
Film camera photography also deals with double exposure. It opens amazing opportunities for the shooters as layers two pictures on top of each other. Mind that this may occur during the shooting process, developing or the printing stage. By the way, there are devices which have a built-in option for creating several exposures. Mamiya C330 TLR (twin lens reflex) is a popular representative of such category of cameras. Note that the device doesn’t roll the film onto another negative.
Tip 18. Digitalize Film with a Scanner

It is not a big surprise that even lovers of analog photography would like to digitalize received negatives. There are several reasons for it. First of all, a shooter can edit the photo in Lightroom or other programs. It is a great way to experiment with layers and available settings. Next reason is an opportunity to share images in social networks. So use a scanner if you want to do this. So use a slide scanner if you want to do this.
Tip 19. Select a Good Scanner for Digitalization
Professional film scanners are really expensive. So don’t waste time if you don’t have many negatives. Remember, there are lots of film photography for beginners services which are ready to do it instead of you. However, it may also be a problem in case you have specific requirements. But don’t get upset as you can perform scanning yourself. Some film scanners, for instance, specialized apps, would definitely impress you.
Recommended:
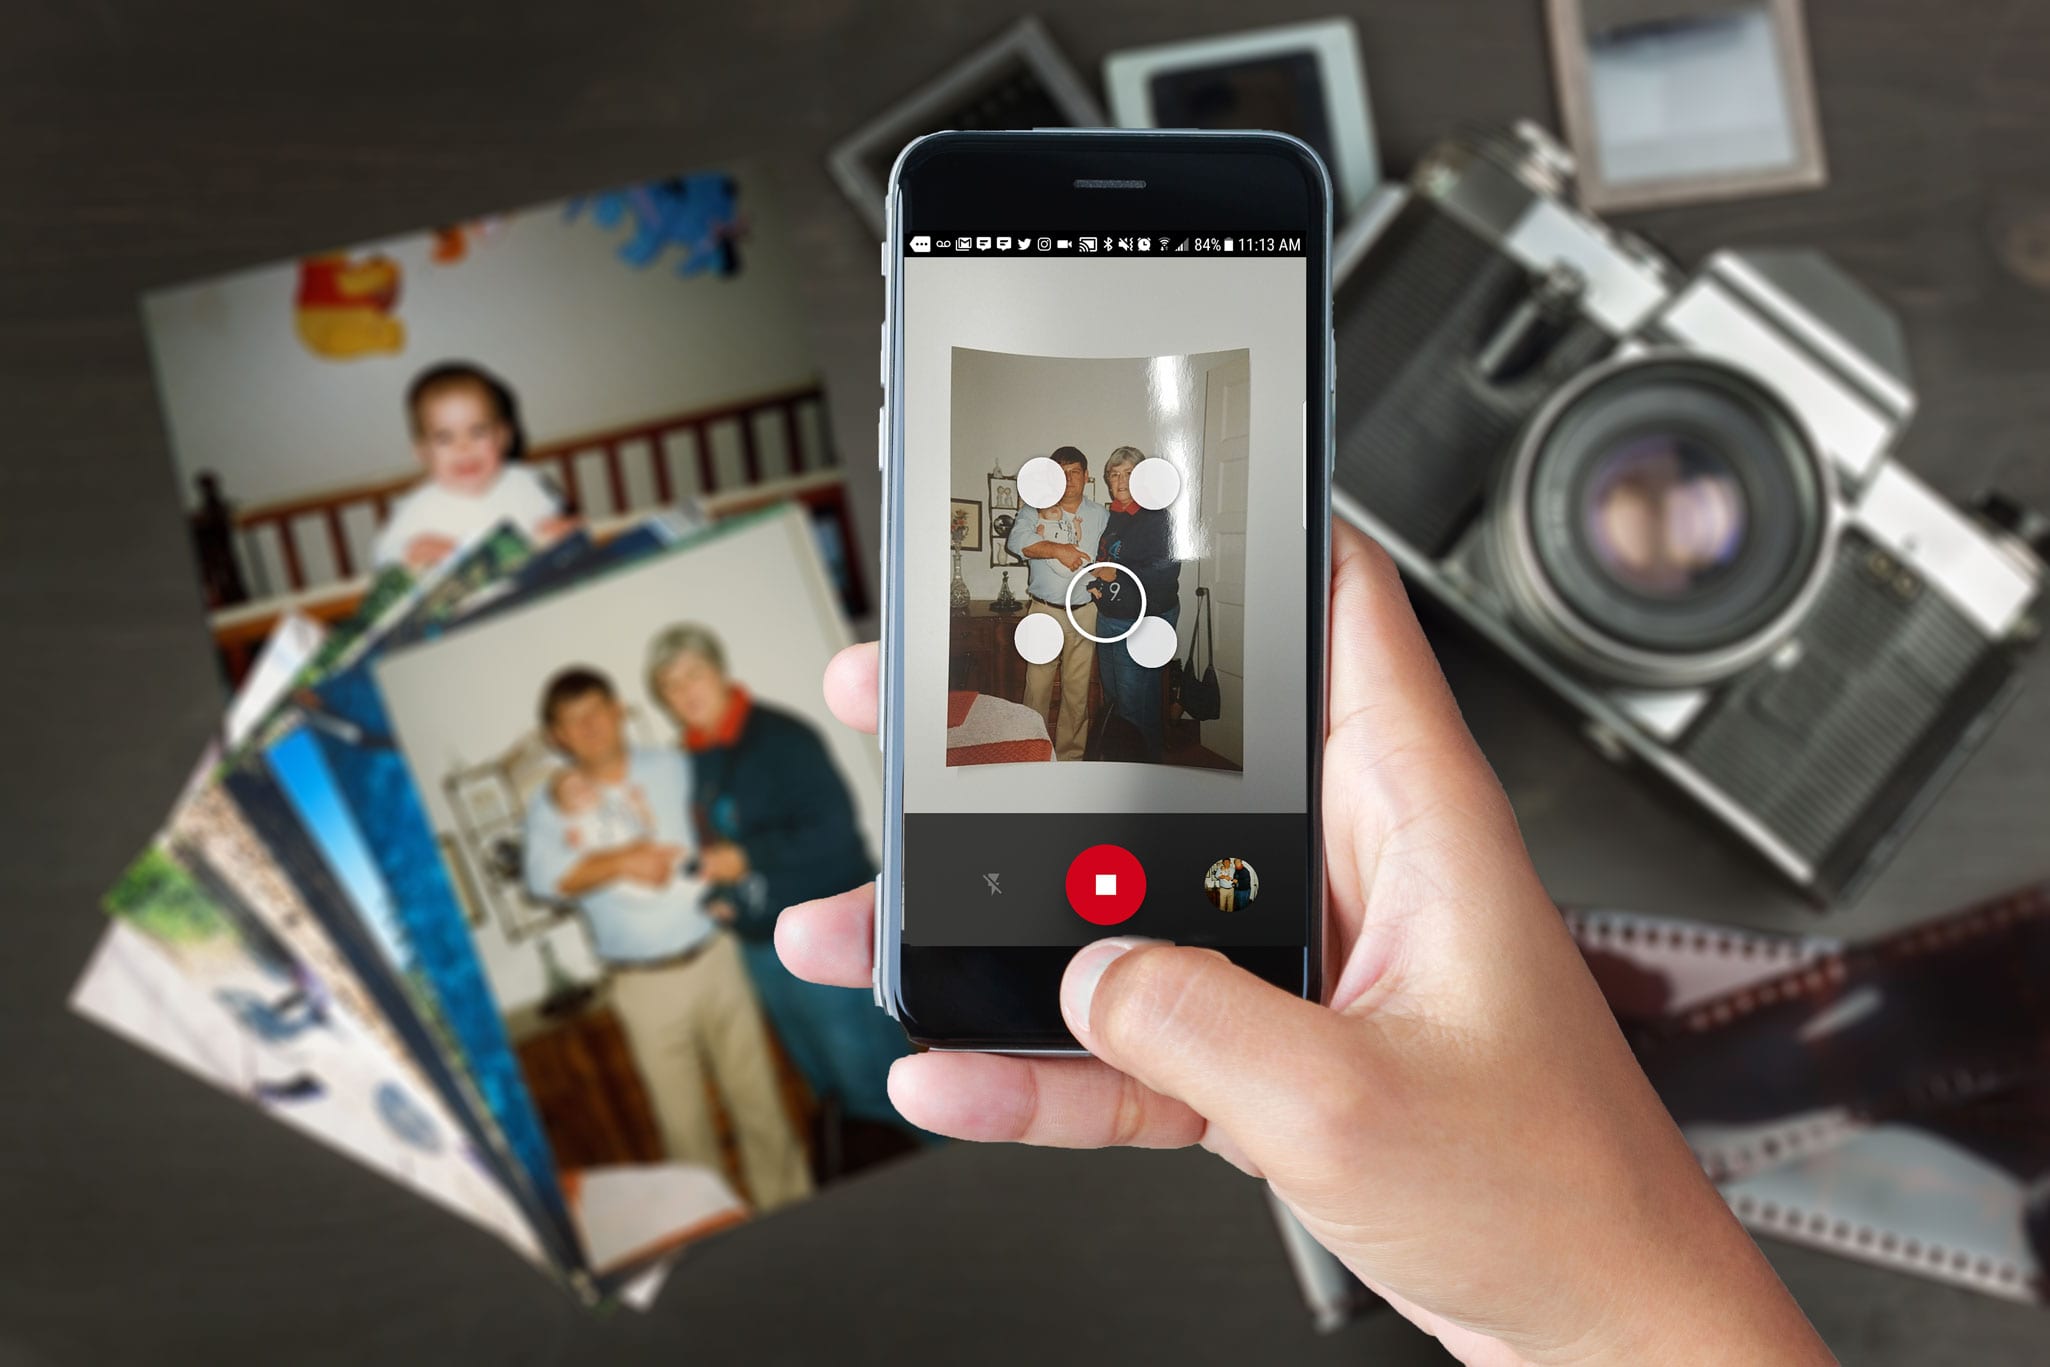
PhotoScan
PhotoScan is a new scanner application from Google Photos. It allows scanning and saving favorite printed pictures via a phone's camera.


A film flatbed scanner is also a fantastic option for both amateurs and professionals. It is very popular due to the user-friendliness and affordable price. There are several famous models such as Epson's V600 (approximately $180) and V800 (less than $700), or Canon's CanoScan 9000F. Choose any of them in order to publish your analog photos on the Internet.
Tip 20. Use Presets for Achieving Film Look
Do you want to get a film effect for one image or a whole photoshoot? Then do not hurry to spend money on expensive equipment. Use these free filters for creating the effect of 35mm film photography and other types as well.
Looks Like Film Preset #1 "Leica"


This preset improves white balance and enhances contrast. It also adds bright and deep colors to your film photography. Choose the given filter if you need to correct a skin tone and make it more natural. The preset makes an accent on the lines’ sharpness as well as fills the shot with enhanced shadows. This preset is a great choice no matter what photography genre you are specialized in. By the way, it is equally good for outdoor and indoor pictures.
Lr Looks Like Film Preset "Film"


Do you want to make the picture look softer? Then this preset is what you really need. The filter makes the white color more natural as well as corrects a skin tone. This tool illuminates dark places and adds warm colors to the overall photo. So feel free to use it for film photography taken both in artificial and poor lighting.
Lightroom Preset Free "Kodak Gold 100"


It is a universal filter which adds soft and sunny colors with a film effect. The preset improves white balance and contributes to the warmth of dim photos. Choose it if you need to edit images taken in soft natural light for a film photography magazine, for instance.
Cinematic Action Photoshop "Contrast Green"


It is not a secret that even famous film photographers face certain difficulties during shooting outside. Direct sunlight is one of them because it affects the image and ruins colors.
This action Photoshop VSCO will help get natural green shade in your film photography. Using it, the green objects will be vibrant and natural white.
Cinematic Tone Action Photoshop #4 "Contrast"


Experimental film photography techniques include this action. It allows changing a tonal range of image and accenting shadows. Keep dimension in mind to make the objects visible in case the colors look too flat. Moreover, the given action helps adjust the contrast level as you like.
There are some pros and cons of each type if you compare film photography vs digital photography. It’s wonderful when a shooter realizes the differences and he or she can benefit from this knowledge. Don’t be afraid to be mistaken, as only in this way your photos become better each time.


