25 Studio Photography Tips & Ideas for Amateurs
When you purchase through affiliate links on our site, we may earn a commission. Here’s how it works.

Top 25 Studio Photography Tips
To achieve good studio photos, you need to buy certain equipment, learn the lighting techniques, necessary camera settings and nice poses to help your models out while shooting. If you want to become a professional in studio photography, the following 25 tips will come in handy.
1. Get Inspired by the Best Studio Photography Photos
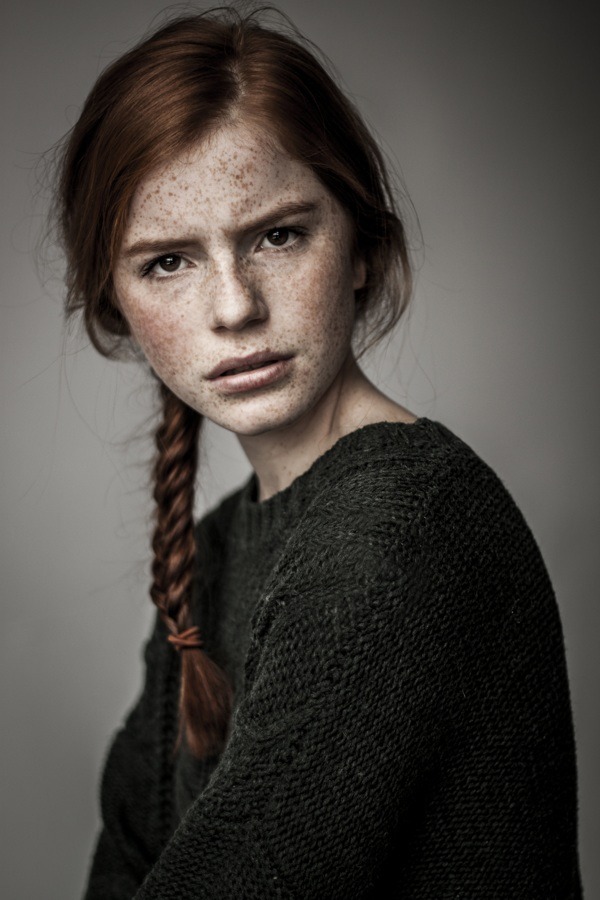


Many people aren’t satisfied with their photos. They think that their pictures are boring, and the poses aren’t comfortable for them. Looking at the pictures above, you will be able to feel the emotions of a person and maybe even understand the story of this photo. Personality is the most important thing in a portrait for both a viewer and a person in front of the camera.
2. Use a Qualitative Lens
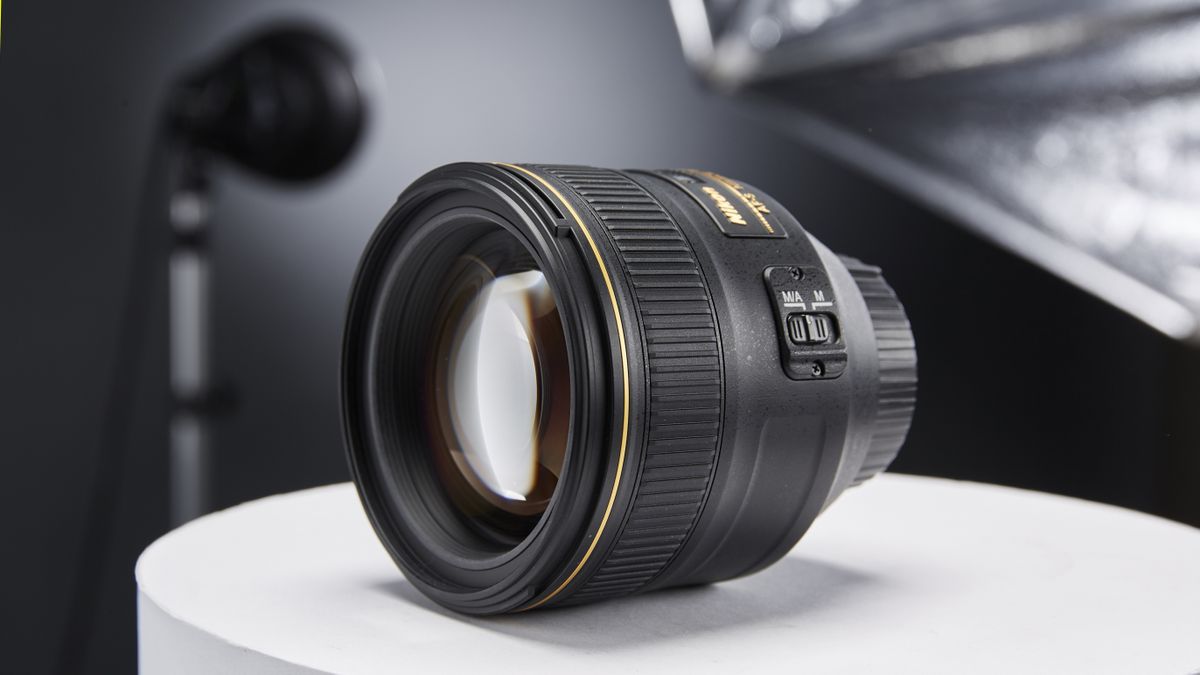
A lens is more important for a successful shot than the distance you are shooting from. That’s why in order to get qualitative portraits at the studio, first of all, you need to get a good lens. Of course, with a 35mm lens, you will be able to shoot the full scene without the necessity to stand far away, but it also gives the photo a stretching effect. It is called distortion. It can be problematic only if you use a wide-angle lens.
If you take photos using a short, telephoto lens, such as an 85mm prime lens, you will not have this effect. A telephoto lens will not only prevent you from distortions, but it might also create a softer focus. In this way, all the viewer’s attention will be on the person in the photo and the details of the picture will not be distracting.
- Learn about the best lens for portraits.
3. Use Different Types of Lighting

One of the most important things in studio photography is the right distribution of light. Depending on the result you want to achieve, use different types of lighting. For example, Rim Lighting is a great option for a dramatic portrait. Butterfly Lighting will create a special effect of gently falling light.
4. Work with Zoom

I recommend you to ‘zoom with your feet’ as the next tip for studio photography is to shoot with a prime lens. Such a lens is more qualitative than a zoom one. By making yourself move around or ‘zoom with your feet’, you will be able to find nice new angles and try other ways of taking your photos.
5. Work with Single Point Focus
Every photographer knows that focus is essential for achieving a successful portrait. An unfocused picture is something you won’t be able to fix during photo editing. That’s why it’s very important to set the focus correctly. Luckily, it’s not difficult to do – simply switch to Single Point Focus (if you haven’t done it yet!)
While the automatic coordinate system chooses itself where your camera will focus, Single Point Focus will allow you to do it yourself. You may want to focus on the eyes, a slight imperfection or lips of your model, and this will fully change the mood of your photo. Make sure you have everything under control and move on to Single Point Focus.
6. RAW Format Is Better for Post Production

JPEG photos will probably look better directly out of the camera, but they will be more difficult to edit. This happens because a camera has the color of each pixel automatically determined.
As for a RAW image, it isn’t compressed, which means that it will be more detailed. You can work with details and adjust colors, contrast, tones, exposure and make a photo more or less saturated.
7. Work with Reflectors

Reflectors are essential for studio photography. With their help, you will be able to make shadows lighter or reflect a slightly colored light on a person in the frame. You can find reflectors in any shape, size (for instance, 5-in-1 or 7-in-1) and colors. In addition to that, with reflectors, you can use the daylight to the fullest if you don’t want to set up additional lighting.
- Select the best reflector board.
8. Set the Background at 90 Degrees

With such an angle, you will achieve more interesting lighting as it will come just from one side. If you locate your model in such a way that a far side of his/her face is unlit, you might get the Rembrandt style or low-key portrait lighting.
9. Place a Reflector or Light Opposite the Window

Like in a painted portrait, reflected light is a nice detail at the edge of the unlit side of the face. Using a silver reflector, you can have a nice and strong light, which is better than the one from a white reflector. As for gold reflectors, in my opinion, they can give the skin too much warmth. So I prefer using the silver one and add warmth at the picture post-production stage.
You don’t have to place the reflector very close to your model in order to have a better effect. In case you don’t have an assistant to hold it for you, use a free-standing reflector arm where you attach your reflector. In this way, it will be easy for you to place it however you want.
- Read these self portrait photography tips.
10. Use Window Light

Window light comes into a room through the window. Shooting with this type of light has its advantages and disadvantages. However, if a window is located at a perfect place in the room and the light is used correctly, you will be able to achieve great studio pictures.
11. Adjust Your Exposure
Earlier, for studio photography lighting setup, photographers had to use light meters and complex calculations to determine the ideal place for the lights. Now, with all the modern digital technologies, it’s easier to do.
If you use the histogram of your camera and view photos in the playback mode, you can have a good understanding of your exposure (if a model is motionless).
If you want to speed up your workflow, use tape and place it on the floor where you want to make your model stand after you have determined the ideal exposure and light.
- Read about camera settings for portraits.
12. Take Studio Photos in Manual Mode

Using manual mode, you will be able to have more control over your photo and adjust it. For such photos, I prefer to set the shutter speed to about 1/160sec and aperture to f/8 as a reference point.
13. Make Natural Light Diffused

Even if you have a window light coming at the angle, it can be a little harsh anyway. You can make this light softer if you diffuse it with white curtains or just some fabric. In my case, the bottom part of the windows is frosted, which makes sunlight ideally diffused. Next, I cover top the part of the window with a diffusing fabric to make light more gentle.
14. Try a Modeling Lamp

All flashes for the studio come with a modeling lamp, which helps create the composition of a future photo. If you switch it on, you will see the direction of the shadows, reflections that you don’t want to have, etc. After you’ve grasped how everything works, switch the modeling lamp of. As the bulb that actually produces lighting is called a flash tube.
- Check out other details about studio lighting kits.
15. Play with Shadows

The shadow length and intensity depend on the power of the light source, the distance to a person whom you are shooting and the light that can be direct and indirect. It works just like your shadow when you are outdoors. When it’s sunny outside, it will be long and sharp. When the weather is cloudy, you almost won’t be able to see it.
It happens because the clouds have the same influence on the sunlight as a diffuser on the flash in the studio. The light around the person in the frame will be even and bounce.
- Check out these shadow photography tips.
16. Check Shutter Speed

Are you going to shoot holding the camera in hands? Then make sure that shutter speed value is set correctly to avoid possible shake. In case you have some doubts, apply the rule of thumb. It states that shutter speed should not be slower than the lens’ focal length. For instance, at least 1/60 is required for a 50 mm lens.
As for studio flash photography, decide whether you want the ambient light to produce a strong effect. In case you’d like to have both flash and ambient light in the final picture, set the shutter speed slower than the synchronization one (generally 1/250) and “drag” it. Such setting of a shutter speed allows mixing the flash and ambient lighting. If only the flash is wanted, set shutter speed closer to the synchronization speed of the flash.
17. Set a Proper Aperture and ISO

Before the implementation of studio photography ideas, set all settings from scratch. In case you use the lens longer than 85mm and don’t want to achieve the slimmest depth of field, then try f/5.6. At this value, lenses are the sharpest (or at f/8). Besides, you need to get sharp focus from the model’s nose back to the ears.
As for commercial portraits, give preference to strobe lighting. In this case, you will be able to use the full film speed range (ISO). To diminish noise and achieve the top quality of the picture, choose the possible lowest ISO.
18. Regulate White Balance

White balance is also the most discussed issue in every studio photography tutorial. But, I’d better remind you that umbrellas, snoots, softboxes and other studio light modifiers influence the color output of strobes. That’s why you should regulate white balance before shooting. In this way, you will make sure that the color representation will be accurate.
19. Approach Retouching Services

At present time, most shooters entrust editing of portraits to reliable outsource companies like FixThePhoto. Such services always deliver studio photos strictly on time. Moreover, you can order image post-production in your particular style.
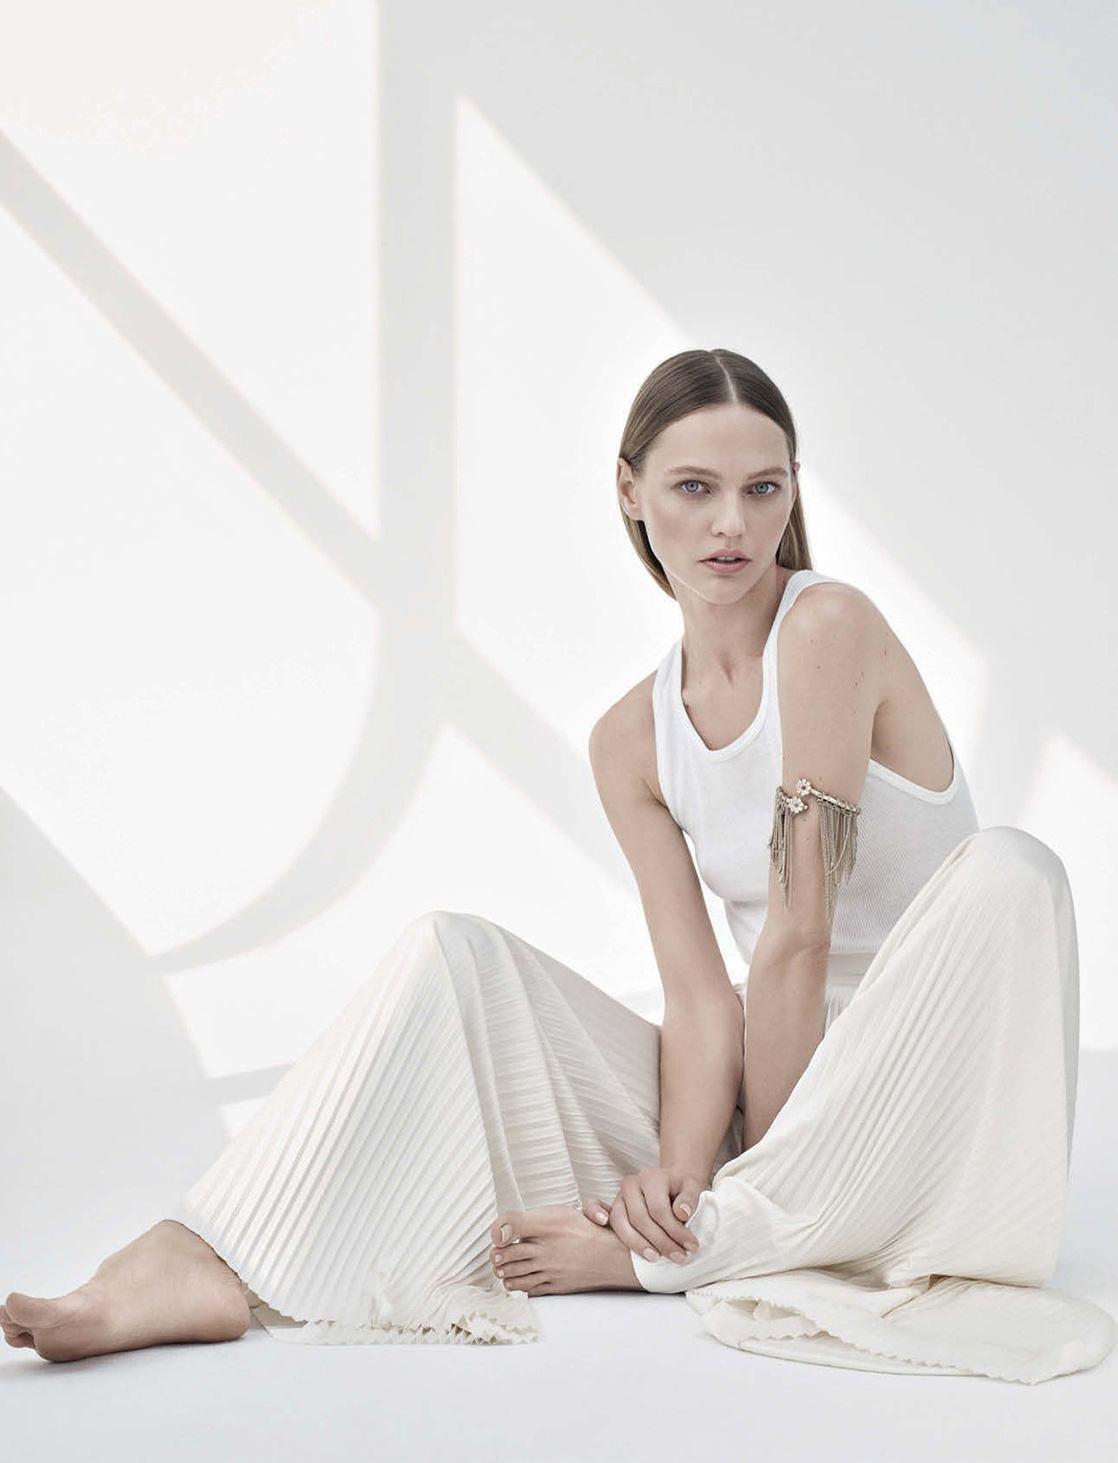
20. Take Full-Length Studio Photos

If you want your pictures to look professional, then be prepared for each photoshoot. Shooting studio portraits is not only about placing a camera in front of the model. After setting the exposure and lighting, start working. Now you need to combine a successful person’s posing with your composition skills to get the winning outcome.
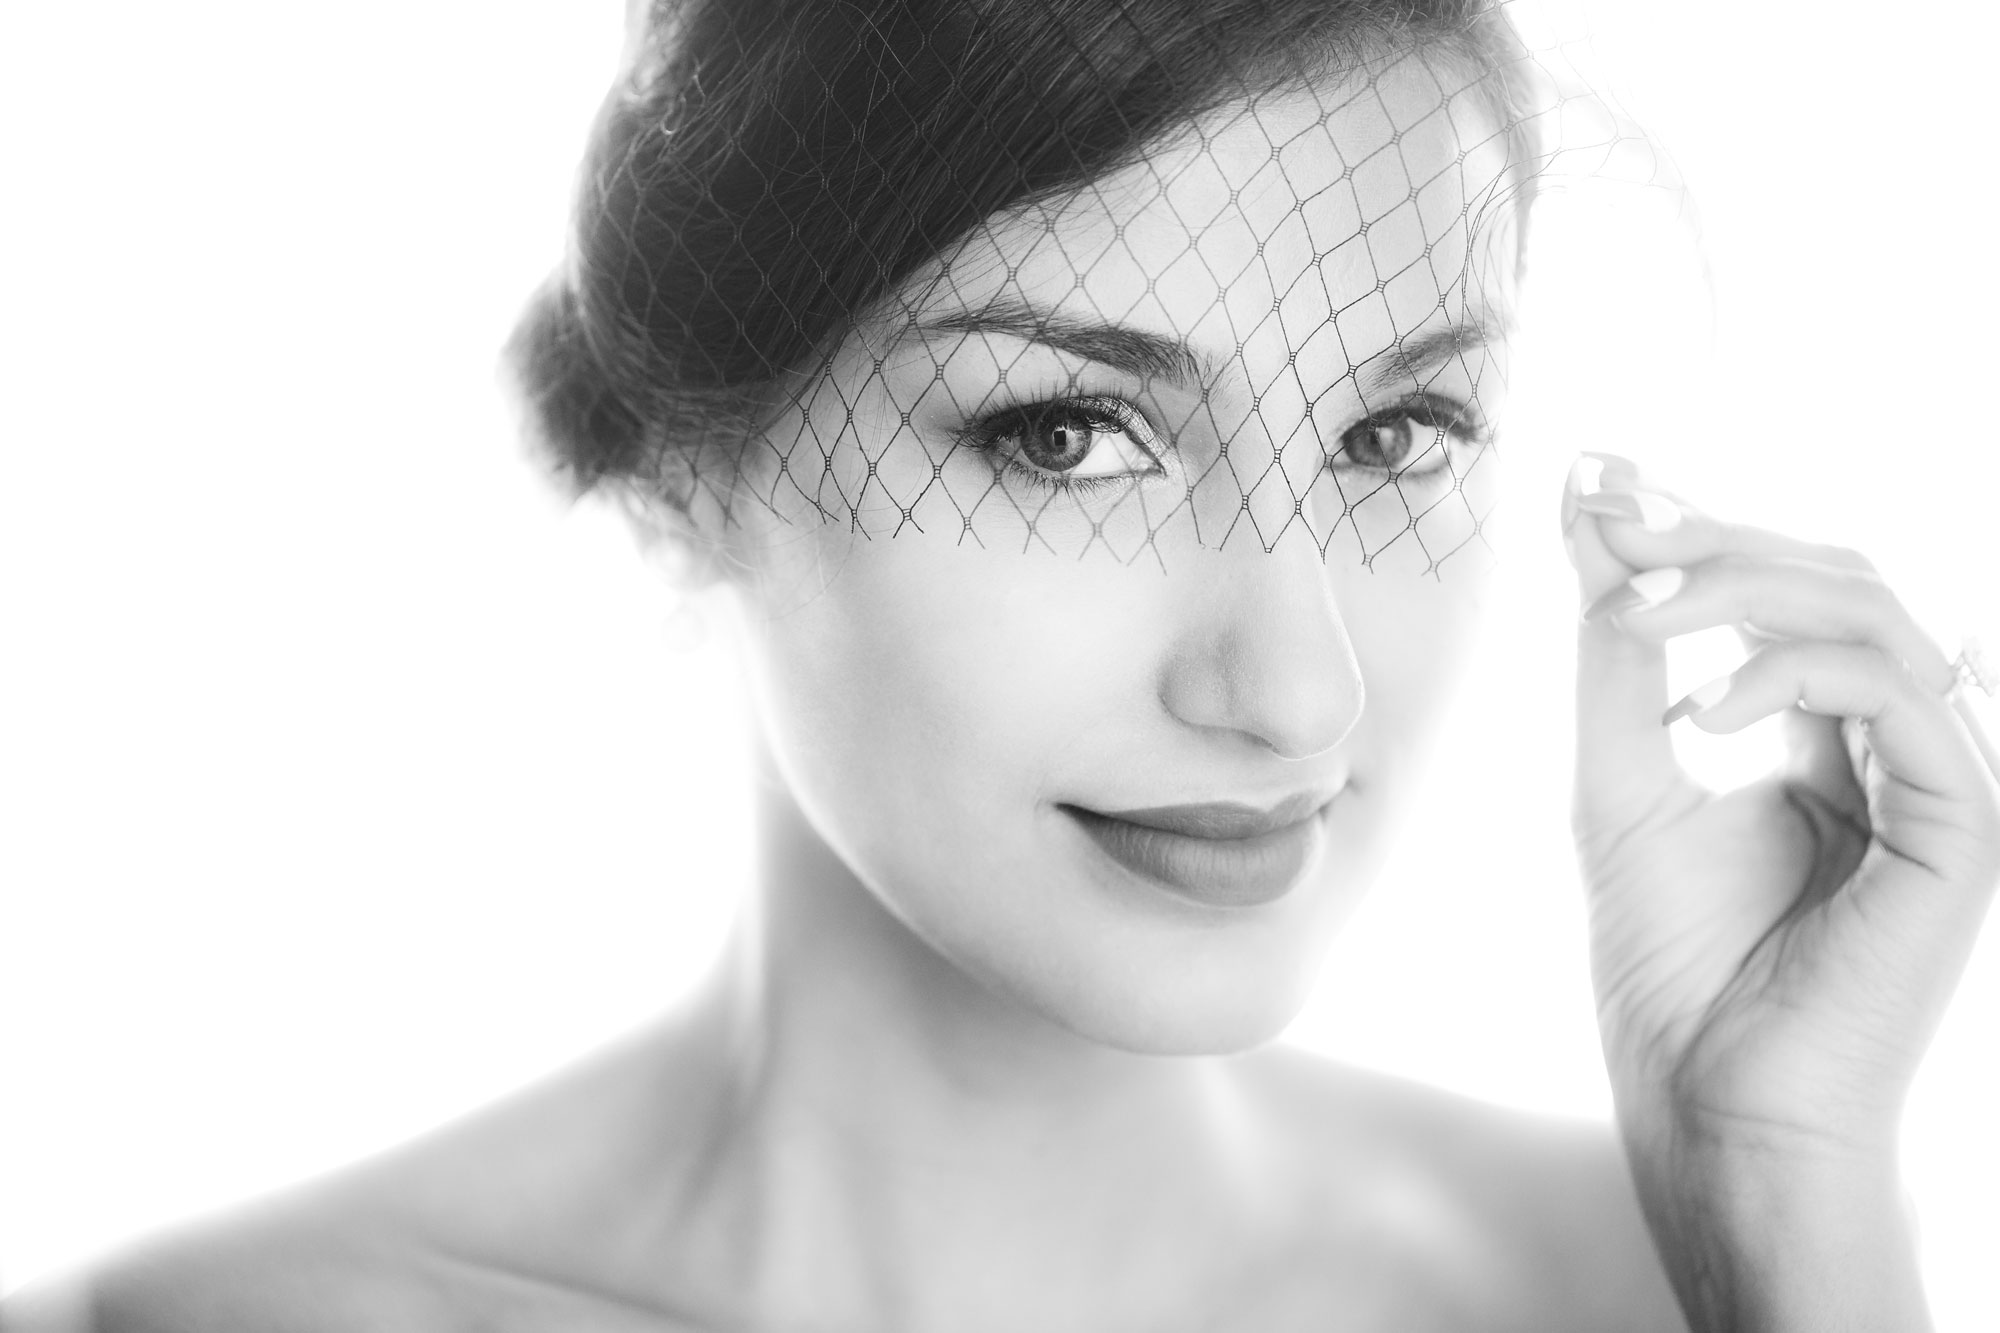
21. Try Seated Pictures

To enjoy the best results of studio shooting photography, learn to communicate with models. It is the quickest way to make them pose as you want. All in all, you will be able to create pictures like a pro. However, don’t think it is a question of one moment. You need to practice a lot before both you and a model work smoothly.
- Learn about modeling photography to find out inspiration for your new shoot.
22. Give a Model Role to Play

If the model is not a professional, give her/him clear instructions. Tell a story and ask to play some character. In this way, the photos will become more relaxed.
23. Change Shooting Positions

I'd recommend changing the position near the model. If the studio light is fixed and you can't change because of the studio space, change the position relative to the vertical.
Try to sit down below the model's level and you'll get another character of the picture. It's like with the movies - when you change the frame relative to the vertical, you change the attitude towards the object in the frame. Your model may turn out to be more magnificent and look proud.
24. Watch the Nose

I suppose you are not eager to capture a full profile with only one part of the face in the frame. Just draw an imaginary line down the model’s face. It must not be crossed with the nose. If the person turns too far and the nose intersects this line, ask him/her to turn a quarter so that both eyes are in the frame.
25. Help Models with Posing

Are you shooting DIY home photography studio? Why not connect the camera to PC? In this way, you will be able to look at the pictures at once, checking possible weak points and then trying to improve them. Also, you will be able to see what settings should be regulated. What is more, using the PC, you can show models possible poses for the next shots. This will save your time and nerves.
- Check out the best portrait photography poses.
Freebies for Editing Studio Photography
Now that you know what is studio photography, it is high time to start image post-production. Of course, it requires specific skills and knowledge. But with these 5 freebies, you will achieve a stunning result easily.
Fashion “HDR”
If you want to add some saturation and drama to the fashion pictures, then this action is what you need. It will turn your shot into a stunning magazine cover.
Fashion “Matte“
With this action, a warm and soft tone is added to the pictures. It is suitable for female portraits, fine arts and kids’ images.
Fashion “Colors PoP“
Choose this action to give your photos a bright and vivid effect. It will help fine-tune all kinds of portraits, putting emphasis on the colors and the model’s beauty.
Fashion "Brighten"
You can easily transform even a boring photo. Just apply this action which adds bright colors. However, the overall picture looks harmonious due to a warm tone.
Fashion “Glow“
Many portraits will benefit from adding cold tones, like in this action. You may apply it to shots with soft lighting and enhance the composition. Or else try it for dimmed shots and achieve increased sharpness and roughness.


