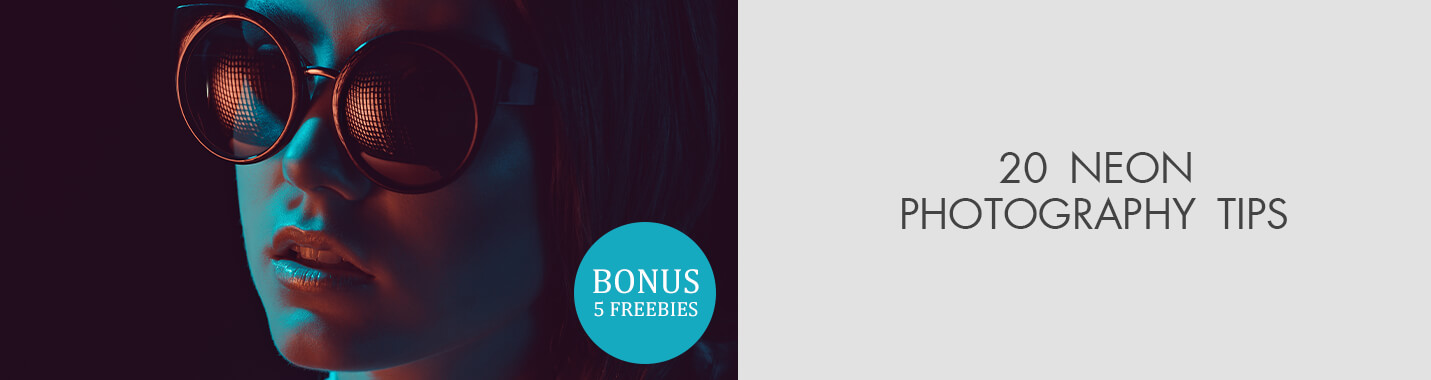
How to Take Neon Photography? Tips for Beginners
When you purchase through affiliate links on our site, we may earn a commission. Here’s how it works.
Neon photography has appeared relatively recently. The main features of neon photographs are the use of ultraviolet light and neon signs. A variety of color, size, and shape neon signs make photos brighter and more attractive. The most favorable time for shooting is late evening because the neon lights look better in the darkness. Follow my 20 neon photography tips that will become useful while taking your first night photographs.
20 Neon Photography Tips
I have prepared for you a list of useful tips that will help you succeed in neon lights photography and take incredible photos.
Tip 1. Get Information on Neon Photography
Neon photography is a type of portrait street shooting when a neon light source is important. Such photos are most often taken outdoors but sometimes photographers create the necessary lighting within the studio.
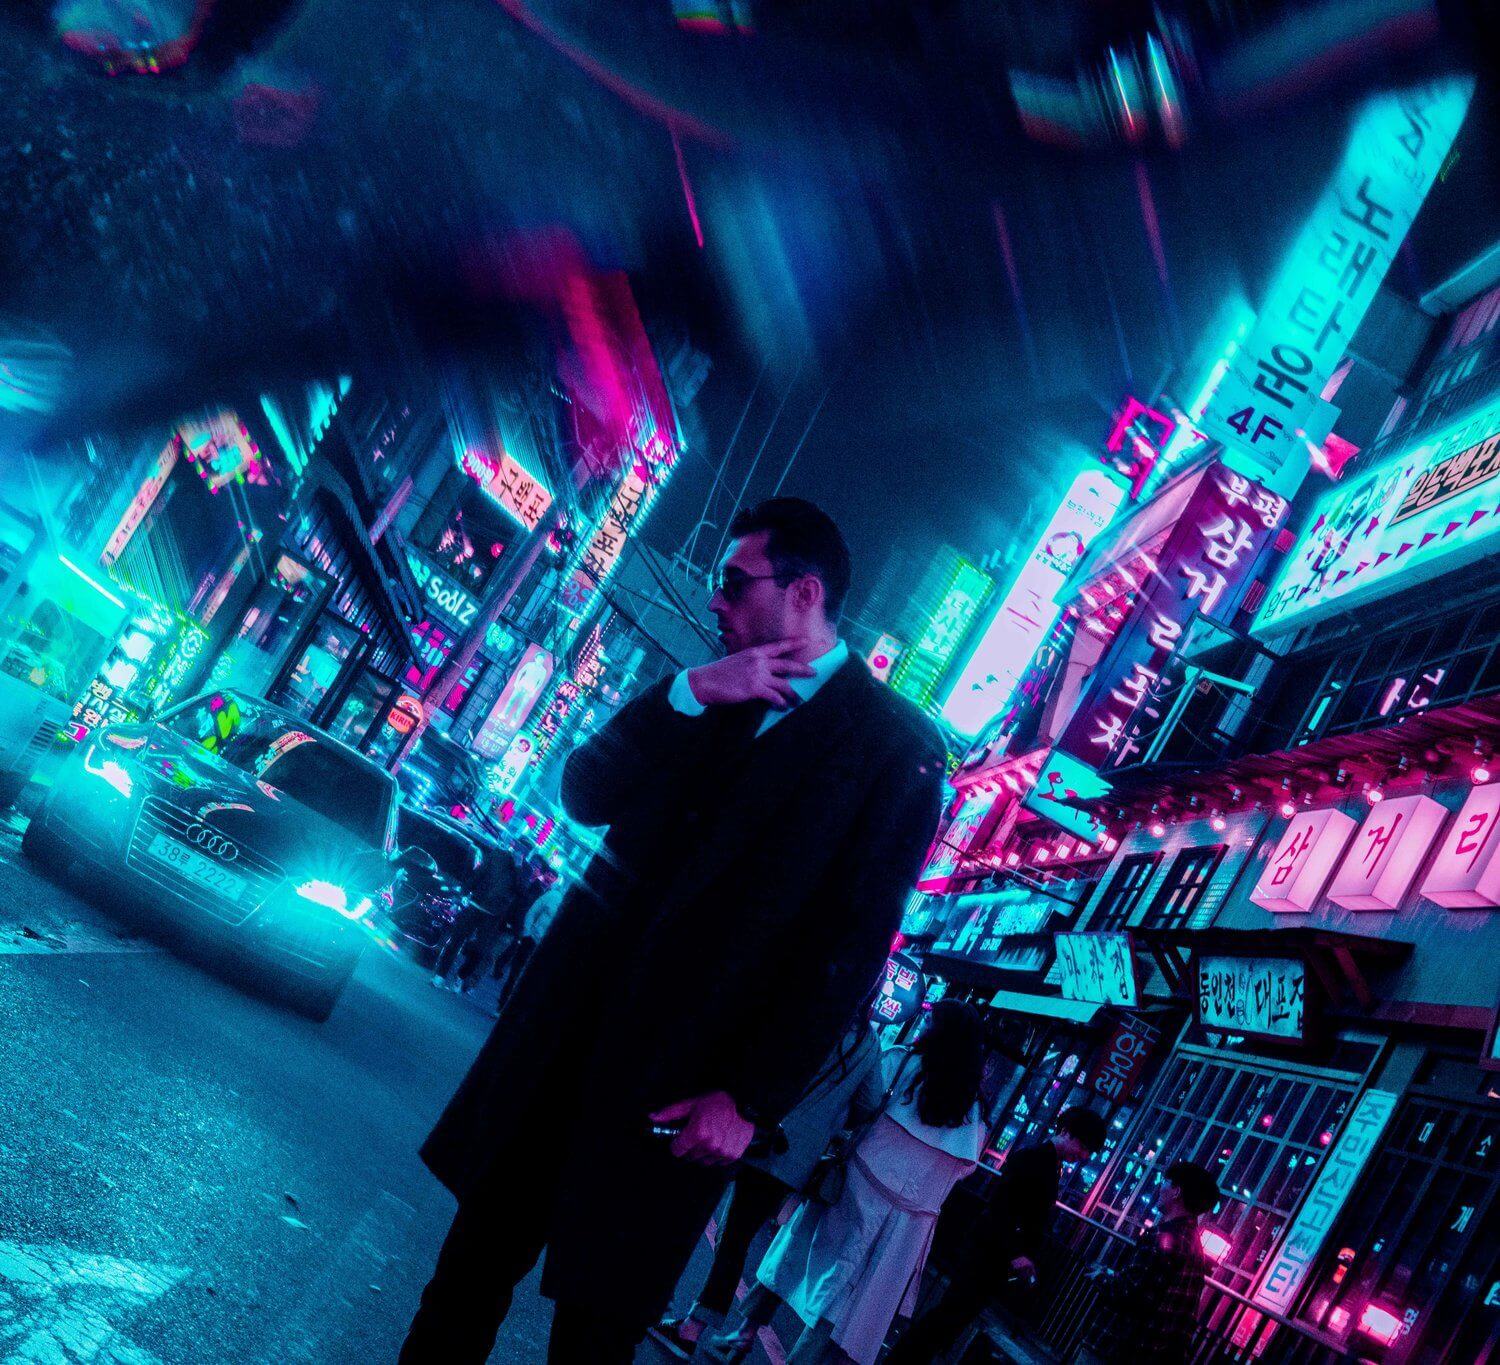
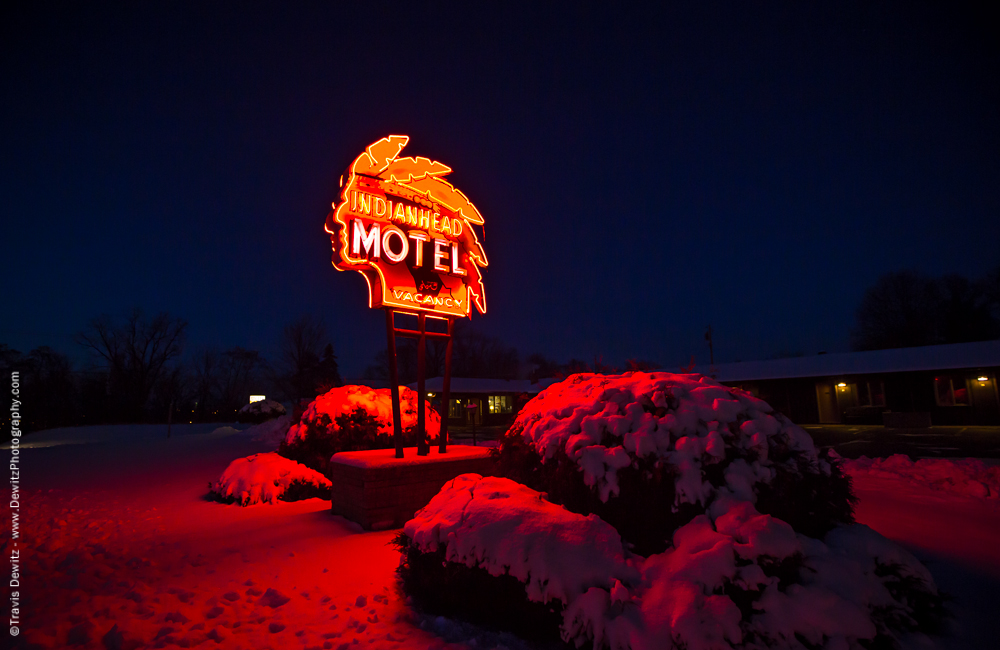
Urban neon photography
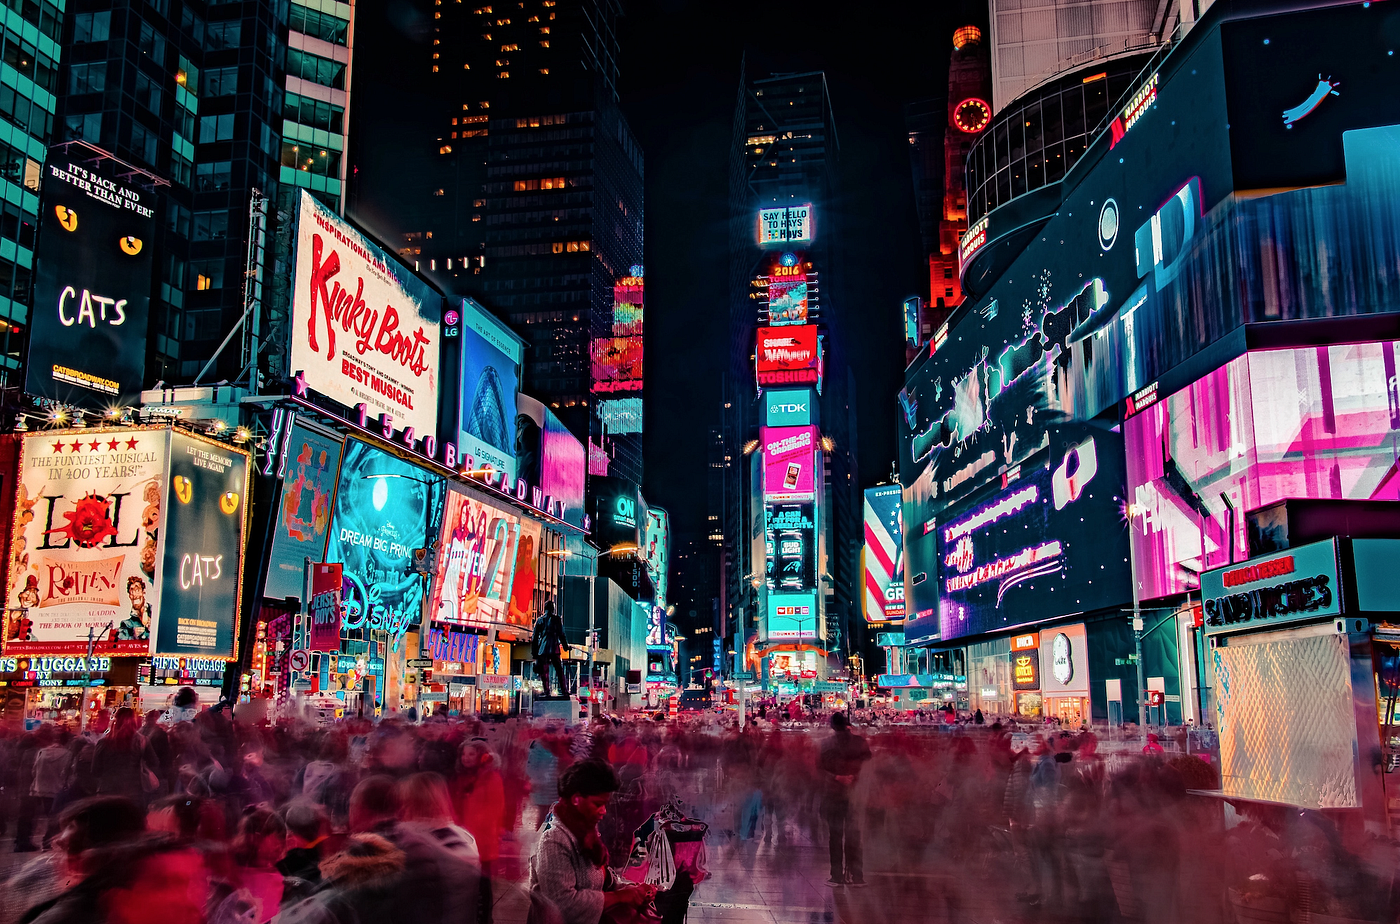
Photos taken at night have their special appeal and charm. Ordinary things, which you practically do not notice during the day, acquire new features and a new look. You start to perceive familiar urban objects and scenes in a new way. They are wonderfully revealed thanks to the night lighting (or lack of it). Neon city photographyrequires the use of long exposures. As a result, you can apply different techniques and approaches for creative and dramatic capturing of various types and objects. In addition, you do not need to worry about changing daylight and sunlight.
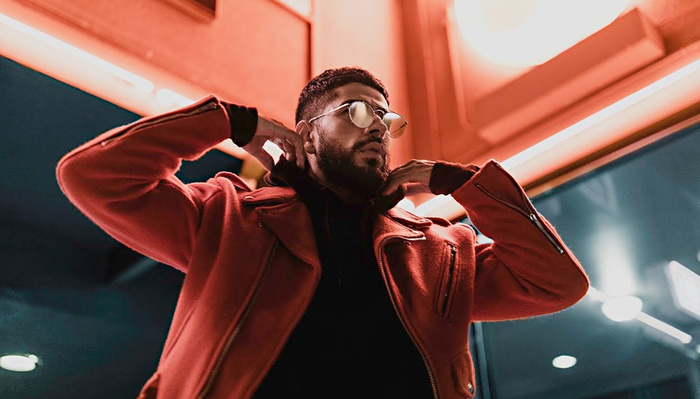
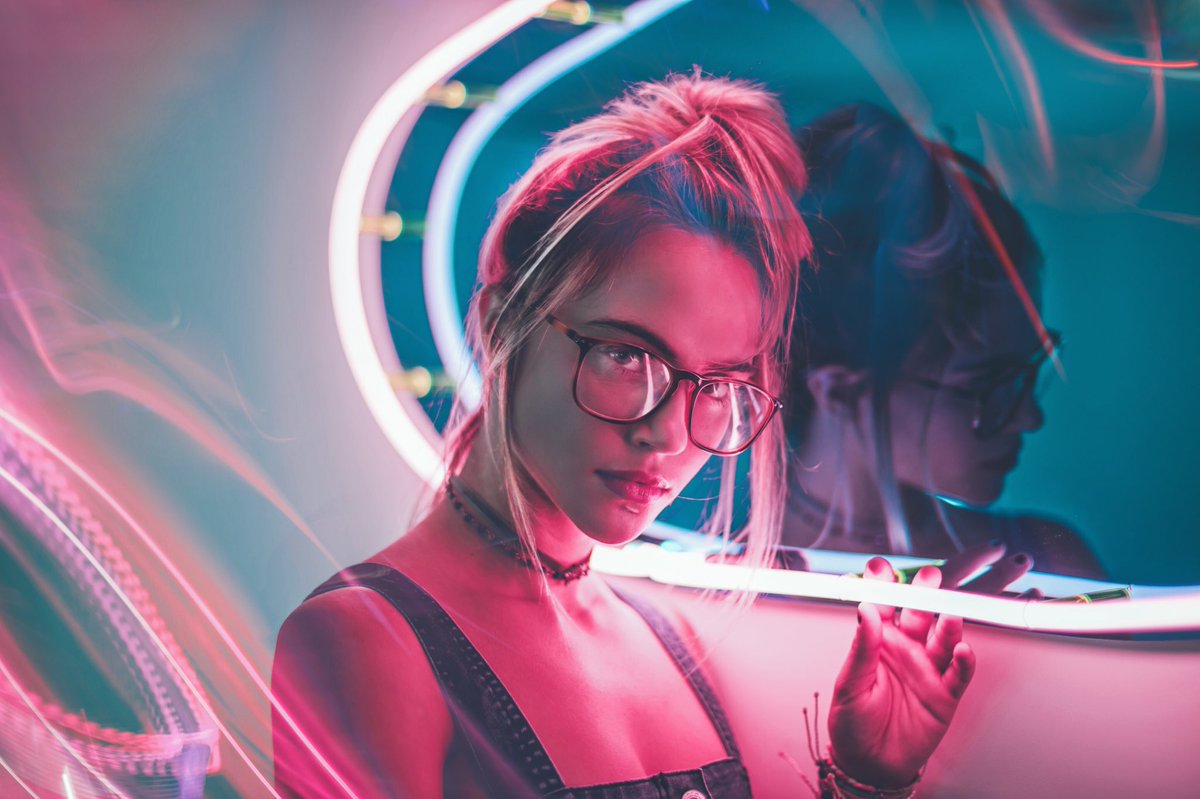
Neon portrait photography

This is a very popular trend in modern photography due to the way the megalopolises look. At night when everything around is illuminated with neon light of various colors, it is simply impossible not to organize a photo session in the urban style. Many photographers also arrange the necessary lighting in their studios to shoot an amazing neon portrait.
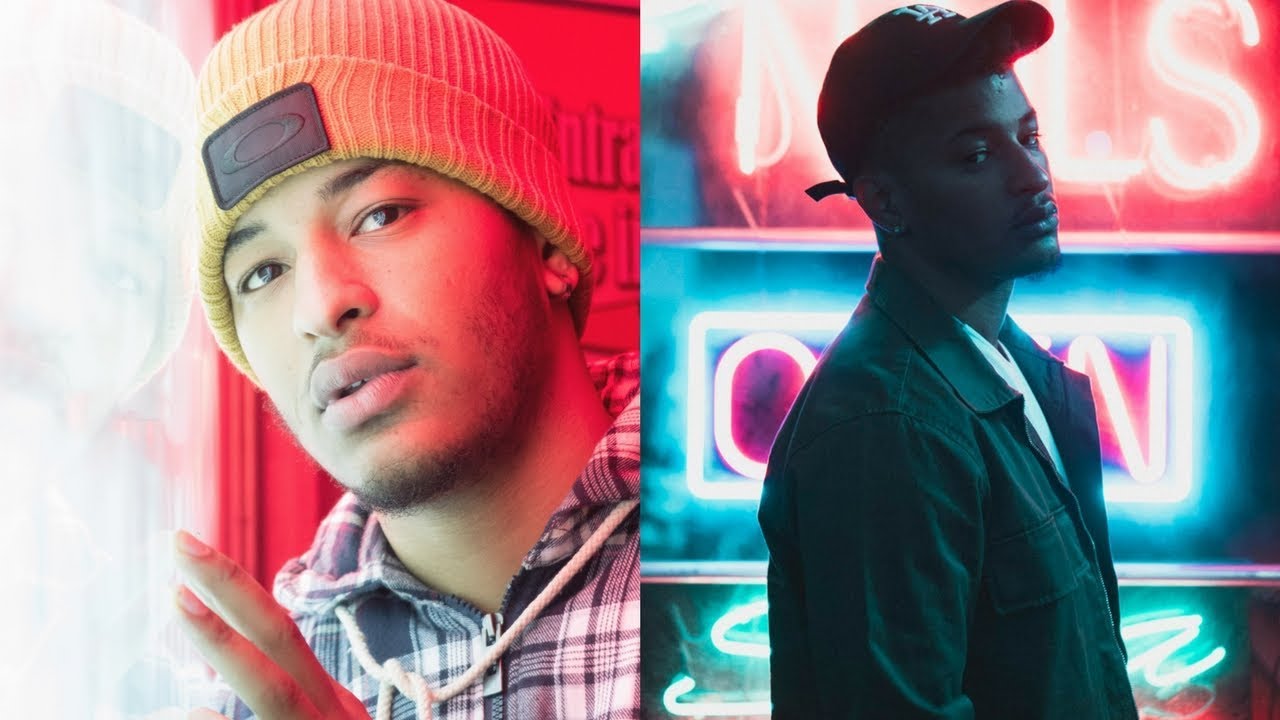
Neon sign photography

Since their introduction, neon signs have attracted the attention of ordinary passersby and photographers. The first observers often called neon a "living flame." Unfortunately, nowadays it is quite difficult to come across original signs. Nevertheless, if you are interested in neon sign photography, take your camera during evening walks, going to the movies, etc. Sometimes you can find the stunning lighting of the shop window or the sign of a modest cafe in the most unexpected places.
Tip 2. Shoot at the Most Suitable Time

Decide on the best time for your neon light photography. If you are only interested in the signboard, then almost any time will suit you. However, if you need to capture some of the surroundings, then choose the Blue Hour. This is the first 10 minutes after sunset or 15 minutes before dawn. In such conditions, you will have enough light so that the surrounding objects are clearly visible. At the same time, it will still be quite dark and the neon signs will look good. Complete darkness will be ideal for those cases when you need only signs. Night photography helps notice some textures that aren’t so interesting in the sunlight.
In such conditions, you will have enough light so that the surrounding objects are clearly visible. At the same time, it will be still quite dark and the neon signs will look good. Complete darkness will be ideal for those cases when you need only signs.
Tip 3. Experiment in Deserted and Quiet Places

If you can't concentrate in crowded places, find quiet locations where you can take neon photoswithout any distractions. Since, in most cases, neon signs may be found in noisy and busy places, be prepared for such difficulties. In fact, this is one of the main disadvantages of neon street photography. What to do if you do not want to shoot among hurrying and pushing people? Spend a little more time and find an interesting neon sign hanging away from busy and crowded streets. All the space will be at your disposal and you will be able to experiment as much as you wish.
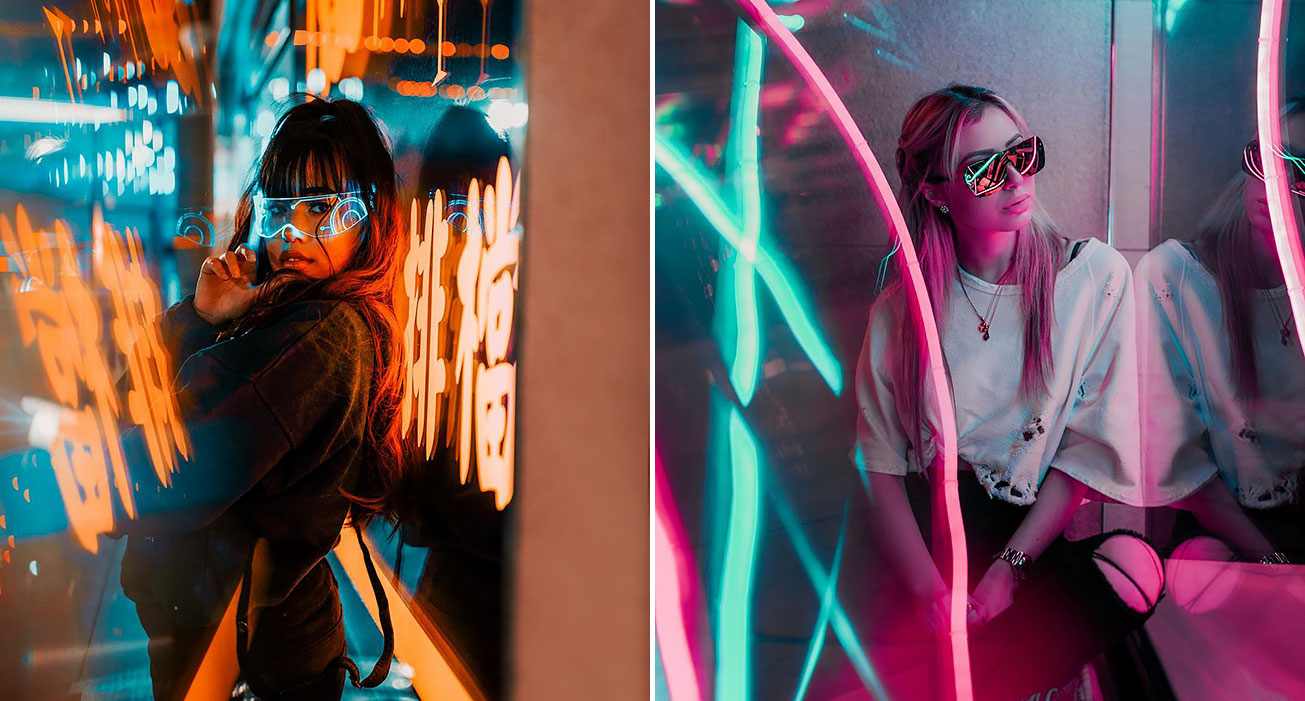
Tip 4. Photograph Models

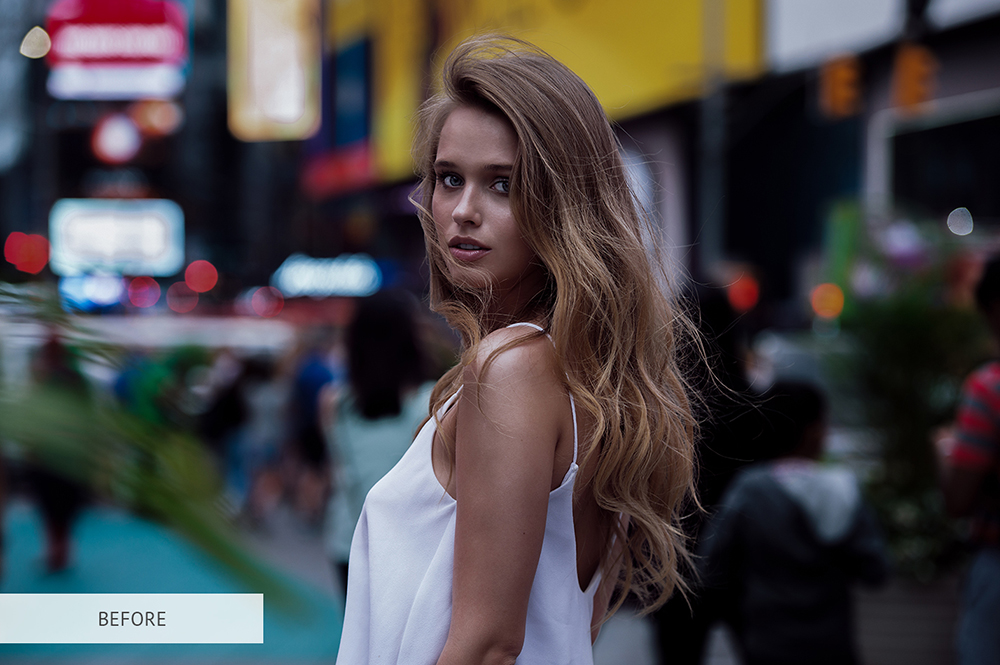
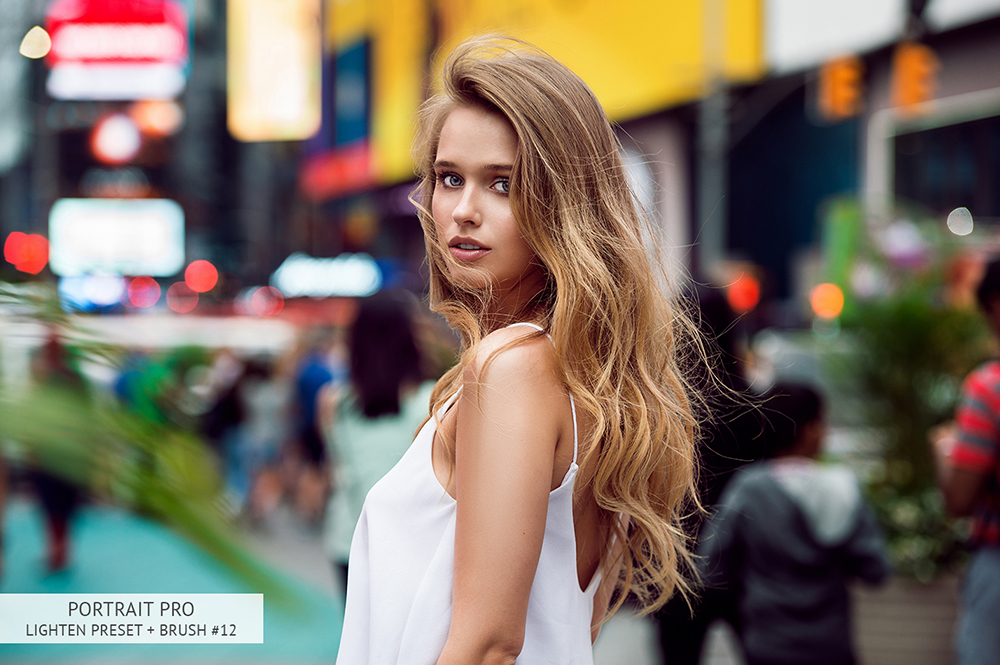
By inviting a model for shooting near neon lights, you can implement a lot of impressive ideas. For example, ask a girl to sit under a blue sign that says 'slow down'. To avoid unwanted shadows on the face, you can use a reflector. If necessary, you can also lighten certain areas of the picture during photo editing. Neon portraits are the bright and original examples of portrait photography.When photographing neon signs, pay attention to specific colors and types of light. If you are going to work with portraits, I recommend you watch the course about How to Shoot Portraits in Any Location with Frank Doorhof to start taking incredible portraits and headshots for the first time.
Portrait Pro Lightroom Presets
Tip 5. Test Various Shooting Angles
To achieve the best results in neon lighting photography, don't be afraid to experiment with angles. Stand on a chair or kneel down to capture neon in the most flattering way.

The main feature of photographing from above is the possibility to capture the change of light and shadow.
When shooting from the bottom, you can visually lift the subject in the frame or increase its size and significance. But this angle should not be used in neon portrait photography. Otherwise, you will get a very comical face with a huge neck and chin.
If you shoot at ground level, then you will be able to take a photo where you can breathe life into an inanimate object.

You can also do level shooting when the camera is side by side with the subject. Such a view is considered to be neutral and natural.
Tip 6. Benefit from Environmental Light
Even the smallest changes in lighting can affect the final result. Therefore, it is very important to use all available light sources if you are shooting at dusk or dark. Your objects should be bright to show less noise in your neon photos. Make sure that the light falls on the face of the model and not on the back. To solve this problem, you just need to ask the person to turn slightly in the right direction.
Tip 7.Use Special Lighting

A neon sign of any size can be an ample light source. Even a foot-sized banner is perfectly capable of illuminating a model for your neon portrait photography. This may be such simple inscriptions as "Pizza" or "Open". Do not be afraid to try different ideas and you can create real masterpieces. Use neon lights for the style, lighting, and colors of your night portrait photos.
Portraits Lighting The Shot

Before starting to work with photography lighting, I recommend you read this book where you will find all the basics about lighting and studio equipment that will be useful for getting perfect light on your photos.
Tip 8. Add Suitable Props

I recommend using different props for neon photography. For example, it may be a prism. You can add a subtle and interesting effect to your photos if you install a prism in front of the camera. The light reflected from it favorably affects your image. You can use CDs with the same purpose.
- If you are interested in prism photography, I recommend you view more about crystal ball photography and the way it can be used for neon photographs.
Tip 9. Shoot RAW to Save Image Data

Although some people prefer shooting in JPEG format, I would advise you to opt for RAW files. First of all, you can save more image data and, as a result, get better quality. In addition, this format will greatly facilitate your further photo editing. You will not be able to skip this stage of work because of the different brightness of neon signs. You really need to know how to edit neon light photos. The size of RAW files is a major disadvantage. Such photos take up a lot of space on the memory card. It is also worth mentioning that before processing your photo you need to convert RAW images.
Tip 10. Apply Split Toning

This is a well-known effect, which was intensively used in the days of film. Split Toning is about tinting shadows in black and white images in one color and light areas in another. Create the necessary contrast affecting the colors. Use basic knowledge of color theory for your neon photographs. Do not forget about the saturation of the shadows. Remember that light highlights are always pale, desaturated yellow, and deep shadows are the most saturated dark blue.
Tip 11. Be Careful with Filters
Many pro photographers do not take filters seriously. However, they can become an indispensable thing if you need to reduce the noise in your photos. For example, using the ‘Fade’ tool, you can smooth out the contrast in noisy shadows of the image and create the impression of a cleaner photo. “Exposure to the right” technique is often used in neon photography. The essence of this trick is to take a brighter picture than you need and then darken it. As a result, you can reduce noise. However, do not overdo it while photo editing. It should go unnoticed.
Tip 12. Study Your Camera

You should be well aware of all the capabilities of your camera and its weak points. For example, some models create too sharp of an image and others may underexpose it. Some cameras have applications that allow you to control various neon photography settings while others are not capable of it. Test your camera, study it, and experiment with different settings and functions to be able to take wonderful photos.
I have prepared a short list of cameras that are the most suitable for neon photography.
Recommended:
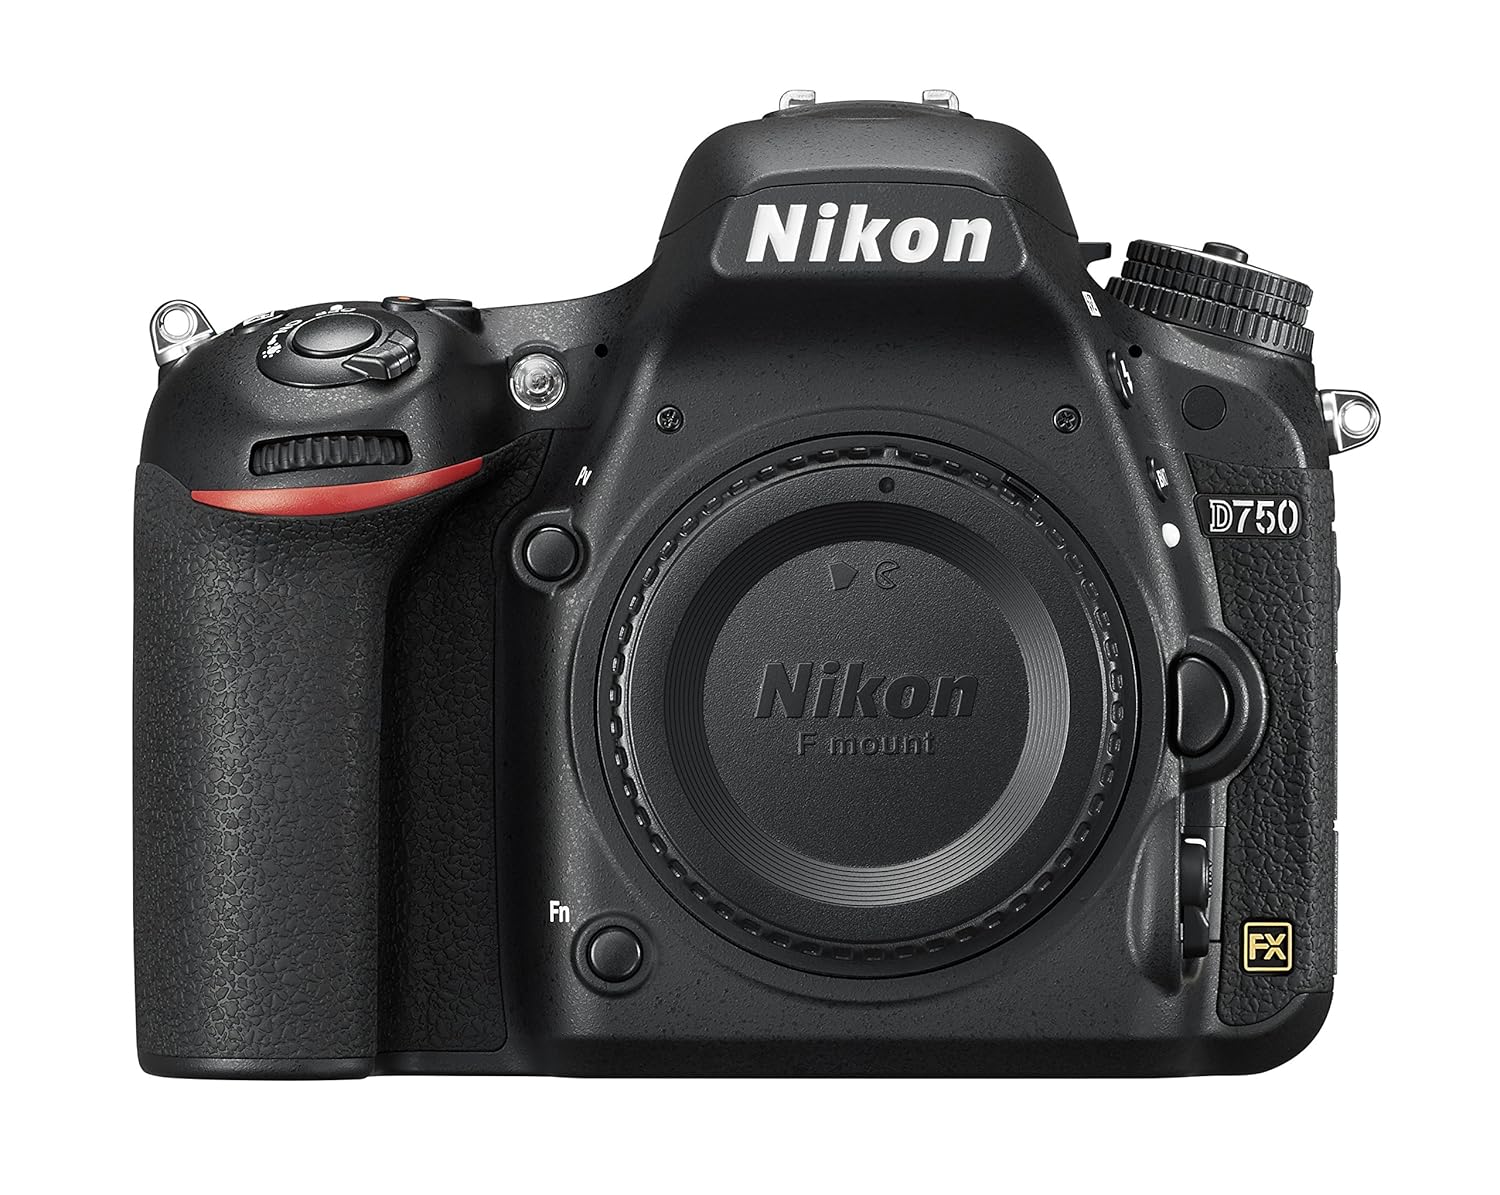
Nikon D750
Full-frame cameras have a number of functions and characteristics that satisfy even professional photographers. In addition, the price of most models is absolutely affordable. This camera can take clear pictures with a low noise level even in poor light conditions.
Recommended:
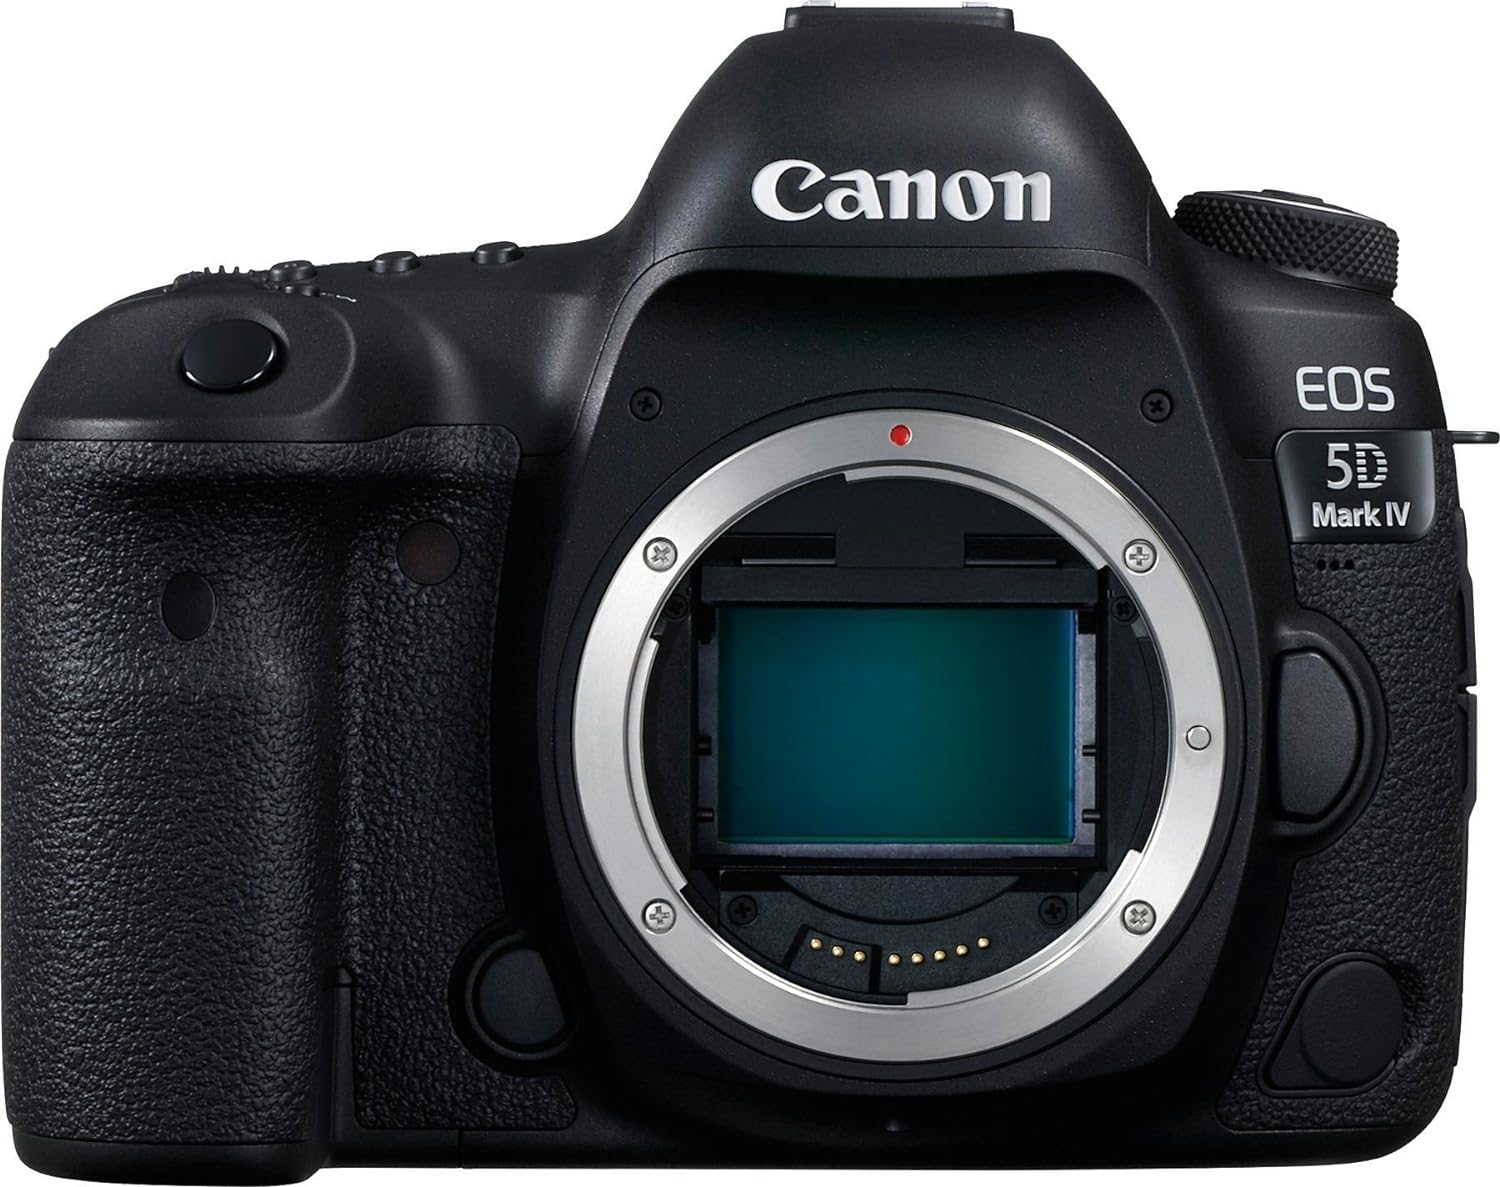
Canon 5D Mark IV
This model has a full-frame sensor that allows you to take clear photos that have excellent color reproduction. This camera for neon portrait photography has a wide range of ISO (100 - 256000) so you can shoot in any light.
Tip 13. Pay Attention to Camera Stabilization
To get a clearer image and avoid blur, you need to use a tripod. A remote shutter release will also prevent blurring. I suggest you familiarize yourself with such tripods for a neon photographer.
Recommended:
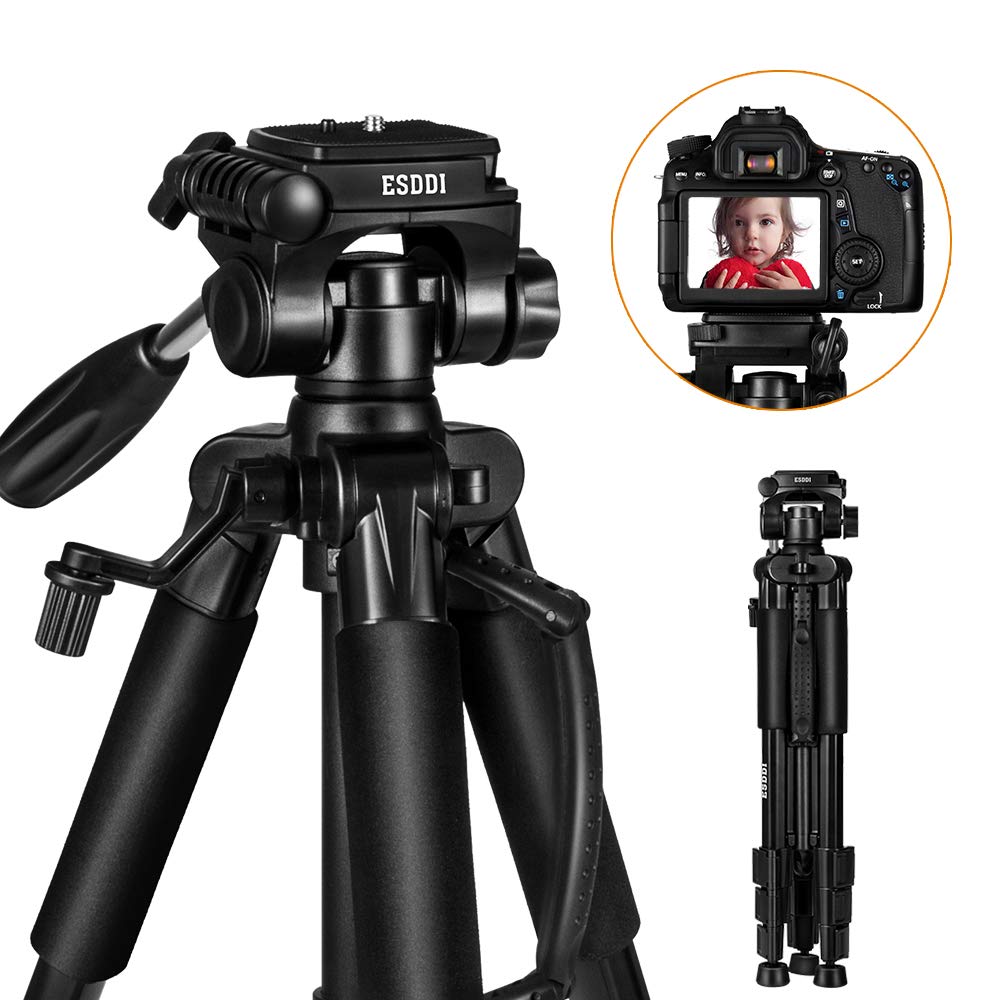
ESDDI CameraTripod
This tripod is light and easy to use. In addition, the price-quality ratio will pleasantly surprise you. It securely holds the camera while allowing it to work smoothly. The tripod has a convenient 3-section handle to carry and sliding lock legs which open quickly.
Recommended:
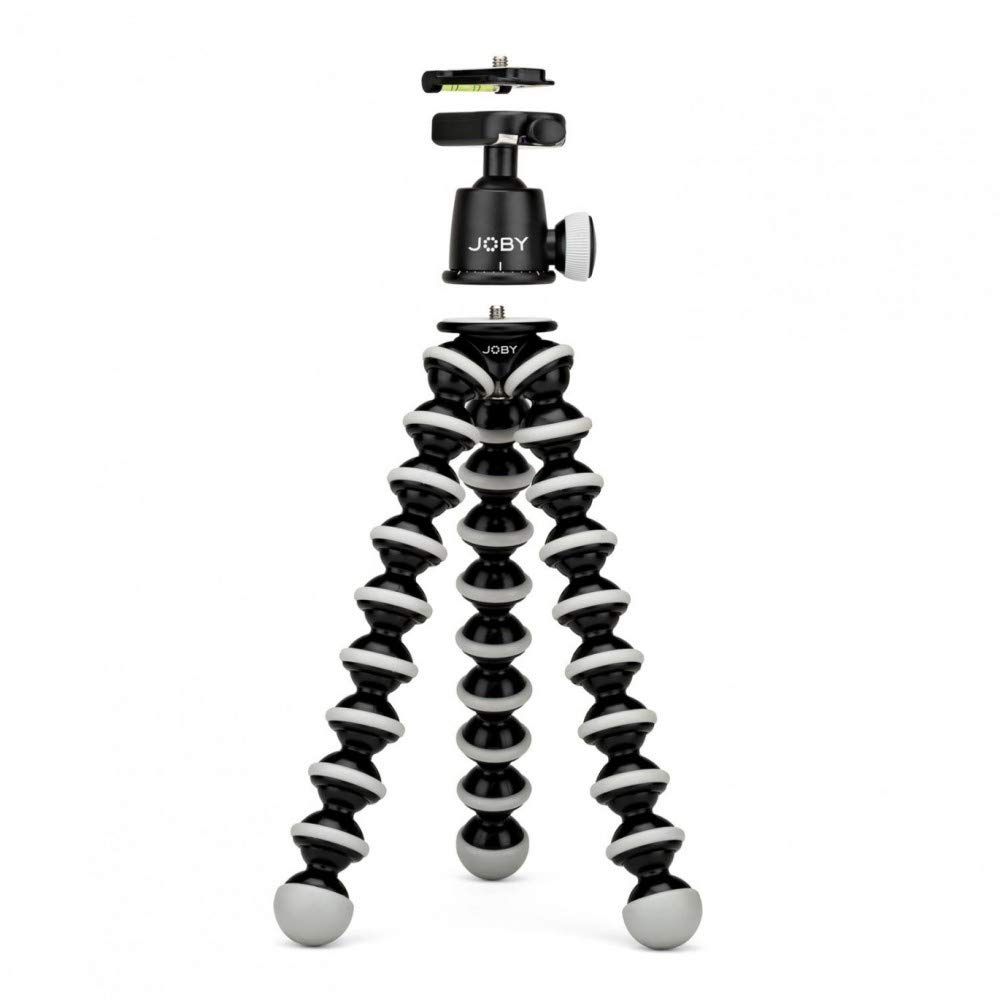
JOBY GorillaPod SLR Zoom
You can get an incredible range of shots thanks to 360 panning. The tripod has enveloping flexible legs. This model is compact and lightweight and you can easily carry it in your bag to use it for neon photography.
Tip 14.Proper Camera Settings

I strongly recommend you bring to notice the next camera settings.
- ISO If you use a digital camera, you should fix the ISO up to 100. If you have a film camera, just choose an appropriate film ISO.
- White Balance Regulate the white balance of your DSLR according to the lighting you have at the shooting location. Adjusting your camera setting to daylight, you'll be able to take images with a tender warm glow. Besides, with the help of tungsten balance, the sky will become bluer. As for a film camera, check whether it is adjusted for photographing in daylight. Alternatively, you may purchase film, which is adapted for tungsten, and use filters to get an identical effect.
- Zoom In order to use patterned and lined designs, it will be better to zoom in. One more variant is to use the longest setting for compressing perspective and capturing several signs. Multi exposures are helpful if you wish to take cool photos. You may get multi exposures with your camera or montage separate signs that have been photographed with dark space around them.
- Aperture Aperture: between f/2.8 and f/5.6 (to eliminate vibration and high ISO setting, which will increase noise). Do you need to shoot at night? Good light is a must for such kind of work. Make the aperture bigger in order to get well-lit images in the end even in low light conditions. But take into consideration that big aperture may result in a vague background, which won’t allow you to emphasize all details in your picture. It is perfect for outside neon sign photography with distracting backgrounds. However, if you are going to take a photo of a sign in a room with bad light, opt for a small aperture.
- Shutter speed Shutter speed: above 1/100th of a second (increase the shutter speed, if you use a tripod, to avoid vibration)
- Metering An accurate exposure metering setting is essential when you take neon photography. When this setting isn’t fixed on particular neon signs, it causes over-exposure, and you will get blurred spots instead. That’s why during the shooting of the neon signs we must fix the metering to the spot metering mode. After that, we must set the metering spot on the neon sign to check that all details on it may be saved.
Tip 15. Shooting with Long Exposures

In order to get desirable neon photography results while photographing in bad light with SRL or film camera, you should use a long shutter speed. If you use your smartphone, the following apps may help: Manual Camera (Google Play) or Manual (iOS).
Tip 16. Work with Capture Motion

Car lights may be used to take neon photographs at night. Choose a long exposure in your phone and capture a road with moving cars. Such an idea has lots of interesting variations. For instance, you may frame cars moving over the bridge, boats floating in a bay, and planes flying over your head.
Tip 17. Use Your Phone Flash

If you work in the dark, take advantage of additional light of your phone… I mean the flash. The flash may be too bright, but I know some ways to avoid this effect. A tissue or a piece of paper placed on the flash can make the light softer. A color filter also will help you adjust it. If you need to put emphasis on things next to you, don’t hesitate to use a built-in flash.
Tip 18. Try Backlighting

The most amazing pictures are likely to be taken exactly at night, and using backlight will possibly help you achieve an incredible effect. Pay attention to the silhouette against the shop window, street lights, and all the places that will help you take impressive neon photos.
- Read more about my backlight portrait tips that can be useful while shooting night or harsh light photos close to neon lights or signs.
Tip 19. Draw Inspiration from These Ideas
Apparently, you must have seen photos which were taken near a neon sign. They are wonderful, aren’t they? The way the object is enveloped by a colorful background and its perfect look can’t help impressing. Sometimes, you just can’t find similar light sources, but you can create such an effect at home.
Reflections

Using the glass surface is an excellent way to achieve necessary reflections. For instance, reflections of the lights in glasses will be a good idea. Actually, even people who are against wearing glasses don’t mind putting them on to get a lovely neon portrait.
UV paints

It is important that such an idea doesn’t require a lot of expenses and long preparing. Are you going to realize some neon lighting photography ideas in the nearest future? Great! All you need is to buy UF paints and organize a photo session at home when it gets dark.
Neon signs on stop windows

Neon lights will become not only the source of the light for you, but they also may be used as a background for your neon portraits. Try it out and I am sure you won’t be disappointed.
Combination of colors

What may be better for a photographer than the right blending of color and light? My recommendation is to mix blue and red colors on the face.
Сolor filling

You need only to open up filling of any color on the display of your laptop and focus the screen on the model. The light should be switched off. It is quite simple, isn’t it?
Prism

Placing a prism in front of the camera gives us the possibility to achieve an interesting and an exquisite effect in our neon photos. By the way, using CDs helps get a similar effect.
Conceptual neon photography

When the photo conveys an idea by symbols and characters, it becomes a powerful image. This feature separates neon photography from other types.
Motion Blur

It is a widespread post-production effect which simulates the fact that for the majority of camera systems ‘light’ is accumulated with time. Fast moving of the camera or object will lead to blurred pictures.
Deserted city
An empty city is a quite unusual and even horrific sight for most people. But with the help of such locations, it is convenient to focus on the architecture completely and to get great neon city photography examples.
Glowing body

Shining photography makes people feel astonished and it is really unusual and beautiful. Such photos are full of emotions and memories.
Tip 20. Get Inspiration from Brandon Woelfel
If you are a beginner in neon photography and you are not sure whether you can cope with this or not, I suggest you get acquainted with the works of the worldwide famous neon photographer Brandon Woelfel. He is a modern photographer who was the first one who used lights and reflections in such a way that nobody could have ever thought about. Brandon uses the lights which surround us every day, beginning with Christmas ones and ending up with sparklers. No doubt, he amazed everybody with his offbeat approach to taking photos.
Brandon Woelfel comes from New York. He is an author of unbelievably mysterious images with wonderful colors and vague lights. This outstanding shooter deals with lots of hipster lifestyle brands and makes incredible lookbooks for them. He works predominantly with Nikon D750. In his opinion, the first minutes after sunset is the most perfect time for taking fabulous pictures. However, a real miracle happens during image editing, which is the main process in his work. If you are interested in his projects, you may visit Brandon Woelfel Instagram page, and to look through his pictures. “Before and after” photos are in his private account.
FREEBIES for Editing Neon Photography
Neon photography editing requires much time, but I may offer you some presets and actions which will help you facilitate the process.
FREE PS Action "Three Color"


This action will give you an opportunity to mix your neon portraits with city/landscapes photos to get a vibrant result. If there are pictures with bright colors, be sure they will be saved and improved upon.
FREE PS Action "Lomo"


The action will combine your photos into one harmonious image and, in addition, it will give a special classic lomographic effect to it. Red and blue blending will help your works look much better.
FREE Urban Cityscape Lr Preset "HDR"


This Lightroom presets increase the dynamic range of photos. Their main advantage is that they preserve a natural look.
FREE Portrait Photoshop Action "Smooth Skin"


It is almost the most popular Photoshop tool for editing portraits which can make your skin velvety and shiny. Such action helps achieve smooth skin without changing its structure.These neon portrait tools are perfect for removing acne, under-eye circles, and other unnecessary imperfections. But be careful with such an action in order to avoid blurring the main parts of your portrait, such as hair, eyes, and lips.
FREE Bokeh Light Overlay "Lights"


If you want to make your neon photo more dreamy and romantic, a bokeh overlay will put it into practice. The background of your pictures will look soft and tender. It also will make others believe that your picture was shot with the help of a professional lens.
Neon photography is exactly such a photo genre which will definitely change your attitude to photography. With its help, you will find out how to convey your ideas and thoughts by means of photos.


