Regardless of who you are going to photograph: a single model or a group of people, knowing the best angles for full body pictures and how to position a subject is crucial for conducting a successful full-body photoshoot.
Taking a pic of a person in full growth is more difficult, as it is more troublesome to avoid background distractions placing a subject in a content. Choosing a flattering pose that will match the camera angle is also a brain teaser.
So, to master full-length photography, it is important to select the right lens, position your subject properly, and set up your camera correctly. In this article, you’ll find tips on:
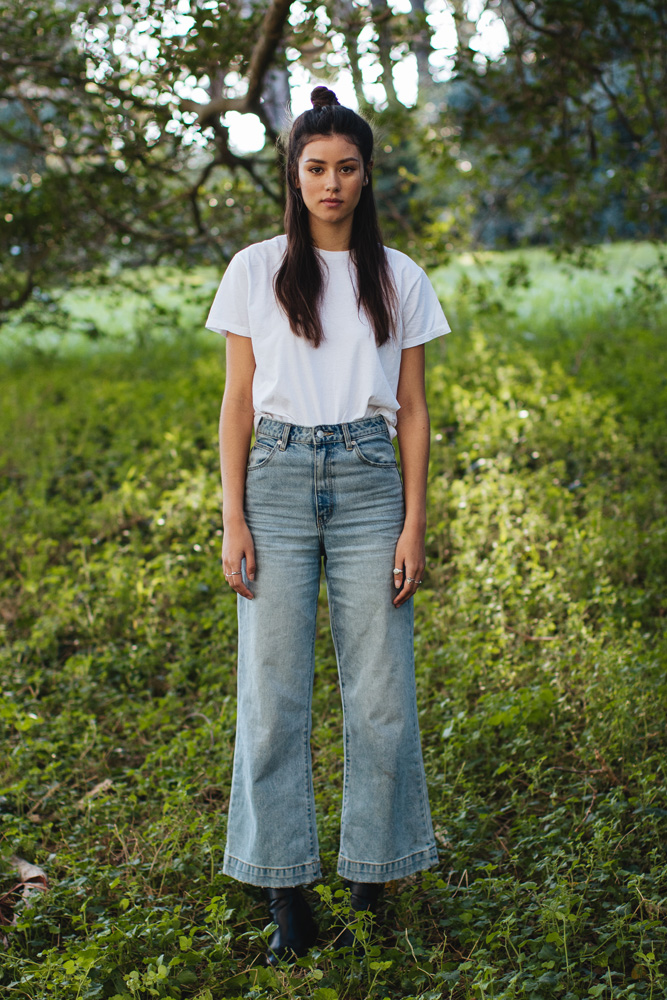
By putting more weight on a foot and placing it a bit forward, it is possible to make the model look thinner. Standing with equal weight on both feet will have the opposite effect.
A model should know, which leg they usually lean on when waiting in a queue – this is their weight-carrying limb. So, a person needs to put the opposite foot forward when posing to appear more naturally.
However, not all models favor to find angles with one leg when walking. And a limited number of people maintain an even distribution of weight in a vertical position.

Feeling at ease is the key to success when conducting a full-body photoshoot. A person you are going to shoot should have a relaxed body and resemble someone who is waiting for a bus or standing in a queue in the supermarket.
Heavy bags usually ruin the whole posture as the shoulder that usually bears it is lower to a certain degree, which results in a disbalance. Stretch one shoulder a bit and lift the other one to achieve great symmetry in photography.
The position of head affects the overall composition bearing a specific message. If you want to look more confident, tilt your chin up a bit. The higher you raise, the more challenging pose will be. Remember that objects that are close to the camera seem to be larger, and knowing this rule is important to maintain the aesthetics.
To make a large forehead appear smaller, ask a model to raise their chin a bit thus moving the forehead a bit away from the lens. The result of such manipulation is a smaller and more attractive forehead.
This technique applies to a chin: lift it to make it bigger, and lower it to achieve the opposite effect. Another helpful tip is to tilt a face disclosing only the profile to a camera. The result is a slimmer and more friendly-looking face.
In photography, every detail matters. When walking or making other movements, our clothes fold and change shape with us. Although this is not noticeable in normal life, a rucked-up shirt, for example, can spoil the whole composition.
So, when the model is already in position, make sure the clothes are neat and there are no folds on the shirt or another garment.
Clothing hiccups to keep an eye on:
Buttons can be done up or not – it depends on your idea.
The tie should be straight.
Dresses, shirts, jerseys, and jackets should be hanging correctly.
Trousers should sit really great on both legs without unflattering folds.
To take amazing pics, the camera should be positioned at the waist level. This way you can avoid distorting body parts and convey the most correct parameters. To see the difference, shoot from a low camera and you’ll notice that the legs look too long, whereas the upper body is too small, so the image seems disproportional.
Taking pics from a kneeling down position is one of the best angles for full body pictures. Therefore, the majority of photographers who work in this genre prefer shooting from above the model’s waist.
Take the lowest possible position and point your camera on a subject to take an original pic with an interesting perspective. Such an angle gives the subject authority over the viewer, which makes a good impression.

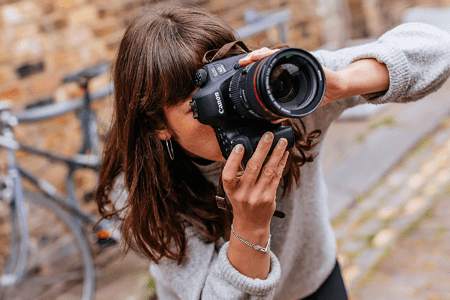
35 mmm lens is a great option for centering the subject in the frame. When shooting with a wide-angle lens, objects near the frame edges will be stretched. Camera level is crucial as well. Usually, people tend to shoot full-body portraits with a wide-angle lens, as it offers a short focal length that allows capturing many details. However, this lens distorts a person, especially when shooting from short range.
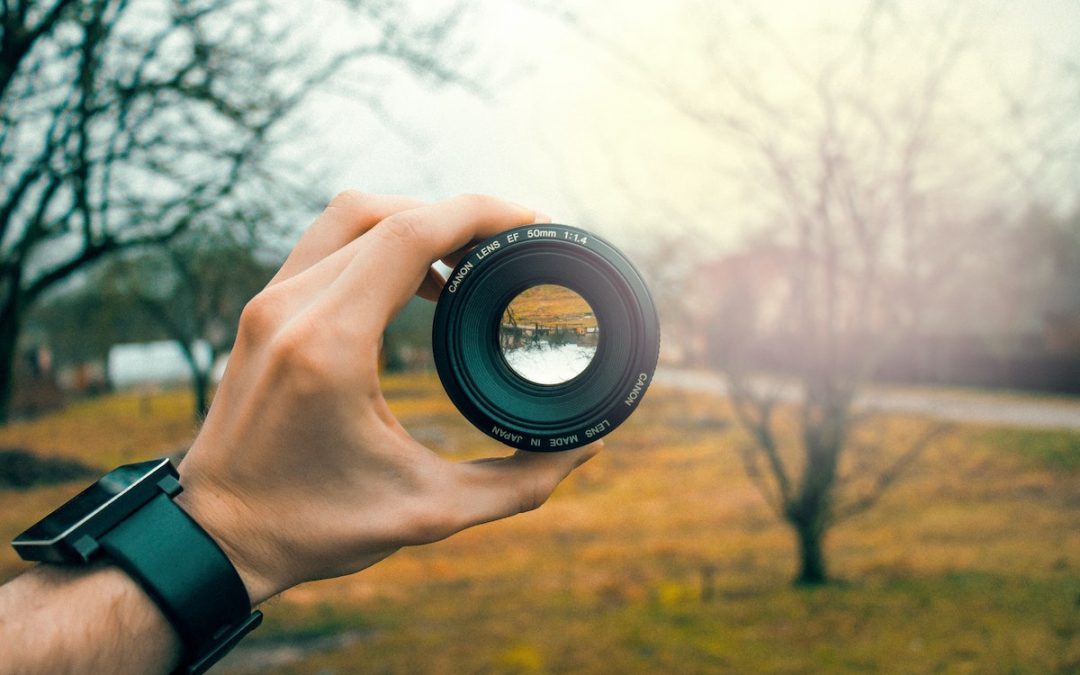
50mm lens is the most popular as it gives a field of view and perspective closest to the human eye. With a wide aperture like F1.4 or F1.8, it is also considered as best portrait lens that produces images with a soft background, which is also perfect for full-body photography.
The way 85mm and 105mm macro lenses frame the subject makes them the most winning option for shooting portraits. To take an incredible full-length portrait with a 105 lens, you need to shoot from a considerable distance from your model.
Flashes units of a camera emit bright light but its size is often not enough to illuminate the required scene. To take an eye-grabbing full-body portrait, it is necessary to use strobes, softboxes, or similar light sources. Your photo will look especially compelling if you diffuse light from a flash with a softbox.
The softboxes can also come in handy for extending the area covered by handheld flashes. These lighting accessories are equipped with reflectors that serve to produce even more light. The waffles attached to the front allow for achieving maximal diffusion.

A large aperture (about F4) enables photographers to blur the background and make the subject pop up against it. Most portraits taken with this original effect look amazing.
However, if the shooting spot is especially beautiful and can complement the overall composition, it is worth including in an image.
Even at the widest f5.6 and a shallow depth of field, it is possible to do this. You only need to make certain that the foreground-to-subject distance is smaller than the background-to-subject distance.

Speaking about full-body portraits, it should be noted that many aspects can influence the whole composition. These are how the subject is positioned within a frame, how it interacts with other elements, the pose, which can make the pic more dynamic, etc.
If the crop features more of the environment, take advantage of the rule of thirds to put a subject along one of the lines. Another way to achieve symmetry is to place the model in the middle.
However, many other composition rules can be applied to full-body photography. Your only task is to find the one that perfectly complies with your shooting style.

These accessories can add some valuable info about the subject and the context. Besides, having something in hand, a model will feel more at ease and less nervous during a photoshoot. Using stools or steps also provides opportunities to practice original poses.

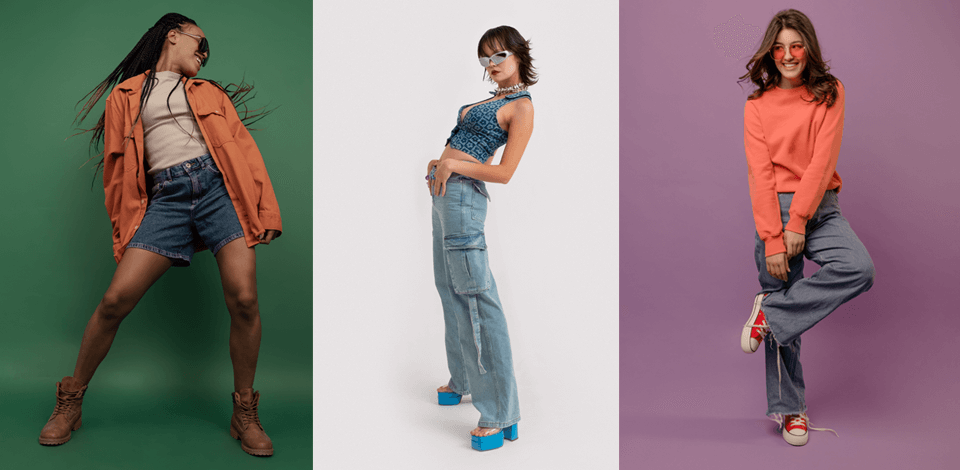
It is easy to create shape in portrait photography by bending one knee. This is the so-called S shape, which is not only appealing but also lets you create original compositions. This pose is easy to mimic and is ideal for women.

Hip position in woman and man photography differs considerably. Gils need to pop the hip to one side to create an eye-grabbing S curve that looks fantastic in a full-body portrait. Note that here naturalness is not the main point, so the position you usually stand “in a shopping queue" should be a bit exaggerated.

Experiment with arms and you’ll be amazed at how many new poses simple movements can create. If the subject’s hand is in a pocket or on the hip, be sure that another limb hangs loosely.
The most flattering position for women is standing with one leg bent and one hand either on a hip or folded around the waist. Ask a model to touch a collarbone or jawline with the other hand to look harmoniously.
Holding onto the lapels is ok, as long as one hand is above the other. Asymmetry is often beneficial for such photos.
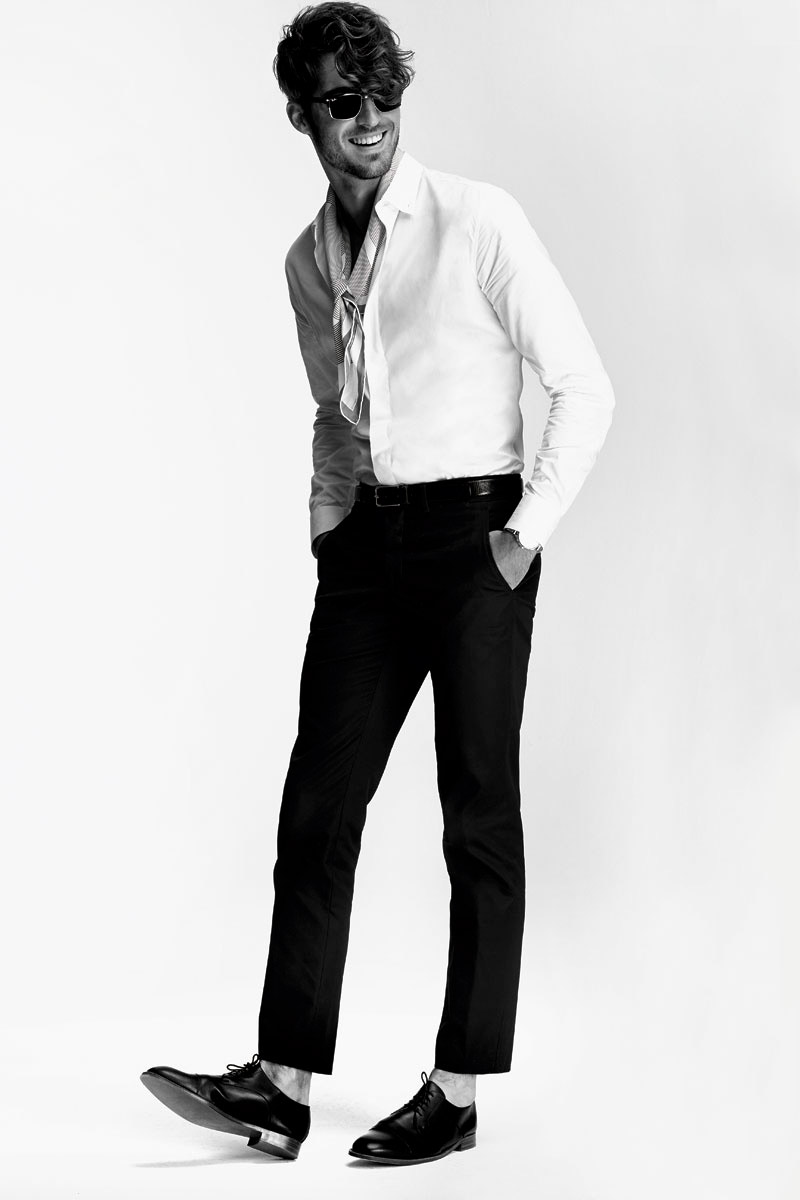
Speaking about men, they can put their hands in their pockets or on their hips. Other great variants are clasping the hands in front, adjusting cuffs, or just folding arms.

When posing with crossed legs, make certain to put the weight on the back leg, while having the other exquisitely bending the supportive one.

Lean on some support like a car. Bend one knee and put one foot against the surface of your support. This pose is not only eye-pleasing but also very comfortable, as well as allows adding dynamism to a composition.

If a model is not sure what to do with hands when posing, resting the limbs in pockets will be one of the most reasonable decisions. Thus, the subject will look naturally and relaxed.
Here it is important to bend the arms to make sure that there is some space between the arm and the body.

As I already mentioned, hip placement is the key to an attractive S pose. Ask a subject to put the weight on one leg popping the hip on one side and upper body to the other.
To finish the curve, ask a model to tilt the head to the same side as the hips.

When shooting environmental portraits of full-body pics, ask your subject to sit and put one leg ahead of the other or extend two legs toward the camera.
This position is easy to be in for a long time and allows a photographer to create depth in images.

Lying on the side, bend the elbow to provide support for your upper body and raise it a bit. Another option is to extend the arms and legs for a more relaxed look.
There is no strict look at what limb should be bent and what should be extended. Play with different variants to achieve beautiful compositions.
:quality(70)/cloudfront-us-east-1.images.arcpublishing.com/metroworldnews/OPNJM52QNRBUTK4YNRSXUADIPE.jpg)
To take backlit portraits, you should shoot a model from the back. The best angle to take full-body pictures in this case is from a higher angle or even from the top down.

Burst mode is indispensable when it comes to shooting a subject in motion. A great idea is to take a series of pics of either a single model, couples, or even groups.