
Nightlife photography can be very challenging to master because of the suboptimal lighting conditions, ever-moving subjects, and constantly changing composition. In this article, I’m going to share the main nightlife photography tips and secrets to ensure you take as many successful nightclub and event photos as possible so that you get invited to such occasions time and again. Find out what kind of equipment and camera settings you need to use to tackle this task properly.


Getting a quality low light camera that has a manual mode and a large ISO range will allow you to take fantastic nightlife photographs. Another aspect that affects the camera’s light sensitivity is the sensor size. Full-frame models get a significantly higher amount of light than the popular DSLR APS-C sensors, which are aimed at semi-pros and enthusiasts.
Thus, full frame cameras are a far superior choice for any nightlife photographer who takes their craft seriously. If possible, invest in a camera with as high of a megapixel count as possible to ensure you capture maximum detail when taking nighttime pictures. Most professionals recommend cameras like the Canon 5D Mark IV and Canon EOS-1DX Mark II for this purpose.

Since you’ll be taking photos in low-light conditions, it might be a good idea to invest in lenses for concert photography that have a max f/stop of 2.8, which allows you to set a wide aperture to receive all the light you need. Another factor to consider is the shooting distance. Will you be taking pictures from a photo pit or from amidst the crowd? Will you focus on taking photos of the guests and the performers, or do you plan to mostly capture the venue? How big is the stage?
In most cases, you’ll need to get a pair of wide angle lenses that you will use for the majority of the even while zoom or telephoto lenses can handle the rest. I recommend getting the Canon EF 28mm f/1.8 USM lens as your primary, and Canon EF 85mm f/1.8 USM as the secondary lens.

While not always necessary, the camera flash can do wonders for improving the lighting conditions, which are the biggest obstacle for anyone taking nightlife photos. It allows you to properly expose the subject and ensure you enjoy maximum sharpness and clarity rather than ending up with a blurry mess. I suggest going with Canon Speedlite 430EX III-RT, or Godox V850III.
Pro Tip
Once you got the flash unit, consider purchasing some accessories as well like a flash diffuser, which is attached to the top of the flashgun. It diffuses the light, offering a softer-lit scene that looks significantly more natural.

It’s vital to maintain a wide aperture at all times. Wider settings allow the camera to receive more light, which is essential for combatting suboptimal lighting conditions and achieving a shallow depth of field.
Nightclubs are always full of life and movement, which means your shot will often be cluttered. A shallower depth of field acts as a lifesaver here, as it lets the photographer separate the subject from the background and make all the unwanted people in the background look blurry. It’s advised to go for a setting of f/2.8 or lower.
If you’re shooting at night, I recommend adjusting ISO to accommodate the ambient lighting you’re currently working with. If the amount of light is extremely low, I increase the ISO to 1000-2000, but if the location is more or less decently lit, I try not to go above 400. Stick to as low of a value as possible to minimize the noise that appears in the photo.

If at some point you wondered “Why are my pictures blurry?”, it’s a sign that you’ve picked an incorrect shutter speed. Generally, the shutter speed can go from 1/8th to about 1/100th. Remember that when you’re doing nightclub photography, you’re constantly surrounded by dancers and movement so high shutter speeds are a must if you want to capture the action properly.
Pro Tip
Follow this straightforward rule when trying to figure out the optimal shutter speed: 1 divided by focal length. For instance, when shooting with a focal length of 100mm, the shutter speed can’t be slower than 1/100th of a second if you’re not using a tripod.

Given the constant movement of the crowd and performers as well as the ever-changing nature of the lighting, it’s highly recommended to set your camera to continuous focus (burst) mode. This way you’ll be able to snap several pictures in a row while holding down the shutter. As a result, you can be certain that at least one photograph will turn out the way you envisioned it.
This mode is a lifesaver when working with strobe lights and dancing subjects. Continuous focus (trademarked as AI Servo in Canon cameras and AF-C in Nikon models) allows the camera to lock onto a subject and track them as they move around without requiring the photographer to refocus the shot. You can employ the back button focus to select this focusing type on your camera.
JPG is the favorite image format of most enthusiasts since such pictures don't occupy a lot of space on their camera's SD card. That said, this format is also known for significantly compressing the image data, which makes it a lot more difficult to properly edit the photo during post-processing even though adjusting the exposure is essential when working with low-light pictures.
One of the most essential nightlife photography tips you need to follow is setting your camera to shoot in RAW format. While such files take up more storage space, they provide the image editing room needed for post production services to ensure your work looks as clean and professional as possible. RAW photos allow you to easily deal with all lighting and exposure flaws without creating grain or noise that typically appears when editing JPEG photos taken in low-light conditions.

It’s recommended to set the on-camera speedlight to manual mode and keep its power at low (between 1/64th and 1/128th settings). You should also properly aim the flash so that it hits above the subject or at a 45o degree to prevent rough shadows and overly dark backdrops. If you’re working in a nightclub or concert hall with a high ceiling, then aim the flash behind the crowd to take a silhouette shot of their hands and heads.

Lightroom is the industry-leading software for editing nightlife photography, as it comes with batch editing functionality as well as the most refined tools for exposure and color correction on the market. Moreover, you can use it for adjusting the contrast, sharpness, highlights, and shadows, synchronizing the applied edits between images, cropping photos, and much more.
Lightroom also offers a brush tool that you can employ for dealing with blemishes and glares by tweaking the exposure and clarity parameters where needed. Of course you won’t be able to perform headshot retouching, but it’s not really necessary for nightlife shots.

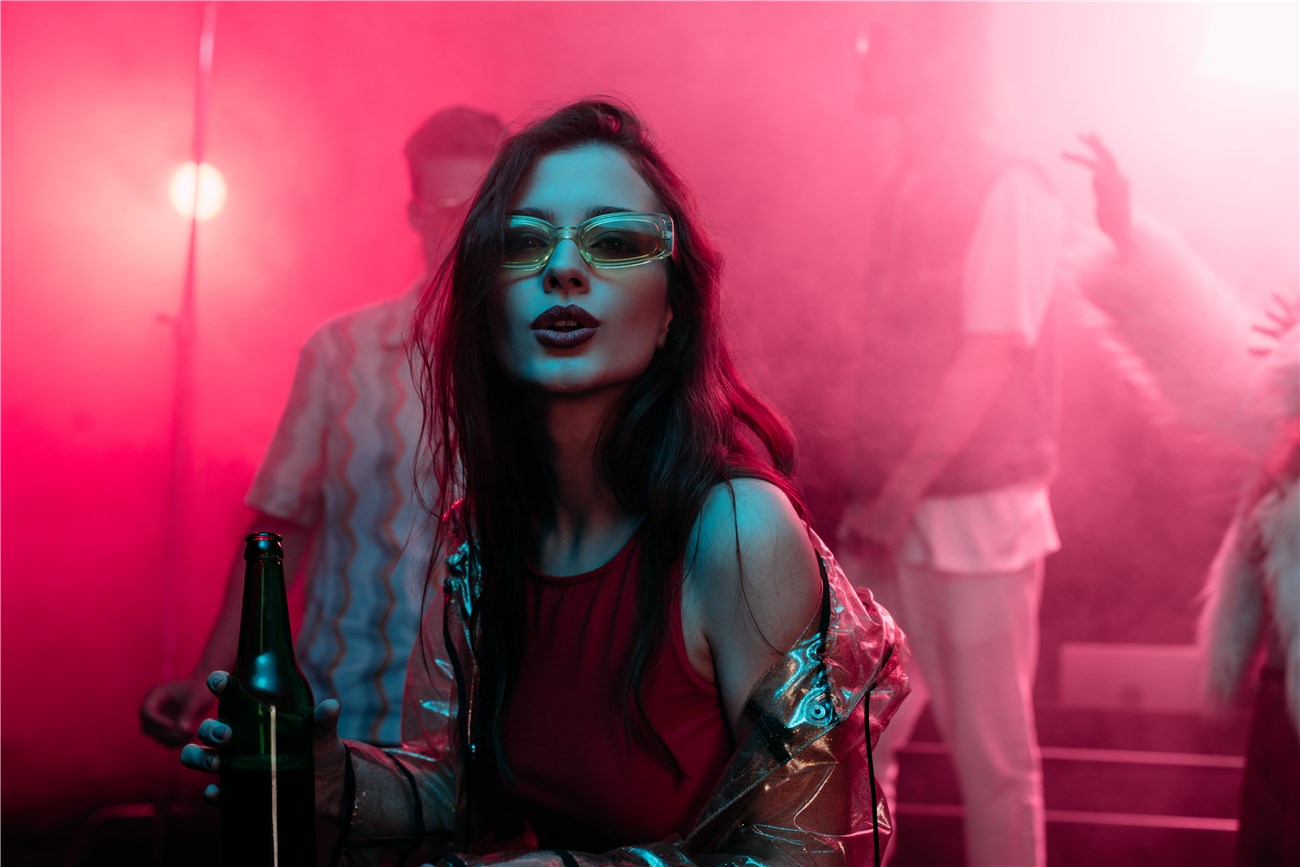
Complex lighting colors can also be a serious issue for nightlife photography. Blue, purple, and green lights appear darker when photographed, meaning you either have to increase the ISO or lower the shutter.
Red light is widely despised by photographers since it always appears dark and washes out the details. That said, such photos can look incredible if you convert them to B&W.
Flashing white lights represent one of the biggest obstacles nightlife photographers have to overcome as they are highly prone to overexposure. The most efficient way to deal with this issue is to sync the camera’s shutter with the flashing lights. Lastly, orange and yellow lighting emulates sunny or golden hour light and poses minimum difficulty during the photo shoot.

Many nightlife photographs look rather similar. To diversify your work and make it special, here’s a bunch of night photography ideas that you can try out:
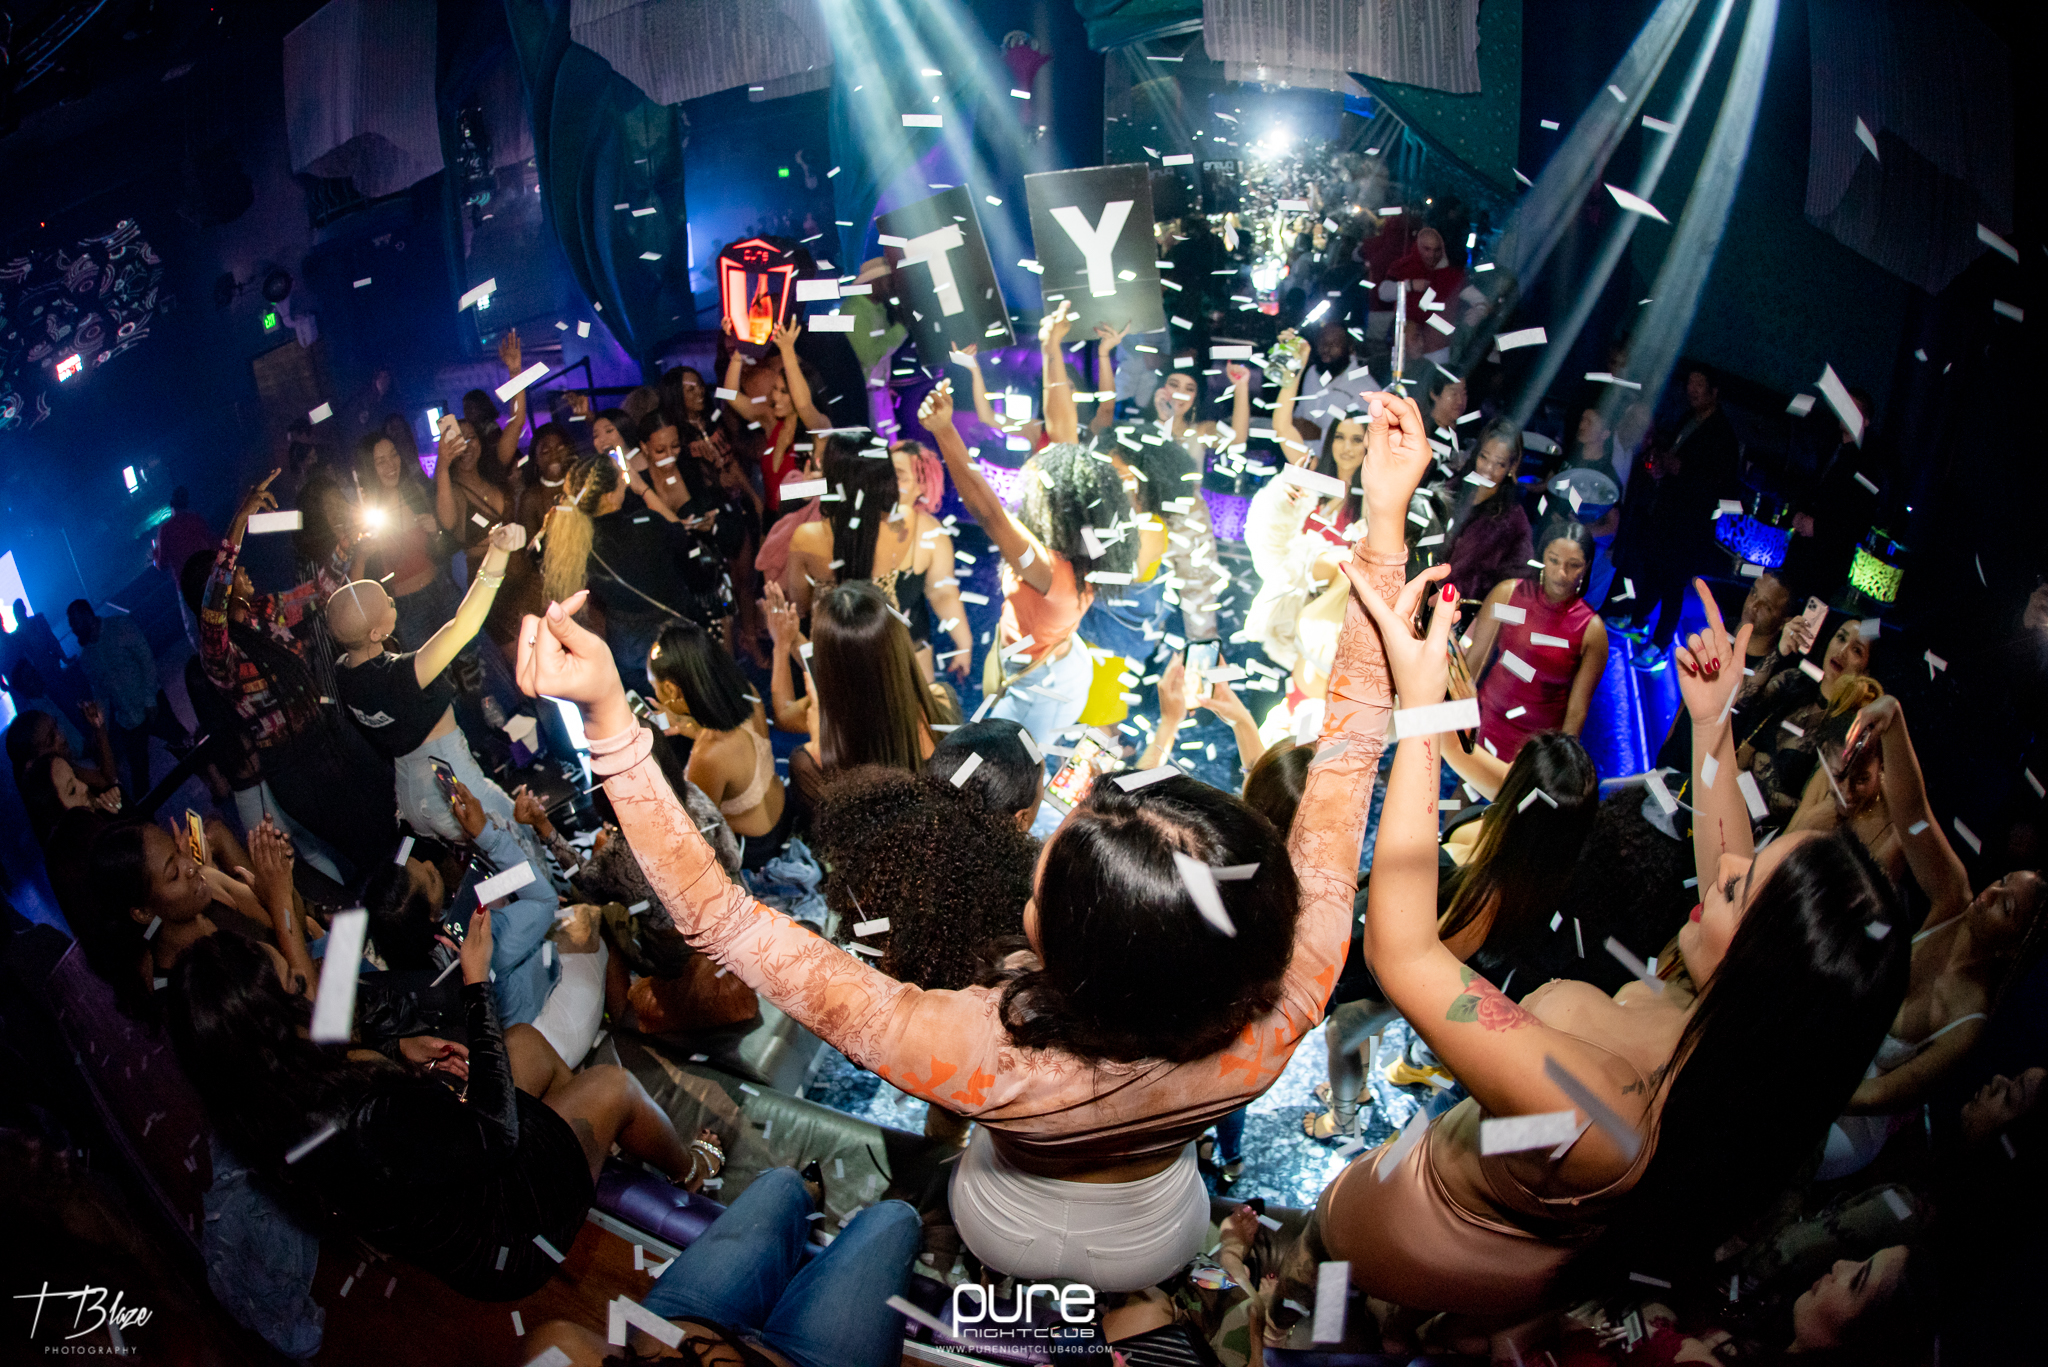
The crowd: unique angles, different parts of the venue, try telling little stories.
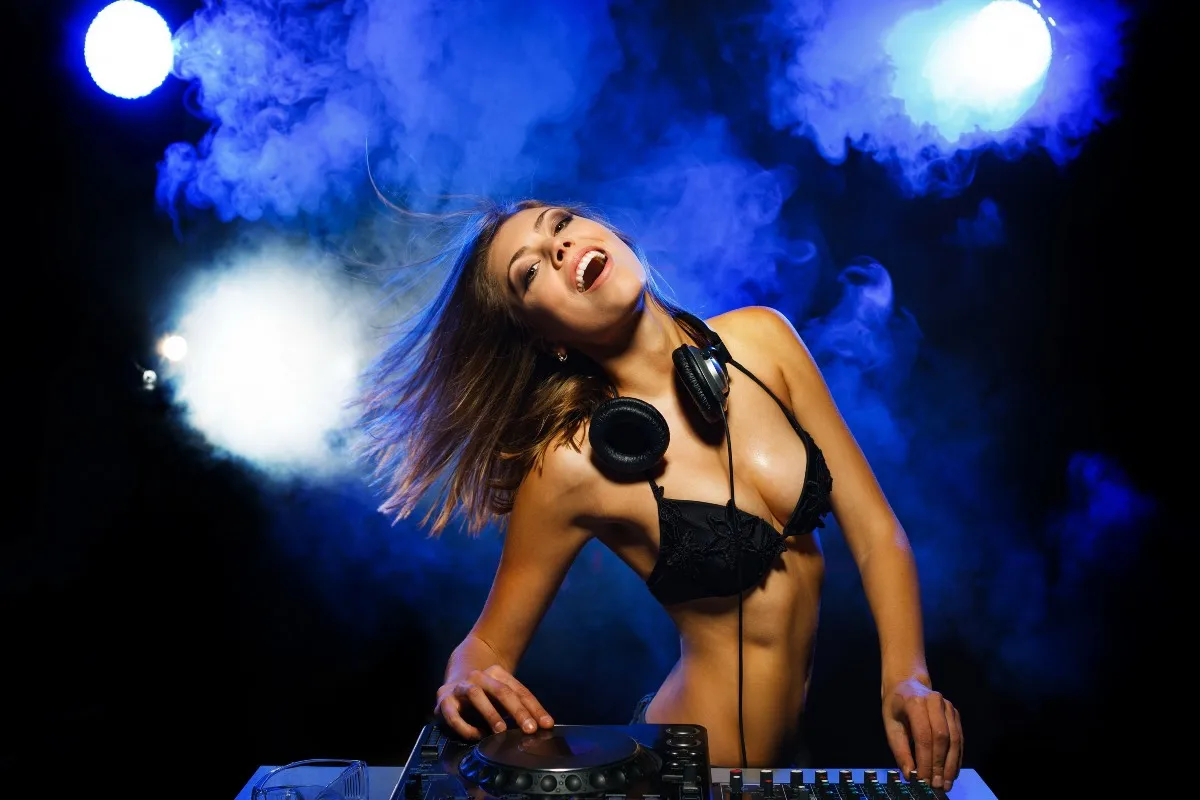
The DJs: spinning, close-up photos, the gear, a bird’s eye view photo featuring the DJ while the crowd goes wild on the dancefloor.
People: at the bar, dancing, next to the door, on the ledge, at the tables, and so on.
The venue: what the place looks like (interior and exterior). You should also photograph the tables, drinks, tableware, neon lights, various logos, decorations, etc.
Staff: If you’re working an event or for a specific client – focus a lot of your attention on the staff. However, don’t just take static, boring photos of them – make sure they’re engaged in some activity or are actively conversing so that the photograph doesn’t look bland or staged.
Event photography is majorly community-focused. It's essential to comply with all the event's rules if you don't want to get blacklisted. Make such a mistake and you may not find yourself on the list of invited photographers again. Find out all existing regulations and follow them to a dot.
Some common rules involve basic etiquette.
Avoid elbowing, pushing, or inconveniencing visitors just to get a better shot. Make sure you don’t distract the performers from their act or make them feel weirded out by touching them while telling them where they should stand or how they should pose. If the security asks you to not do something during the event or cuts the shooting time short – just do as you’re told.

One of the most important nightlife photography tips in terms of convenience is to avoid carrying large camera bags or cases. If you do bring one, hide it before the shoot. Packed nightclubs can be very tight on space, as they have to fit the performers, staff, security, visitors, and photographers. With so many people there, you have to be as light on gear as possible to move through the crowd without causing issues for yourself or others.
The vast majority of photography pit barricades come with space inside that allows you to store your equipment or bags until you're done with the photo shoot. Alternatively, ask the staff if you can put your bag behind the bar or in a room in the back.
One of the most essential photography tips for beginners for the nightlife genre is to keep an eye out for gaps between people since they can make the shot appear weirdly composed or empty. Nightclub crowds look best when they’re dancing closely together since otherwise the photos might feel disjointed and fail to convey the needed atmosphere.
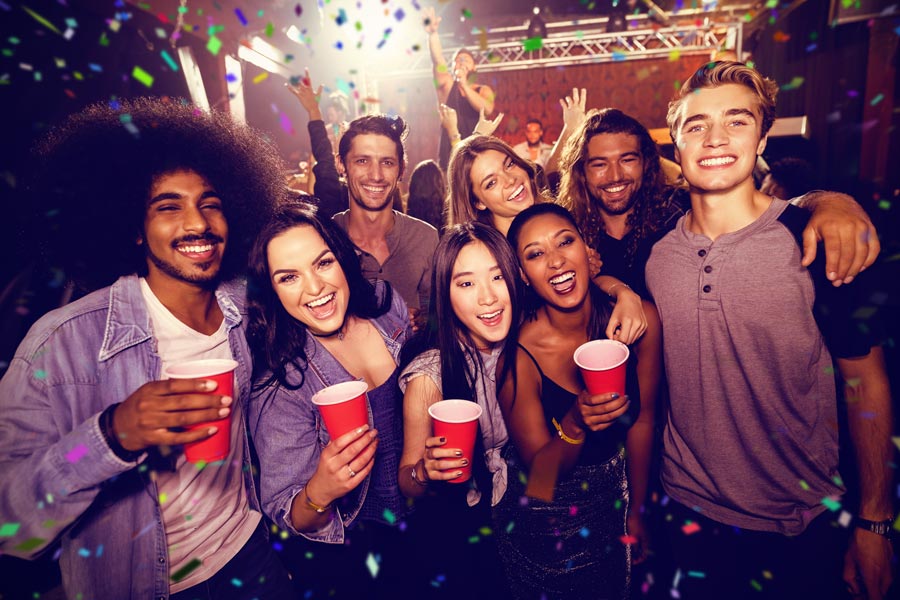
If you’re taking pictures of a large group, you should ensure everyone’s face is included in the shot and snap multiple photos so that at least in one of them everyone has their eyes open. If you’re taking a picture of a group of people sitting at a table, ask them to sit next to each other since photos that try to encompass the table from all sides rarely look good.

Speed up your nightclub photography workflow with the help of this set of must-have tools. It was created by professionals specifically for enhancing event and nightclub photos with problematic lighting. You’ll quickly improve the exposure and colors to ensure your photos can even be sent to the Sony photography awards. All you need to do is learn how to install Lightroom presets on Mac & Windows.


